







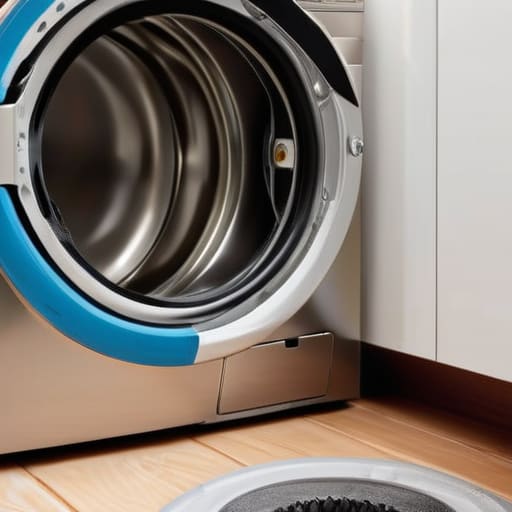

I was knee-deep in a puddle of grey water in a tiny kitchen in Bedminster last Tuesday, looking at a machine that someone had already flagged for the scrap heap. The owner was convinced the whole unit was shot, but I knew better; it wasn’t a motor failure or a computer glitch, it was just a torn gasket. People get so worked up about replacing a washing machine door seal that they end up spending hundreds on a new machine when all they really needed was a bit of patience and a screwdriver. I’ve pulled apart enough of these machines to know that a leaky seal is usually the only thing standing between you and a working washer.
I’m not going to give you any of that glossy, manufacturer-approved nonsense that makes a simple job sound like rocket science. Instead, I’m going to walk you through the real, messy process of getting that old, mouldy rubber out and the new one seated properly. You’ll learn how to spot the actual damage, how to manage the tension without losing your temper, and how to ensure you aren’t wasting your money on a repair that won’t last. Let’s get stuck in.
Guide Overview
Tools & Supplies
- Screwdriver (to remove trim or access screws)
- Pliers (to release or tighten tension spring clamps)
- Flat-head screwdriver (to pry the old seal out of the groove)
- Replacement door seal (specific to your machine model)
- Soapy water (to lubricate the new seal during installation)
Step-by-Step Instructions
- 1. First things first, you need to cut the power. I don’t care how confident you’re feeling; don’t go poking around a live machine. Unplug it from the wall and make sure the water taps are turned off too. Once that’s done, open the door and get a good look at the seal you’re dealing with. If there’s a lot of standing water in the drum, try to scoop it out with a sponge first, or you’ll end up with a very soggy floor halfway through the job.
- 2. You’ll need to find the metal spring clamp that holds the seal against the front of the machine. It’s usually tucked right inside the lip of the gasket. Use a pair of long-nose pliers to squeeze that clamp and slide it down the groove toward the bottom of the machine. If it’s stuck or covered in old limescale, give it a bit of a wiggle, but don’t force it so hard that you snap the tension.
- 3. Now, you’re going to pull the old, crusty seal out of its housing. It’ll likely be stiff and might even tear if it’s been sitting there for years, but that’s fine—it’s going in the bin anyway. As you pull it away, you’ll see the metal frame of the machine underneath. Take a damp cloth and wipe that surface clean. If you leave bits of old grit or hair behind, the new seal won’t sit flush, and you’ll be right back where you started with a leak.
- 4. Before you even think about touching the new part, check the plastic tub where the seal sits. I’ve seen plenty of machines where the leak wasn’t even the seal itself, but a crack in the housing. Once you’re sure it’s solid, take your new gasket and start seating it into the groove. I find it’s easiest to start at the very bottom and work your way around the circle, making sure it’s tucked in tight at every turn.
- 5. This is the part where most people lose their patience, but you can’t rush it. You need to make sure the seal is perfectly aligned with the hole where the door actually enters. If it’s even a millimetre off, the door won’t close properly. Once it’s seated, grab that metal spring clamp you moved earlier and slide it back up into position. You want to hear it click firmly into the groove to ensure it’s holding the seal tight against the frame.
- 6. Finally, give the door a good, firm tug. It shouldn’t feel loose or springy. Close the door and run a short empty cycle—just a rinse if your machine has one—to make sure everything is watertight. If you don’t see any puddles forming on the floor after ten minutes, you’ve done the job right.
Understanding Replacing a Washing Machine Door Seal
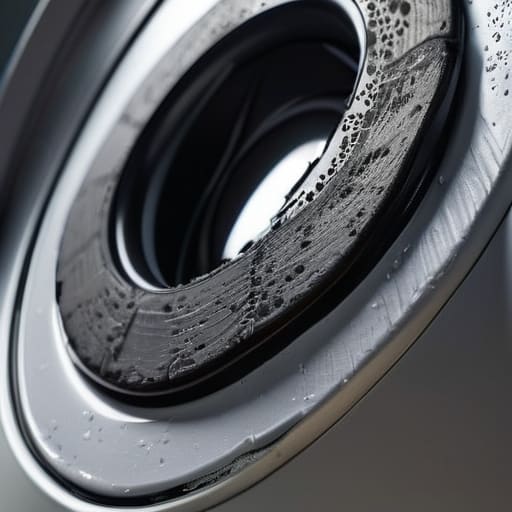
Before you go grabbing a screwdriver, you need to know if you’re actually dealing with a perished gasket or just a bit of trapped grit. I’ve spent more time than I care to admit kneeling on damp kitchen floors, and the signs of a leaking door seal are usually pretty obvious once you look closely. You’ll see water pooling at the bottom of the drum or, more commonly, those nasty black flecks of mold creeping into the folds of the rubber. If the seal feels stiff or looks cracked like an old leather boot, it’s time to bin it.
When you actually get down to the business of the job, don’t expect it to be a clean affair. One of my best washing machine door seal installation tips is to keep a bucket and some old towels right at your feet. As soon as you start working on how to remove old rubber seal components, there’s going to be some residual water sitting in the folds. It’s messy, but it’s much better than having your kitchen floor looking like a pond. Just take your time; these things aren’t going anywhere.
Key Things to Know
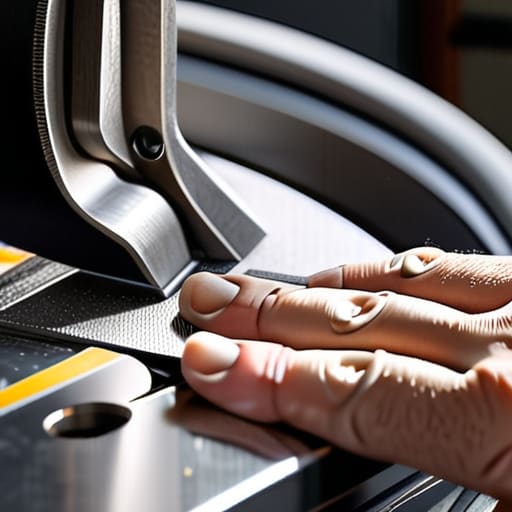
Before you get your hands dirty, you need to know that this isn’t just about swapping a bit of rubber; it’s about the prep work. One thing I’ve learned over eighteen years is that you can’t just yank the old one out and hope for the best. You’ll need a decent set of common washing machine repair tools, specifically a flat-head screwdriver and maybe some needle-nose pliers to get into those tight crevices. If you don’t clear out every bit of old grit and limescale from the metal rim where the new seal sits, you’re asking for trouble. I’ve seen plenty of people rush this, only to find they’ve trapped a tiny bit of debris under the new gasket, leading to leaks all over again.
Also, keep an eye out for the signs of a leaking door seal before it turns into a proper flood. If you’re seeing dark, slimy patches or a persistent damp smell, that’s your warning. Once you’ve finished the job, don’t just walk away. A bit of regular maintenance, like leaving the door ajar between washes, is the best way of preventing mold in washing machine seals and making sure your hard work actually lasts.
A Few Bits of Advice Before You Get Stuck In
- Don’t go throwing the old seal straight into the bin. Check the metal rim where it sits for any bits of grit or old rubber stuck in the groove; if you don’t clear that out, the new one won’t seat properly and you’ll be back to square one with a leak.
- Get yourself a decent set of spring expansion tools if you can. You can try to manhandle the tension ring with a flat-head screwdriver, but you’ll likely end up scratching the drum or snapping a clip, and that’s a headache nobody needs.
- Keep a bit of soapy water handy. A tiny bit of washing-up liquid on the edge of the new gasket helps it slide into place without bunching up, which is the quickest way to ruin the job.
- Check the tension ring carefully. I’ve seen plenty of people try to reuse the old one, but if it’s even slightly stretched out or has lost its bite, it won’t hold the new seal tight enough against the door.
- Once it’s all back together, don’t just walk away. Run a short test cycle—empty, mind you—and keep a torch handy to look for any weeping around the edges. It’s better to find a mistake now than when your kitchen floor is under an inch of water.
The Short Version
Don’t bin the machine just because the rubber’s perished; a new seal is a cheap fix compared to the cost of a new washer.
Getting the clamps off is the real battle, so make sure you’ve got the right pliers and a bit of patience before you start.
Check the housing for any bits of grit or old debris while you’ve got it open, otherwise that new seal won’t sit right.
Don't Toss the Machine Just Yet
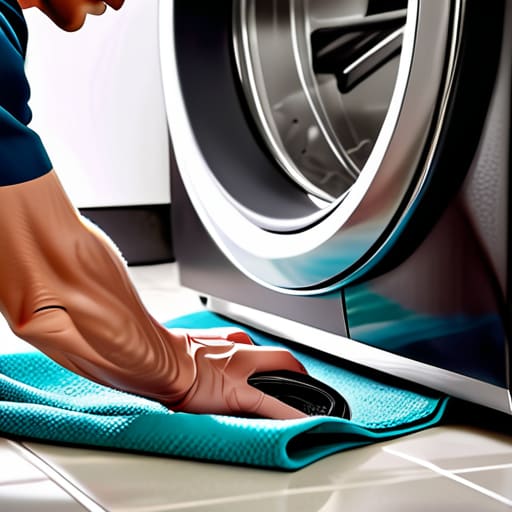
At the end of the day, replacing a door seal isn’t the Herculean task the manuals make it out to be. You’ve gathered your tools, you’ve cleared the space, and you’ve navigated the fiddly bit of getting those spring clamps off without losing your temper. Just remember to keep a close eye on the alignment as you tuck the new rubber into the groove; if it’s not seated properly, you’ll be staring at the same puddle by Tuesday. Once you’ve tightened everything back up and given it a quick test cycle, you’ll find that the machine is perfectly fine, and you haven’t wasted a penny on a replacement unit.
I’ve spent eighteen years looking at the insides of these things, and it breaks my heart to see a perfectly good appliance headed for the skip just because of a bit of perished rubber. It’s a shame how quickly we’ve been taught to throw things away instead of just fixing them. Taking an hour out of your Saturday to do this yourself isn’t just about saving money; it’s about refusing to be part of the throwaway culture. There is a quiet bit of satisfaction in knowing you’ve kept something useful in your home for another few years. Now, go on—get that laundry done.
Frequently Asked Questions
Do I really need to buy the official brand-name seal, or can I get away with one of those cheaper universal ones I see online?
Look, I’ve seen both, and there’s a reason for the price gap. Those cheap universal seals look fine in the photos, but they often lack the exact tension needed to keep the water in. If it’s a fraction off, you’ll be mopping your kitchen floor by Tuesday. If you can afford the genuine part, get it. It’ll fit first time, every time. I’d rather spend the extra tenner than come back to fix a leak.
How do I know if it's actually the gasket that's leaking and not just a blocked drain hose or a dodgy pump?
It’s a fair question. If the water is pooling right at the bottom of the door, or if you see a puddle forming directly under the glass, it’s the gasket. A blocked hose or a dodgy pump usually results in the machine refusing to drain, leaving you with a drum full of stagnant water, not a leak. If it’s a pump, you’ll hear a grinding noise or nothing at all; if it’s the seal, it’s just wet.
What’s the best way to get that old, crusty spring clip off without bruising my knuckles or snapping the metal?
Look, I’ve spent more time wrestling with those stubborn spring clips than I have with my own family. If you try to grab it with just your fingers, you’ll end up with bruised knuckles and a very frustrated afternoon. Get yourself a pair of long-nose pliers—the proper ones, not the cheap flimsy bits. Hook the clip and pull it toward you steadily. If it feels like it’s going to snap, stop, breathe, and give it a bit more leverage.
