









I was sitting in a client’s lounge in Clifton last Tuesday when I heard it—that high-pitched, wheezing whistle coming from their little ceramic heater. They were convinced the motor had finally given up the ghost and were ready to bin it. I took a look, popped the casing, and what do you know? It wasn’t broken at all; it was just choking on a thick blanket of grey fluff and pet hair. Most people think they need to buy a brand-new unit when the heat starts feeling weak, but learning how to clean a fan heater is usually all it takes to bring it back to life.
I’m not going to give you any of that fancy, complicated nonsense that requires special tools you’ll never use again. I’ve spent eighteen years pulling dust out of machines, and I know exactly where the real grit hides. In this guide, I’m going to show you the proper, no-nonsense way to get inside those vents and clear out the blockage without snapping a plastic clip or frying a circuit. We’ll get that airflow back to where it should be, saving you a few quid and a trip to the tip.
Guide Overview
Tools & Supplies
- Vacuum cleaner with brush attachment for dust removal
- Screwdriver if disassembly is required for deep cleaning
- Soft-bristled brush or old toothbrush for crevices
- Microfiber cloth for wiping surfaces
- Compressed air canister for blowing out internal dust
- Mild dish soap and warm water for exterior cleaning
Step-by-Step Instructions
- 1. First thing’s first: unplug the bloody thing. I don’t care if it’s switched off at the dial; if it’s still drawing power from the wall, you’re asking for trouble. I’ve seen enough singed fingertips in my time to know that safety isn’t a suggestion. Set it on a flat, stable surface like a kitchen table where you have plenty of room to work.
- 2. Once you’re sure it’s dead, grab a can of compressed air or even a soft brush from your toolkit. Most people just blow on the front grill, but that’s a waste of time. You need to get behind those slats. If you can see a layer of grey fuzz clinging to the heating element, that’s your primary target. Gently brush away the loose bits first so you don’t just end up pushing the dust deeper into the guts of the machine.
- 3. If your heater has a removable rear filter or a mesh screen, take it out. I’ve pulled hundreds of these out of various appliances, and they are almost always clogged with pet hair and fine dust. If it’s a plastic mesh, you can usually wash it in the sink with some warm, soapy water. Just make sure it is bone dry before you even think about putting it back in. Putting a damp filter into a heater is a quick way to cause a short circuit.
- 4. Now, for the tricky bit—the heating coils themselves. Use that compressed air to blow through the unit from the back to the front. You want to force the debris out the way it came in, rather than jamming it further into the motor. If you see any stubborn clumps stuck to the coils, don’t go poking them with a metal screwdriver. Use a soft-bristled toothbrush instead; it’s much gentler on the delicate components.
- 5. Take a quick look at the intake vents. If there’s a buildup of dust around the fan blades, the motor is going to have to work twice as hard to pull in air, which is exactly how you burn out a motor prematurely. A quick vacuum with a brush attachment usually does the trick here. You want the airflow to be as unobstructed as possible so the machine can actually breathe.
- 6. Before you plug it back in, give the whole unit a once-over with a dry cloth to wipe down the exterior casing. It’s not just about looks; dust on the outside can get sucked right back into the vents the moment you turn it on. Once it’s clean, give it a quick test run in a well-ventilated room. If you smell anything burnt or acrid, turn it off immediately—that usually means there’s still a bit of debris stuck somewhere deep inside that needs more attention.
Understanding How to Clean a Fan Heater
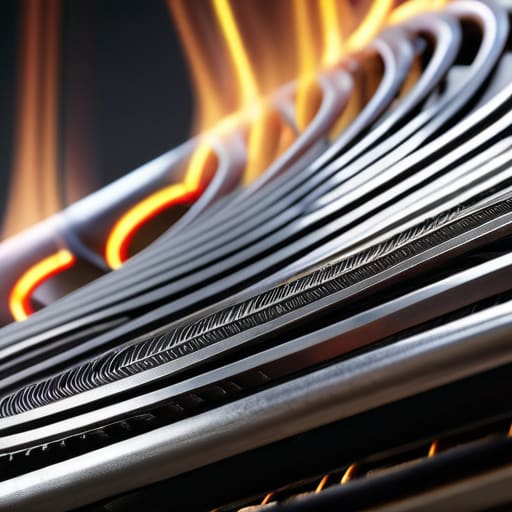
You don’t need to be an engineer to get this right, but you do need to understand what’s actually happening inside the casing. Most people think a heater is just a box that blows hot air, but it’s really a delicate balance of airflow and heat transfer. When I’m doing some basic fan heater maintenance tips, I always tell people to look at the coils first. If you see a grey fuzz clinging to those wires, that’s not just dirt; it’s fuel. Dust acts like a blanket, trapping heat where it shouldn’t be, which is exactly how you end up preventing heater fire hazards by being proactive rather than reactive.
I’ve seen plenty of machines go up in smoke simply because the motor was struggling to push air through a wall of lint. If you’re doing some vacuuming of an electric heater, don’t just hover the nozzle over the grill. You need to get in there—carefully—to ensure you’re actually removing dust from heater coils rather than just moving it around the plastic housing. It’s about clearing the path so the machine can breathe.
Key Things to Know
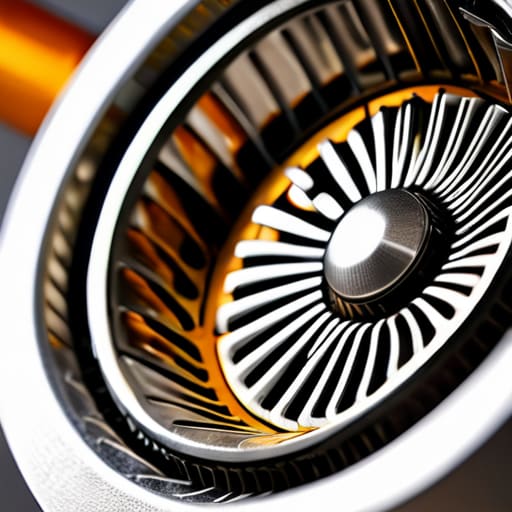
One thing I’ve learned after eighteen years of looking into the guts of various machines is that people tend to ignore the small stuff until something starts smelling like a bonfire. When you’re vacuuming an electric heater, don’t just hover the nozzle over the front grill and call it a day. You need to actually get into the crevices. If you can see a layer of grey fuzz sitting on the internal components, your airflow is already struggling. I’ve seen plenty of units that weren’t actually “broken,” they were just suffocating under a blanket of pet hair and lint.
If you want to get serious about preventing heater fire hazards, you have to be mindful of the coils. When you’re removing dust from heater coils, be gentle. They aren’t as sturdy as a cast iron skillet; they’re delicate. Use a soft brush or a can of compressed air rather than poking at them with a screwdriver. If you force it, you’ll snap a connection, and then you’re looking at a repair job instead of simple maintenance. Just keep it steady and don’t rush the process.
A Few Bits of Advice from Someone Who’s Seen Too Many Burnt-Out Coils
- Unplug it first. I can’t tell you how many times I’ve seen someone reach into a heater with a damp cloth while it’s still live. It’s not clever, and it’s certainly not worth the shock.
- Don’t go hunting for a vacuum nozzle that’s too big. If you try to force a massive attachment into the narrow slats of the casing, you’ll likely snap a plastic clip, and then you’ve got a real job on your hands.
- Watch out for the “dust bunnies” hiding deep inside. A quick surface wipe is fine for looks, but if you don’t get the grit out from the internal fins, the motor is going to struggle, and that’s when things start smelling like singed hair.
- If you see any frayed wires near the plug, don’t bother cleaning it. Just stop. I’ve scrapped plenty of heaters that looked clean as a whistle but were a fire waiting to happen because the wiring was shot.
- Use a soft brush, not a wire one. You want to flick the dust away, not scratch the heating elements. Once you’ve scored those coils, you’ve basically shortened the life of the whole machine.
The Bottom Line
Don’t wait for it to smell like burning; if you can see dust bunnies clinging to the grate, it’s already overdue for a clean.
Most “broken” heaters are just choked on lint, so a bit of regular maintenance saves you the cost of a replacement.
Always unplug the thing first—I’ve seen enough singed fingers to know that being impatient with a power cord isn’t worth it.
A Bit of Maintenance Goes a Long Way
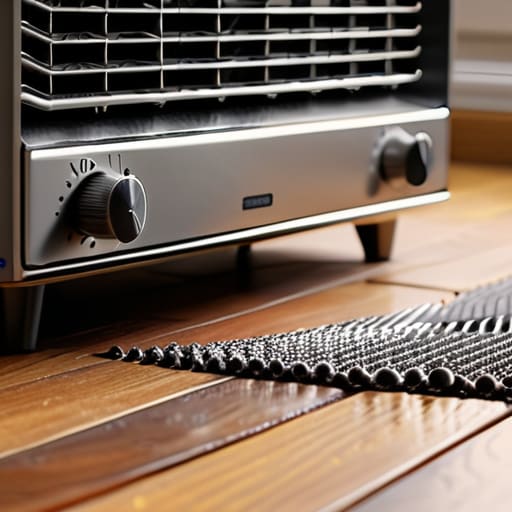
At the end of the day, cleaning your fan heater isn’t about being precious with your belongings; it’s just about common sense. You’ve unplugged the unit, cleared out the thick layers of dust from the casing, and made sure the internal components aren’t choked with debris. If you’ve followed these steps, you’ve prevented that nasty, burning smell from filling your living room and, more importantly, you’ve stopped the motor from working twice as hard just to push air through a layer of filth. It’s a simple bit of kit, and if you treat it with a little respect, it’ll keep you warm without needing a trip to the tip.
I’ve spent nearly two decades looking at the insides of machines that people gave up on far too soon. Most of the time, I’m not looking at a catastrophic electrical failure; I’m looking at a machine that was simply suffocated by neglect. Don’t be one of those people who waits for the smoke to start before they decide to take action. Take ten minutes once a season to give your heater a proper once-over. It’s better for your pocket, better for the machine, and a hell of a lot better than having to replace the whole thing because of a bit of lint.
Frequently Asked Questions
Is it safe to use a vacuum cleaner on the heating elements, or am I going to bend something?
Don’t go poking around with a vacuum nozzle directly against the elements. You aren’t necessarily going to bend them, but those coils are more fragile than they look, and a heavy plastic attachment can snap a connection or knock something out of alignment. Use a soft brush attachment if you must, or better yet, a can of compressed air. Just be gentle; I’ve seen enough “broken” heaters that were really just a bit too battered by a clumsy cleaning attempt.
What do I do if I find a burnt smell even after I've cleared out all the dust?
If it still smells like something’s frying after the dust is gone, stop using it. I’ve seen this too many times: a bit of lint has cooked itself into the heating element, or worse, a wire insulation is starting to go. If it’s not just a bit of leftover debris on the coil, you’re looking at a genuine electrical fault. Don’t risk a house fire for a cheap heater; just bin it.
Can I use any kind of spray to get the grime off, or will that ruin the internals?
Don’t even think about grabbing a can of generic multi-purpose spray. Most of those are far too wet and leave a residue that just attracts more dust, which is the last thing you want near a heating element. If you douse the internals in liquid, you’re looking at a short circuit or a nasty smell the next time it kicks in. Stick to a slightly damp cloth or a bit of isopropyl alcohol on a cotton bud for the stubborn bits.
