







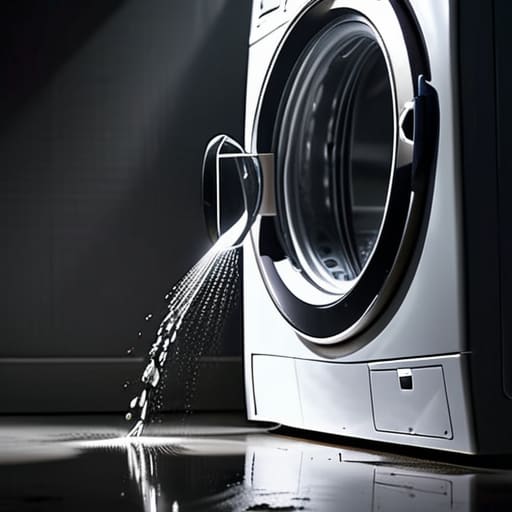

People will tell you that a puddle under your appliance means you need to shell out hundreds for a brand-new unit or call in an expensive engineer. Honestly, that’s a load of rubbish. I’ve spent eighteen years pulling these things apart in Bristol, and more often than not, knowing how to fix a leaking washing machine is just a matter of finding a bit of grit in a seal or a loose hose clip. I remember a job last Tuesday where the customer was convinced the drum was shot; I opened it up, cleared a tiny bit of debris from the filter, and she was back in business for the price of a cup of tea.
I’m not here to give you a fancy manual or a list of parts you can’t afford. I want to show you the real-world, no-nonsense way to get your machine dry again. We’re going to look at the common culprits—from the door seals to the drainage pipes—and I’ll show you exactly where to poke and prod. By the time we’re done, you’ll know how to fix a leaking washing machine without throwing your hard-earned money down the drain.
Guide Overview
Tools & Supplies
- Screwdriver (to remove access panels)
- Pliers (to tighten hose clamps)
- Flashlight (to inspect for small leaks)
- Bucket (to catch residual water)
- Replacement inlet hoses (1 set)
- Replacement door seal/gasket (1 unit)
- Plumber's tape (1 roll)
Step-by-Step Instructions
- 1. First things first, you need to unplug the machine and turn off the water tap. I’ve seen too many people trying to poke around a live circuit with wet hands, and it’s just not worth the risk. Once you’re safe, get some old towels and a shallow tray ready, because as soon as you start opening things up, you’re going to find a bit of a puddle on the floor.
- 2. Most of the time, a leak isn’t some high-tech electrical failure; it’s just a bit of grit in the filter. Locate the small access door at the bottom front of the machine. Slowly unscrew the filter cap—be prepared for a bit of a slow leak here—and pull the filter out. If it’s choked with coins, hair, or bits of old clothing, clean it thoroughly under a tap. I always keep a few of these old filters in my workshop just to remind me how much junk people let build up.
- 3. If the filter is clean but you’re still seeing water, you need to check the door seal, or the gasket. Run your finger along the whole length of the rubber ring and look for any tiny tears or punctures. Sometimes a stray bra wire or a sharp bit of lace will slice right through it. If you find a hole, you aren’t going to be able to patch it with tape; you’ll need to order a replacement seal to get it watertight again.
- 4. Next, take a look at your hoses. Check the inlet hoses at the back—the ones bringing the water in—to make sure they haven’t perished or loosened at the connection point. Then, give the drain hose a good squeeze as you run your hand down its length. If it feels crunchy or stiff, it’s likely cracked. A quick tighten with a pair of pliers often does the trick, but if the rubber is splitting, it’s time for a new one.
- 5. If you’ve checked the obvious bits and the floor is still damp, you might have to get a bit more adventurous and look at the drum itself. Check the area where the drum meets the outer tub. Sometimes the seal has perished or a mounting bolt has worked itself loose. It’s a bit more involved, but it’s better than throwing the whole machine in a skip just because a bit of rubber gave up the ghost.
- 6. Once you think you’ve found the culprit and fixed it, don’t just close everything up and walk away. Run a test cycle on empty with a bit of white vinegar or a dedicated cleaner. This lets you watch the machine work from a safe distance and ensures that your fix actually holds water without any nasty surprises leaking out from underneath.
Understanding How to Fix a Leaking Washing Machine
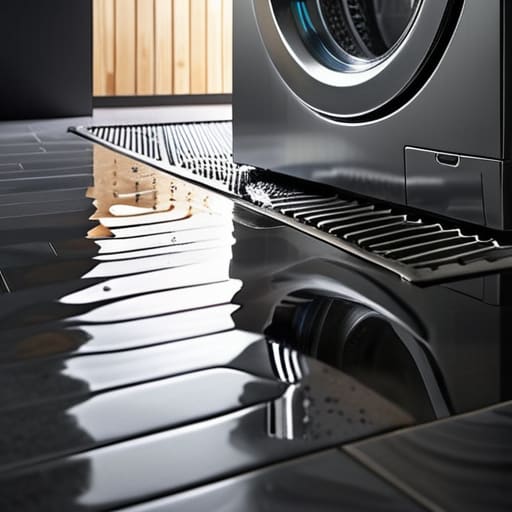
Before you go grabbing a toolkit, you need to understand that a leak isn’t always a death sentence for your machine. Most of the time, it’s just a matter of finding where the path of least resistance is. I’ve spent nearly two decades pulling these things apart, and I can tell you that a puddle on the floor is often just a symptom, not the disease itself. You might start with a simple drain hose connection check to see if a clip has just rattled loose, or you might find that the culprit is much more internal.
If the water is pooling right at the front, you’re likely looking at a washing machine door seal replacement. Those rubber gaskets take a beating from detergent buildup and hair, and eventually, they just give up. However, if the water is coming from underneath the unit, you’ll need to be a bit more investigative. I always keep an eye out for specific washing machine pump leak symptoms, like a rhythmic dripping during the spin cycle. It’s about being methodical; if you rush, you’ll miss the tiny crack that’s causing the whole mess.
Key Things to Know
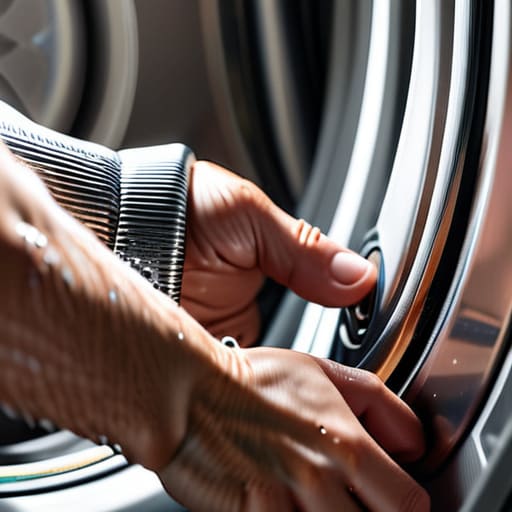
Before you go grabbing a wrench, you need to understand that not every leak is a catastrophe. Sometimes it’s just a bit of grit stuck in a valve, and other times, it’s a sign the machine is reaching the end of its life. One thing I’ve learned over eighteen years is that a drain hose connection check is often the simplest fix; if that hose has vibrated loose from the back of the unit, you’re just looking at a bit of spilled water rather than a mechanical failure. It’s worth checking the tightness of those clamps before you start assuming the pump has given up the ghost.
If the water is pooling underneath the machine rather than spraying out the back, you’re likely looking at something internal. I always tell people to watch for specific washing machine pump leak symptoms, like a rhythmic dripping that matches the cycle, or a sudden puddle after the drain stage. If the leak is coming from the very center of the machine, it might be a washing machine tub seal inspection you need to do, which is a much bigger job. Just remember: don’t panic, and for heaven’s sake, unplug the thing before you start poking around.
A few things I've learned from eighteen years of wet floors
- Check the door seal before you go buying parts. Most of the time, it’s just a stray sock or a buildup of hair and grit preventing a tight seal, not a blown pump.
- Don’t ignore the filter. I keep the filters from every machine I scrap because I see how much gunk gets stuck in them; a clogged filter can cause backpressure that forces water out of the wrong places.
- Tighten the hose connections first. It sounds simple, but I’ve seen people tear their hair out looking for a mechanical fault when all they needed was a spanner to snug up a loose inlet hose.
- Look for the “invisible” leaks. Sometimes the water isn’t spraying; it’s just a slow weep from a perished rubber washer that only shows up when the machine is mid-cycle and vibrating.
- Watch your detergent. If you’re using too much—or the wrong kind—you’ll get a mountain of suds that eventually find their way out through the air vents, making it look like a major leak when it’s really just a bubble problem.
The bottom line
Most leaks aren’t a sign you need a new machine; they’re usually just a bit of grit in a seal or a hose that’s slipped out of place.
Don’t go buying expensive replacement parts until you’ve actually opened the machine up and looked at what’s causing the mess.
Keep an eye on your filters and hoses regularly, because a five-pound fix is a lot better than a whole new appliance.
Don't Call the Repairman Just Yet
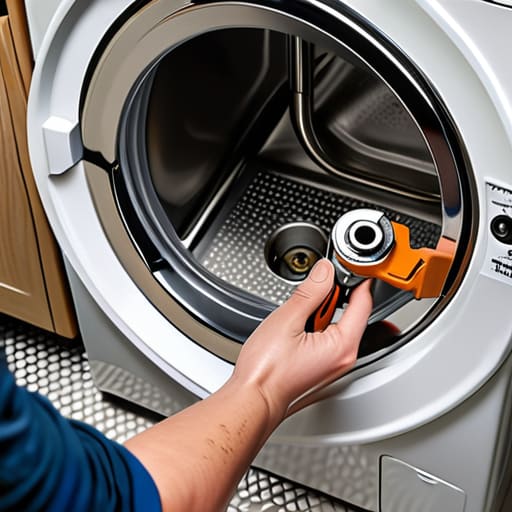
At the end of the day, fixing a leak usually comes down to a bit of patience and a decent screwdriver. Whether you’ve found a perished door seal, a loose hose connection, or a bit of grit stuck in the filter, the solution is rarely as complicated as the manufacturer wants you to believe. Most of the time, you aren’t looking at a catastrophic mechanical failure; you’re just looking at a machine that needs a little preventative maintenance. Check those seals, tighten those clamps, and for heaven’s sake, clear out the debris from the pump filter every few months. It’s the small, neglected bits that cause the biggest puddles on your kitchen floor.
I know it feels daunting when you see water pooling under the machine, but try not to panic. There is a real satisfaction in taking something that looks useless and making it run like new again without spending a fortune on a replacement. We live in a world that expects us to just bin things the moment they act up, but there is something deeply rewarding about refusing to waste a perfectly good appliance. So, take your time, keep your workspace dry, and remember: most machines aren’t actually broken, they’re just waiting for someone to give them a bit of attention.
Frequently Asked Questions
If I find a crack in the rubber door seal, can I actually patch it or do I have to buy a whole new part?
Look, I’ll give it to you straight: don’t bother with the glue or the patches. I’ve seen people try to patch a door seal with silicone or rubber strips, and it never lasts more than a few cycles before the water finds its way out again. If that rubber gasket has a crack, the structural integrity is gone. It’s one of those few times you actually need to buy the new part. Just swap the whole seal.
Is it worth checking the hoses if the machine isn't making any strange noises?
Absolutely. In fact, I’d say that’s when you’re most likely to find the culprit. A leak doesn’t need to make a racket to be a problem; a tiny pinhole in a rubber hose or a loose connection won’t make a sound, but it’ll leave your kitchen floor looking like a lake. I’ve seen countless machines perfectly silent, yet dripping away because a hose has just perished or worked itself loose. Check them regardless.
How can I tell if the leak is coming from a faulty pump or if it's just a bit of grit stuck in the filter?
It’s a common mix-up. If you see water pooling right by the little flap at the bottom front, it’s usually just grit or a stray coin jamming the filter housing. But if the water is spraying or dripping from underneath the machine during a cycle, that’s more likely a pump seal or a perished hose. Check the filter first—it’s the easiest fix, and honestly, nine times out of ten, that’s all it is.
