







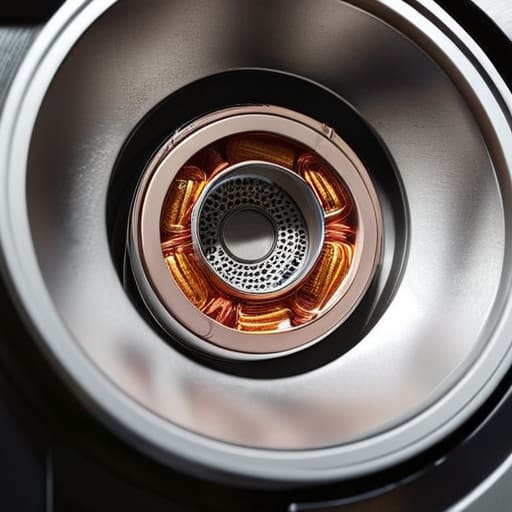

I’ve lost count of how many times I’ve stood in a kitchen in Bristol, staring at a machine that someone was convinced was “dead” and needed replacing. They’ll call me up, sounding frantic because the drum won’t spin or the water won’t drain, but more often than not, the machine isn’t broken at all. Most of the time, the culprit is just a single, stubborn £2 coin or a stray hairclip wedged deep in the mechanism. I’ve pulled out more filters than I can count, and I can tell you that cleaning a washing machine pump filter is usually the only thing standing between you and a very expensive new appliance.
I’m not here to give you a complicated manual or tell you to buy fancy chemical cleaners that do nothing but foam up your pipes. I’m going to show you exactly how to get in there, how to avoid making a massive puddle on your floor, and what to look for once that filter is actually in your hand. This is just plain, practical advice for getting the job done without the headache.
Guide Overview
Tools & Supplies
- Shallow tray or bowl to catch excess water
- Old towel or rag to soak up spills
- Toothbrush for scrubbing debris
- Warm water (as needed)
- Mild dish soap or white vinegar (small amount)
Step-by-Step Instructions
- 1. First thing you need to do is find where the little access door is on the front of your machine. It’s usually a small square flap at the bottom right or left. Get a shallow tray or even a couple of old towels ready, because as soon as you crack that filter open, you’re going to have a bit of a puddle on your kitchen floor if you aren’t careful.
- 2. Before you even touch the filter, make sure the machine is switched off and unplugged. I know it sounds like common sense, but I’ve seen enough near-misses to know it’s worth the extra ten seconds. If you’re feeling particularly cautious, you can turn off the water supply tap, but usually, just cutting the power is enough to get you started safely.
- 3. Now, slowly unscrew the filter cap. Don’t just yank it out like you’re opening a jar of jam; you need to do it gradually. You’ll hear some water start to trickle out, which is normal. Use your tray to catch the runoff. If it’s a particularly old machine, you might get a slow, steady stream, so just give it time to drain out before you pull the whole thing free.
- 4. Once the water has stopped running, pull the filter out completely. This is the part where you’ll see why I say most machines aren’t actually broken. You’ll likely find a collection of things that have no business being in a washing machine—hair clips, loose change, maybe a stray sock if you’re lucky, or just a thick layer of grey sludge.
- 5. Take that filter over to the sink and give it a proper scrub. I like to use an old toothbrush and some warm, soapy water to get into the little crevices. You want it to look brand new before it goes back in. While you’re at it, take a torch and peek into the hole where the filter sits to make sure there isn’t a coin or a button stuck deep inside the pump housing itself.
- 6. Once everything is clean and the housing is clear of debris, slide the filter back into place. Screw it in firmly, but don’t go absolutely mad with it; you don’t want to strip the threads. You’ll know it’s right when it feels snug and won’t turn any further.
- 7. Finally, wipe up any spills with your towels and run a quick, empty rinse cycle. This isn’t just to dry the floor; it’s to make sure you haven’t left the filter slightly loose, which would lead to a proper disaster once the machine starts a heavy wash. If it doesn’t leak during that first cycle, you’re all set.
Understanding Cleaning a Washing Machine Pump Filter
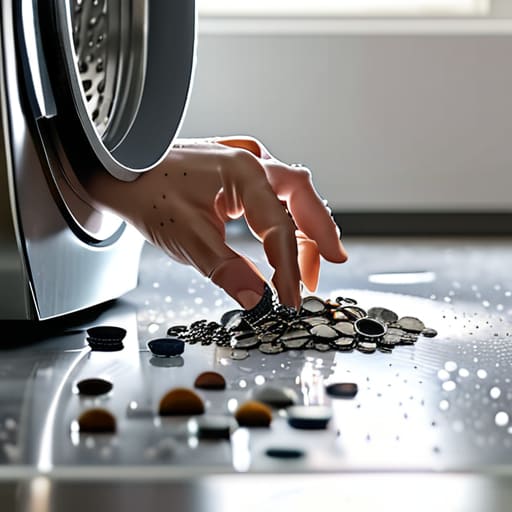
If you’re staring at a puddle on your kitchen floor, don’t panic and call a technician just yet. Most people assume a dead motor is the culprit, but half the time it’s just a classic case of clogged pump filter symptoms. I’ve spent eighteen years opening up these machines, and it’s rarely a mechanical failure; it’s usually just a stray hairclip, a handful of loose change, or a sock that’s lost its way. If your machine is making a strange grinding noise or simply refusing to empty, you’re likely dealing with basic washing machine drainage issues that a bit of elbow grease can fix.
Before you start unscrewing anything, make sure you have a shallow tray and some old towels ready. When you crack that filter open, there is going to be some emergency water drainage from washer that you didn’t account for, and trust me, nobody wants that soaking into their floorboards. I always keep a few old rags handy—it’s better to be prepared than to spend your afternoon mopping up grey water. Once you get the debris out, give the housing a quick wipe to ensure no grit is left behind to jam the impeller.
Key Things to Know
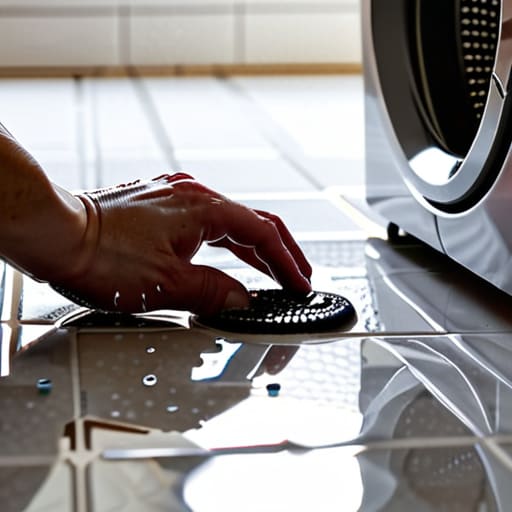
One thing I’ve learned after eighteen years is that people tend to panic when they see a puddle on the floor. Usually, they think the machine has died, but it’s often just a case of clogged pump filter symptoms like a slow drain or a loud, grinding noise. Before you go calling a technician and paying a call-out fee, check that filter. Most of the time, it’s just a stray hair tie or a rogue 20p piece causing all the drama.
You also need to be prepared for the mess. When you unscrew that cap, water is going to come out. I always tell people to have a shallow tray and a few old towels ready for emergency water drainage from washer units. If you don’t, you’ll spend more time mopping the kitchen floor than actually fixing the problem.
Lastly, keep an eye on what you’re putting in the drum. If you’re constantly dealing with washing machine drainage issues, check your pockets. It’s rarely a mechanical failure; it’s usually just a handful of lint and coins that have found their way into the works.
A few things I’ve learned from eighteen years of opening these up
- Get a shallow tray or a stack of old towels ready before you crack that filter loose. You aren’t just letting out air; you’re about to get a face full of whatever stagnant, grey water has been sitting in there since the last time you checked.
- Don’t just rinse the filter under the tap and shove it back in. Take a proper look at the housing—the actual hole where the filter sits. I’ve seen everything from hairpins to old bra wires lodged right in the throat of the pump, just waiting to stop the motor.
- If you find a coin or a button in there, don’t just throw it in the drawer. Check the drain hose too. Sometimes those bits get wedged halfway down the line, and if you don’t clear the whole path, you’ll be back to square one by Tuesday.
- Always check the rubber seal on the filter itself. If that O-ring is perished or even just covered in grit, the machine will leak all over your floor the moment it starts a spin cycle. A bit of soapy water on the seal goes a long way.
- Don’t wait for the machine to start making a racket or refusing to drain before you do this. Most people call me when they’re in a panic, but nine times out of ten, it’s just a choked filter that needed five minutes of attention and a bit of patience.
The bottom line
Most “broken” machines are actually just suffocating; before you call someone out to charge you a call-out fee, check the filter for a stray coin or a clump of hair.
Don’t be surprised by the mess—when you crack that filter open, there’s almost always a bit of stagnant water and sludge waiting to make a splash.
Make it a habit to clear the debris every few months, because it’s much easier to rinse out a bit of lint than it is to replace a burnt-out pump.
A bit of maintenance goes a long way

At the end of the day, cleaning your pump filter isn’t some complex engineering feat; it’s just basic upkeep. You’ve got to remember to grab a towel before you crack that flap open, because you will get a bit of grey water on your floor if you aren’t careful. Just check for the usual suspects—loose change, hairpins, or those little bits of debris that build up over time—and make sure everything is seated properly before you tighten it back up. If you do this once every few months, you’ll avoid that dreaded “drain error” code that sends people calling me out for a job that shouldn’t have been necessary in the first place.
It’s a bit of a nuisance, I know, but there is something deeply satisfying about taking a machine that’s acting up and realizing the fix was sitting right there in your hand. We live in a world where people think a strange noise means the whole appliance is headed for the tip, but more often than not, it just needs a bit of proper attention. Don’t be so quick to give up on your kit. If you take care of your machines, they’ll take care of you, and you’ll save yourself a heap of money and a lot of unnecessary waste.
Frequently Asked Questions
If I can't find the little door at the bottom of the machine, does that mean the filter is stuck or just hidden?
Don’t panic, it’s not stuck. It’s just hidden. Manufacturers love to tuck that little flap behind a kickplate or right at the very bottom edge where you can’t see it unless you’re practically on your hands and knees. If there isn’t a visible door, try feeling along the bottom trim for a seam. If you still can’t find it, you might have to pop off the front plinth. It’s design, not a breakdown.
Is it actually worth cleaning the filter if the machine is still making a loud, grinding noise?
It might be, but don’t get your hopes up too high. If it’s a grinding sound, you’ve likely got something hard—like a coin or a bra wire—jammed right in the impeller blades. Cleaning the filter is the first thing I do to check. If the noise stops once the debris is out, you’ve won. But if it keeps grinding after the filter is clear, you’re probably looking at a bearing issue, and that’s a different story entirely.
How often am I supposed to be doing this before it actually causes a problem?
If you’re asking me, don’t wait for the machine to start making a racket or refusing to drain. I’d say aim for once a month, or at least every couple of months if you aren’t washing heavy loads of work gear. If you start noticing a damp smell or the cycles are taking longer than they used to, that’s your sign you’ve waited too long. Don’t let a stray button turn into a costly repair.
