








I was kneeling on a damp kitchen floor in Bedminster last Tuesday, staring at a machine that a “specialist” had just told a customer needed a full replacement. It wasn’t a dead motor or a fried control board; it was just a clogged drain pump choked with a stray kid’s sock and a mountain of lint. It’s the same story I’ve seen for eighteen years: people think they need a professional when they really just need to learn how to service a washing machine yourself. Most of the time, you aren’t fixing a broken machine, you’re just clearing out the junk that’s making it act like it’s broken.
I’m not going to give you any of that polished, corporate nonsense that makes you feel like you need a degree in engineering just to unscrew a panel. Instead, I’m going to show you the straightforward, practical bits that actually matter. We’ll go through the essential cleaning, the filter checks, and the little preventative tweaks that will keep your machine humming long after the manufacturer says it’s reached its end. No hype, no unnecessary parts—just honest work.
Guide Overview
Tools & Supplies
- Screwdriver set (Phillips and flathead for removing panels)
- Pliers (adjustable or needle-nose for hose clamps)
- Flashlight (to inspect internal components)
- Bucket (to catch residual water)
- White vinegar (1-2 cups for descaling)
- Washing machine cleaner tablets (1 pack)
- Microfiber cloth (1 unit for cleaning seals)
Step-by-Step Instructions
- 1. First things first, you need to unplug the machine. I don’t care if you think it’s safe because the power is off—it isn’t. I’ve seen enough people get a nasty jolt because they thought they were being clever by just turning the dial to ‘off’. Get that plug out of the wall and, if you’re feeling particularly thorough, turn off the water supply tap too. It only takes a second and it saves you from a very damp afternoon.
- 2. Now, find that little flap at the bottom front of the machine. That’s where the filter lives, and it’s usually the culprit in about ninety percent of the calls I get in Bristol. Get a shallow tray or a few old towels ready, because the moment you unscrew that cap, a bit of stagnant, grey water is going to come pouring out. Don’t panic; it’s just what happens when a machine hasn’t been cleaned in a year.
- 3. Once the water has drained, unscrew the filter housing slowly. You’re going to find things in there that shouldn’t be there—coins, hair clips, or even a rogue sock if the machine is a bit older. Clean the filter under a running tap until it’s actually clean, not just “rinsed”. While you’re down there, reach your finger into the hole where the filter sits and feel around for any more debris or grit that might be blocking the impeller.
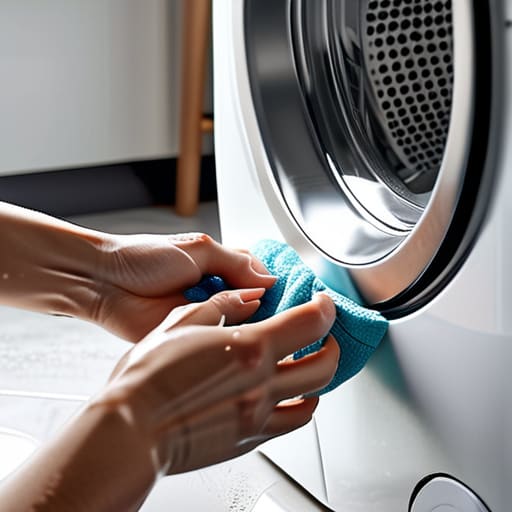
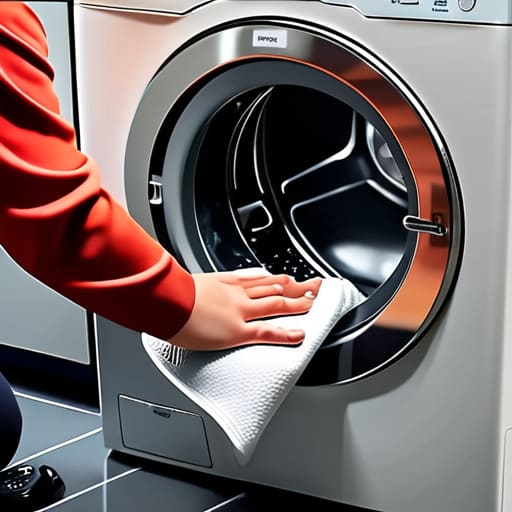
- 4. Next, we need to look at the rubber door seal, or the gasket. This is where the mould loves to hide. Take a clean cloth soaked in a bit of white vinegar or a mild bleach solution and wipe the entire circumference of the seal. Pay special attention to the folds in the rubber at the bottom; that’s where the gunk settles and starts to smell. If you don’t clear that out, your clothes will never smell quite right again.
- 5. It’s time to check the detergent drawer. Pull it all the way out—most of them have a little clip you need to press to release it. You’ll likely see a thick, crusty buildup of old fabric softener and powder. Scrub that away with an old toothbrush. If you leave that gunk in there, it eventually drips back into the drum and ruins your rinse cycle.
- 6. Finally, take a look at your hoses. If you can reach them, give them a quick squeeze to check for any stiffness or cracks, but mostly, just make sure they aren’t kinked behind the machine. A machine that’s pushed too hard against a wall can choke its own water supply, making it look like the pump has died when it’s really just being suffocated. Once you’ve checked everything, screw the filter back in tight—don’t overdo it, just make sure it’s secure.
Understanding How to Service a Washing Machine Yourself
Before you start poking around with a screwdriver, you need to understand that servicing isn’t about fixing something that’s snapped in two; it’s about preventative appliance maintenance. Most of the “breakdowns” I get called out to in Bristol are actually just machines gasping for air because they’re choked with hair, lint, or a rogue kid’s sock. If you go into this thinking you’re performing surgery, you’ll get frustrated. Think of it more like changing the oil in a car. You aren’t looking for a catastrophe; you’re just looking for the buildup that’s making the motor work twice as hard as it needs to.
If you want to do this right, you don’t need a massive workshop, but having a few basic washing machine repair tools needed—like a decent pair of pliers and a screwdriver set—will save you from a lot of swearing. My biggest tip? Pay attention to the small things. Unclogging the drain pump filter once every few months is the difference between a machine that lasts ten years and one that ends up in a skip because of a simple blockage. It’s rarely the expensive electronics that fail; it’s usually just the bits that need a bit of a scrub.
Key Things to Know
Before you go grabbing a screwdriver, you need to understand that most “breakdowns” are actually just cries for help from a machine that’s been neglected. If you’re following my washing machine troubleshooting steps, the first thing you’ll notice is that the problem is rarely a dead motor. It’s usually something much simpler, like a buildup of limescale or a stray sock wedged where it shouldn’t be. I always tell people that preventative appliance maintenance is much cheaper than a call-out fee. If you spend ten minutes once a month checking the basics, you won’t be staring at a puddle on your kitchen floor in three years’ time.
One thing to keep in mind is that you don’t need a professional workshop to get the job done. A decent set of basic washing machine repair tools needed for the task is really just a handful of screwdrivers, a pair of pliers, and maybe a flashlight. Don’t go out and buy an expensive kit just yet. Most of your time will be spent unclogging drain pump filters or wiping down the rubber bits. It’s not rocket science; it’s just about being patient and methodical with the bits and pieces.
A few bits of advice from someone who’s seen too many good machines in the skip
- Don’t go buying a new machine just because it’s making a funny noise; usually, it’s just a stray coin or a bra wire caught in the drum, and a bit of patience will save you hundreds.
- Get yourself a decent set of screwdrivers and keep them in a proper box, because nothing ruins a Saturday like hunting through a junk drawer for a Phillips head that actually fits.
- Always, and I mean always, unplug the thing before you start poking around; I’ve seen enough people nearly get a nasty shock to know that “just a quick look” can go wrong fast.
- Keep a bucket and some old towels handy next to you, because no matter how much you think you’ve drained the machine, there’s always going to be a bit of grey water waiting to surprise you.
- If you find a part that looks broken, don’t just toss it; check if it’s actually snapped or if it’s just a bit of limescale buildup holding it back from moving properly.
The Short Version
Most “breakdowns” are actually just blockages; before you call a technician and pay a call-out fee, check the filter and the hoses for a bit of trapped lint or a stray sock.
Maintenance isn’t about fixing what’s broken, it’s about preventing the small stuff from turning into a big, expensive headache.
Keep a basic toolkit handy and don’t be afraid to get your hands a bit dirty—it’s usually much simpler than the manual makes it out to be.
A Bit of Final Advice
At the end of the day, servicing your machine isn’t about becoming a master engineer; it’s about being a bit more observant. If you can manage to clear out that debris from the filter, check your hoses for any signs of wear, and keep the door seal wiped down, you’ve already done more than most. Most of the “breakdowns” I see out in Bristol are nothing more than a clogged drain or a bit of trapped lint that’s been ignored for six months. Don’t let a simple blockage turn into a call-out fee for a technician when the fix was sitting right there in front of you.
I’ve spent eighteen years looking at the insides of these machines, and I can tell you that they aren’t nearly as temperamental as people think. They just want a little bit of respect and the occasional bit of cleaning to keep things moving. There is a real, quiet satisfaction in knowing that you didn’t just throw something away because it acted up once. Instead of looking for the nearest recycling centre, take ten minutes to look under the hood first. You might find that your machine wasn’t broken at all—it was just waiting for you to notice it.
Frequently Asked Questions
If I find a bit of loose change or a hairclip in the filter, does that mean the whole pump is shot, or can I just keep going?
Not at all. In fact, that’s exactly what the filter is there for. Finding a stray fifty-pence piece or a hairclip in there doesn’t mean your pump is shot; it just means the filter did its job. If you’ve cleared the debris and the machine isn’t making a racket or failing to drain, you’re absolutely fine to keep going. It’s usually just a bit of grit, not a death sentence for the motor.
How often am I actually supposed to be doing this, or is it just whenever the machine starts acting up?
If you’re waiting until the machine starts making a racket or won’t drain, you’ve already waited too long. I see it all the time—people calling me out because their machine is “broken,” only for me to find a mountain of hair and coins choking the pump. Aim for a quick filter clean and a drum wash once a month. It keeps the grime from settling in and saves you a call-out fee later.
Is it safe for me to poke around the drum and the seals myself, or am I going to end up causing a leak that costs more than a professional call-out?
Look, if you’re just cleaning the rubber seal or checking the drum for trapped coins, you’re fine. That’s just basic hygiene. But the moment you start unscrewing things or pulling on internal hoses, you’re playing a different game. If you don’t seat a clip properly, you’ll be mopping up a flooded kitchen by Tuesday. If you aren’t comfortable with a screwdriver and a bit of patience, stick to the surface stuff.
