








I’ve spent eighteen years pulling apart machines in Bristol, and if there is one thing I’ve learned, it’s that people are far too quick to call a repairman when they should be calling a plumber for a scrub brush. Most folks think a cloudy rinse or a bit of grit on their plates means the pump has died or the motor is shot, but usually, the machine is perfectly fine. They just haven’t figured out how to replace a dishwasher filter or, more accurately, how to clean the one they already have. I can’t tell you how many times I’ve opened up a unit only to find the “broken” part was just a thick layer of old food and grease choking the mesh.
I’m not here to sell you a fancy new appliance or a subscription to a cleaning service. I’m just going to show you the straightforward truth about getting that filter out, cleaning it properly, or swapping it for a new one if it’s actually perished. We’ll skip the technical jargon and get right to the grit of it, so you can stop worrying about your dishes and start saving your money.
Guide Overview
Tools & Supplies
- Soft brush or old toothbrush for scrubbing debris
- Microfiber cloth for wiping the sump area
- Replacement dishwasher filter compatible with your model (1 unit)
- Warm water and mild dish soap for cleaning (small amount)
Step-by-Step Instructions
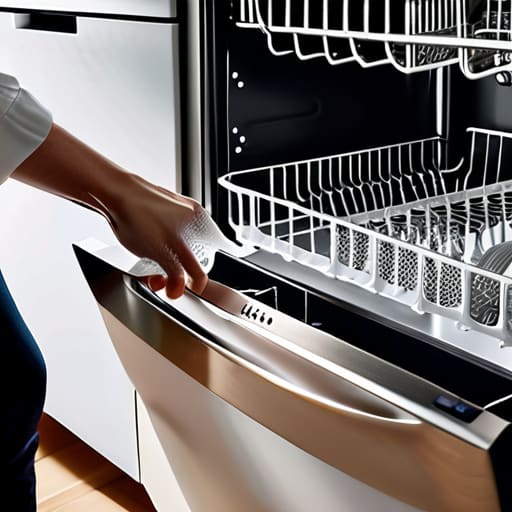
- 1. First things first, you need to clear everything out of the bottom of the machine. I’ve seen far too many people try to fiddle with the filter while a stray spoon or a stray bit of plastic is sitting right there in the way. Pull the bottom rack all the way out and set it aside so you have plenty of room to work.
- 2. Once you’ve got some space, look at the very bottom of the tub. You’ll see the filter assembly sitting right in the middle. Most modern machines use a twist-and-lock system. You’ll usually need to turn it counter-clockwise to loosen it. If it feels stuck, don’t go forcing it with a tool; give it a firm but steady twist with your hand.
- 3. Lift the filter assembly straight up and out. You’ll likely see a fine mesh part and a larger cylindrical piece. This is where the real mess hides. I’ve pulled out filters that looked like they’d been sitting in a swamp, even if the machine was only a year old. Take a good look at the gunk buildup—it’s usually a mix of old food, grease, and tiny bits of debris that shouldn’t be there.
- 4. Now, grab a bowl of warm, soapy water and a soft brush—an old toothbrush works a treat for this. Scrub the mesh thoroughly. You want to make sure there isn’t a single microscopic bit of grit left in those tiny holes. If you’re replacing the unit with a new one, just make sure the new part is the exact model for your machine; I’ve seen people try to force a generic one in, and it’s a recipe for a flooded kitchen.
- 5. Before you put anything back, take a quick peek into the sump—that’s the hole where the filter sits. Use a flashlight if you have to. I always check for any stray bits of glass or hard seeds that might have bypassed the filter. You don’t want to trap a shard of glass underneath a clean filter, or you’ll be looking at a much bigger problem later.
- 6. To put it all back together, line the filter up with the slots in the sump and drop it in. Turn it clockwise until it clicks or feels firm. It needs to be seated properly; if it’s even a little bit loose, you’re going to end up with water spraying out of the bottom of your machine during the next cycle.
- 7. Finally, run a short rinse cycle or a quick wash to make sure everything is flowing right. If the water drains away smoothly and you don’t see any leaks around the base, you’ve done it. It’s a five-minute job that saves a fortune on repair calls.
Understanding How to Replace a Dishwasher Filter
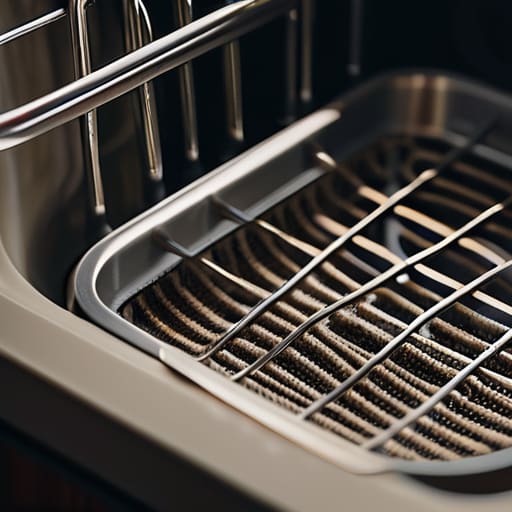
Before you go unscrewing anything, you need to understand what you’re actually looking at. Most people think a clogged filter means the machine is dying, but usually, it’s just a buildup of grease and tiny bits of food acting like a dam. If you’ve noticed your dishes coming out cloudy or you’re dealing with sudden dishwasher drainage issues, the filter is your first port of call. I’ve seen plenty of jobs where a customer thought they needed a whole new unit, only for me to pull out a literal plug of debris that was choking the system.
While you’re down there, keep an eye on the area around the dishwasher pump assembly. If the filter is clean but the machine still isn’t clearing water, something might be lodged deeper in the impeller. It’s also worth checking the seals while you’re at it; a bit of grit can wear them down over time. I always tell people that preventative cleaning is much cheaper than a service call. If you catch the grime early, you won’t be stuck dealing with a nasty dirty dishwasher smell fix down the line.
Key Things to Know
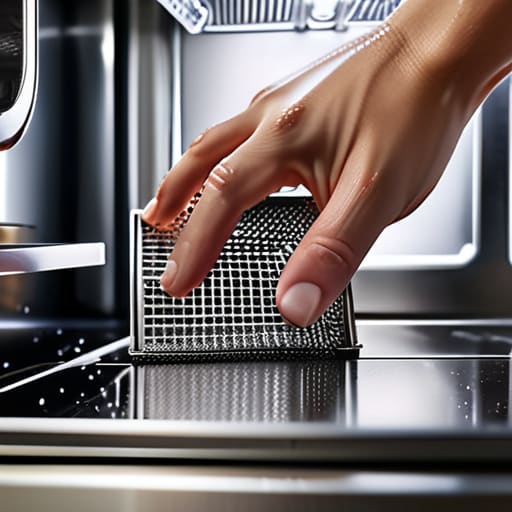
Before you start twisting anything, you need to know that not all filters are built the same. Some are fine mesh baskets that twist out easily, while others are more integrated into the dishwasher pump assembly. If you’re tugging at something and it feels like it’s fighting you, stop immediately. I’ve seen plenty of folks snap a plastic housing because they thought they were being helpful, when really they just needed a bit of warm soapy water to loosen the grime holding it in place.
Another thing to keep in mind is that a clogged filter is often the hidden culprit behind those nasty dishwasher drainage issues people call me to fix. If you notice water pooling at the bottom of the tub, don’t go ordering a new machine just yet. Most of the time, a thorough session of cleaning dishwasher filter mesh is all it takes to get the cycle moving again. And if your kitchen has started to take on a bit of a funky odor, don’t reach for the heavy chemicals; usually, a dirty dishwasher smell fix is as simple as clearing out the old food scraps trapped in those tiny holes.
A few things I've learned from looking at too many dirty filters
- Don’t just rinse it under the tap and shove it back in. If there’s old grease or grit stuck in the mesh, it’ll just clog up again in a week. Use a bit of warm soapy water and an old toothbrush to actually get into the tiny holes.
- Check the housing, not just the filter itself. I’ve seen plenty of people clean the plastic bit perfectly, but they miss the actual sump area where the real gunk settles. If you don’t clear that out, the new filter won’t do a bit of good.
- Make sure it’s clicked into place properly. I can’t tell you how many times I’ve seen a machine “fail” only for me to find the filter was sitting slightly askew. If it’s not seated right, bits of food will bypass it and end up in your clean glasses.
- If you’re replacing the whole unit because it’s cracked, don’t just buy the cheapest generic part you find online. They’re often a fraction of a millimeter off, and they’ll leak or rattle like a bag of nails.
- Keep an eye on the smell. If your dishes are coming out clean but the machine still stinks, that’s your sign. A filter might look “fine” to the naked eye, but it can still be holding onto enough bacteria to make your whole kitchen smell like a damp bin.
The bottom line
Don’t call a repairman just because the dishes are coming out cloudy; nine times out of ten, it’s just a clogged filter that needs a bit of scrubbing.
Check that filter once a month, or you’ll end up with food scraps sitting in your standing water, which is a recipe for a smelly kitchen.
When you put it back in, make sure it clicks or twists into place properly, otherwise you’re just sending grit straight into your pump.
A Bit of Maintenance Goes a Long Way
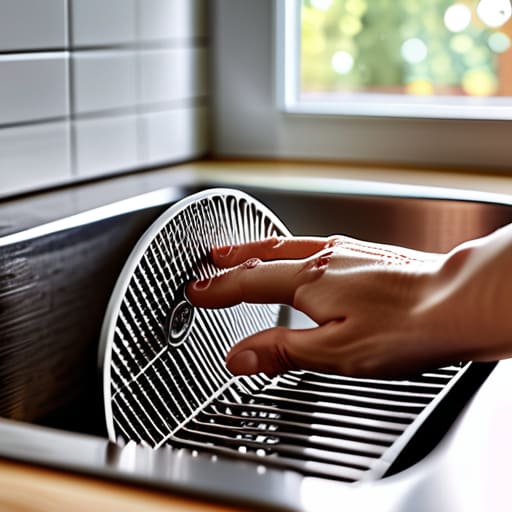
At the end of the day, replacing or cleaning your dishwasher filter isn’t some complex engineering feat; it’s just basic upkeep. Just remember to check it regularly, make sure it’s seated properly in the housing so you don’t end up with bits of food in your pump, and never use harsh chemicals that might degrade the mesh. I’ve spent eighteen years pulling machines apart, and I can tell you that most “failed” wash cycles are nothing more than a clogged-up filter doing its job far too well. If you take five minutes once a month to give it a scrub, you’ll save yourself a lot of headache and a very expensive call-out fee.
It honestly breaks my heart to see perfectly good dishwashers being hauled off to the tip just because someone couldn’t find a bit of debris in the bottom of the tub. We live in a world where people think a new machine is the only answer to a dirty plate, but that’s just not true. If you can learn to look after the small things, like a simple filter, you’ll find that your appliances will last much longer than the manufacturer ever promised. Don’t let a five-pound part or a bit of grit be the reason you throw away a good machine; just keep it running and let it do its job.
Frequently Asked Questions
What should I do if the filter is stuck and won't twist out of the housing?
Don’t go at it with a hammer; you’ll just crack the housing. Usually, it’s just a bit of limescale or a stray piece of grit acting like glue. Try some warm water and a bit of dish soap to loosen things up first. If that fails, grab a bit of rubber grip—like a kitchen glove—to get a better purchase. If it still won’t budge, there might be something wedged underneath it.
How often am I actually supposed to be doing this if the machine seems to be running fine?
Look, if your dishes are coming out sparkling and the machine isn’t making any strange gurgling noises, you aren’t in an emergency. But don’t let that fool you. I’ve seen plenty of “fine” machines end up in the scrap heap because a layer of grease finally choked the pump. Aim for once a month. It takes two minutes, and it beats paying me a call-out fee because you ignored a bit of sludge.
If I can't find the filter or it's completely smashed, can I still run a cycle without it?
Look, you could, but you’re asking for trouble. I’ve seen enough machines to know that without that filter, you’re just recirculating grit, food scraps, and tiny shards of glass back onto your clean plates. It’ll eventually clog your pump or, worse, score your spray arms. If it’s smashed, don’t risk it. Just find the part number and get a replacement. It’s a lot cheaper than a new pump.
