









I was sitting in a kitchen in Clifton last Tuesday, staring at a sleek, expensive espresso machine that a customer was convinced was “dead.” They were ready to bin the whole thing and spend three hundred quid on a new one, but I knew better. After ten minutes with my toolkit, I realized the motor was fine; it was just choked with calcium. It’s the same story I’ve seen for eighteen years: people think they need a technician or a replacement when, in reality, they just haven’t been descaling a coffee machine properly. Most of these “broken” appliances are just crying out for a bit of maintenance and a bit of common sense.
I’m not here to sell you some fancy, overpriced chemical solution that smells like a laboratory. Instead, I’m going to show you how to do this right using practical, no-nonsense methods that actually work. I’ll walk you through the process step-by-step, from identifying the buildup to ensuring you don’t accidentally cause a leak. By the time we’re done, you’ll know exactly how to keep your machine running for years, rather than letting it end up in a landfill just because of a bit of limescale.
Guide Overview
Tools & Supplies
- Microfiber cloth for wiping spills
- Measuring cup for water and solution
- Descaling solution or white vinegar (approx. 1-2 cups)
- Fresh water (approx. 2-3 liters)
Step-by-Step Instructions
- 1. First things first, you need to get the right stuff. Don’t go thinking you can just dump a load of supermarket vinegar in there and call it a day; while it works in a pinch, it can leave a nasty smell behind that’s a nightmare to rinse out. I usually recommend a proper descaling solution, but if you’re dead set on vinegar, just make sure you’re prepared to run it through the machine at least four or five times afterward.
- 2. Empty out any old coffee grounds or leftover water sitting in the reservoir. You want a clean slate before you start. Fill your tank with the descaling solution mixed with water according to whatever the bottle says, or if you’re using vinegar, fill it about halfway. I’ve seen too many people skip this and just pour the acid directly into a dirty tank, which is just asking for a messy job.
- 3. Set your machine to its standard brewing cycle, but here’s the trick: don’t let it finish the whole thing at once. I want you to run about a third of the cycle, then hit the stop button. Let the solution sit inside the internal pipes and the heating element for about fifteen or twenty minutes. This gives the liquid time to actually eat away at the limescale buildup rather than just rushing past it.
- 4. Once that time is up, hit the brew button again to finish that cycle. You’ll see the liquid coming out looking a bit cloudy or even greyish—don’t panic, that’s just the scale finally letting go. Once the tank is empty, don’t stop there. You’ve still got all that chemical residue sitting in the guts of the machine, and nobody wants a cup of coffee that tastes like a cleaning cupboard.
- 5. Now comes the part most people get lazy with: the rinse. Fill your water tank to the brim with fresh, clean water and run the entire machine through at least two full cycles. I personally like to do a third one just to be absolutely certain I haven’t missed a spot. If you leave even a tiny bit of descaler in there, your next morning brew is going to be pretty unpleasant.
- 6. While the machine is finishing its final rinse, take a damp cloth and wipe down the exterior and the drip tray. I’ve noticed that scale doesn’t just hide inside; it loves to crust up around the spout and the edges of the tank too. It’s a simple bit of maintenance, but it keeps the whole unit from looking like it’s been sitting in a damp cellar for a decade.
- 7. Finally, give the water tank a good scrub in the sink to make sure no grit is left behind. Once everything is dry and reassembled, you’re good to go. If you do this every couple of months, you’ll find you hardly ever need to call a technician out to look at a “broken” machine that was actually just choked with calcium.
Understanding Descaling a Coffee Machine
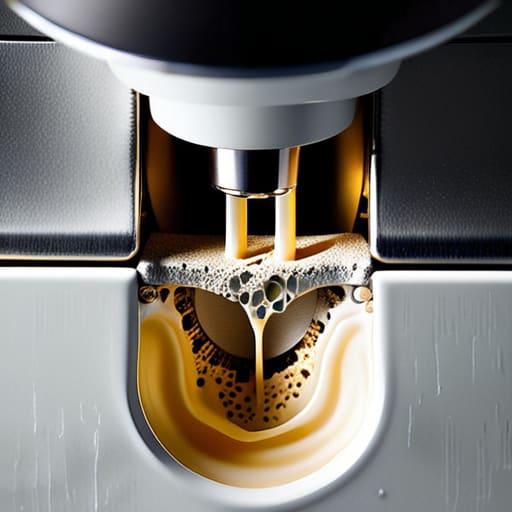
Most people think a coffee machine is “broken” when it starts making a high-pitched whistling sound or the water starts coming out in a pathetic little trickle. I’ve sat on many a kitchen floor in Bristol looking at machines that were perfectly fine mechanically, but just choked up with calcium. The real culprit is almost always the impact of hard water on coffee flavor and, more importantly, the machine’s internals. When that white, crusty stuff builds up inside the boiler, it acts like insulation, forcing the machine to work twice as hard to get the water up to temperature.
If you want to avoid a costly repair bill, you need to get serious about espresso machine maintenance tips. I always tell my clients that it isn’t just about the taste; it’s about the life of the machine. If you leave that grit sitting in there, you’re essentially begging for a burnt-out heating element. I usually recommend a decent citric acid descaling solution rather than those fancy, overpriced branded liquids. It’s straightforward, it works, and it gets the job done without the nonsense.
Key Things to Know
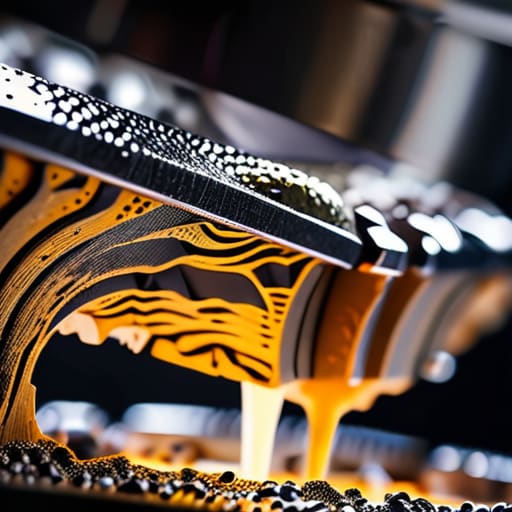
One thing I’ve noticed after eighteen years of looking at internals is that people underestimate the sheer amount of grit sitting inside a heating element. It isn’t just about a bit of white crust; it’s about the impact of hard water on coffee flavor. If your brew starts tasting metallic or flat, it’s usually because that mineral buildup is changing the temperature and the chemistry of the water before it even hits your cup. Most folks think they can just ignore it until the machine stops pumping, but by then, you’re looking at a much more expensive headache than a simple rinse.
When it comes to the actual chemistry, I usually suggest a decent citric acid descaling solution over those fancy, overpriced branded liquids. It’s straightforward and it works. However, you can’t just descale and walk away. The real trick to longevity is limescale buildup prevention. If you live in a hard water area—and let’s face it, much of the UK is—you need to be proactive. I tell my customers to check their water hardness and adjust their routine accordingly; waiting for the machine to sputter is a recipe for a trip to the scrap heap.
A Few Things I’ve Learned From Seeing Too Many Calcified Machines
- Don’t wait for the machine to start acting up. By the time your coffee tastes like a rusty tap or the flow slows to a trickle, the scale has already done its damage to the internal heating element. If you wait for a “symptom,” you’re already playing catch-up.
- Stop using vinegar if you can help it. I know, it’s cheap and it’s in the cupboard, but that stuff is harsh. It can leave a smell that lingers for weeks and, in some of the more delicate machines I’ve opened up, it can actually eat away at the rubber seals. Stick to a proper descaling solution.
- The “one and done” approach doesn’t work. People run one cycle and think they’re golden. If you’ve got particularly hard water in your part of Bristol, you might need to run a second or even a third rinse cycle to make sure every bit of that acidic solution is flushed out of the internal pipes.
- Check your water filter. If your machine has a built-in charcoal or ion-exchange filter, don’t think that means you can skip descaling. Those filters catch the grit, but they don’t stop the calcium buildup that turns into stone inside the boiler.
- Listen to the machine. When you’re running a descaling cycle, pay attention to the sound. If it starts sputtering or sounds like it’s struggling to pump, it’s a sign that the blockage is significant. Don’t just ignore it and hit ‘start’ again; you might need to pause and let the solution sit in the system for a bit to soften things up.
The Bottom Line
Most “broken” machines are just choked with limescale; don’t go buying a new one before you’ve tried a proper descale.
Consistency beats intensity—a quick monthly rinse is worth more than a massive annual overhaul that leaves the machine struggling.
Use the right stuff; pouring cheap, aggressive chemicals down the works might save a few pence now, but it’ll wreck your seals faster than you can say “Bristol.”
Don't Let It Become a Paperweight

At the end of the day, descaling isn’t some high-tech science experiment; it’s just basic maintenance. If you’ve followed the steps, used the right solution, and actually taken the time to run those rinse cycles, you’ve done more to save that machine than most people ever bother with. I can’t tell you how many times I’ve sat at a workbench in Bristol looking at a “dead” machine, only to find the internals choked with white, crusty lime scale. It’s almost always a preventable issue that could have been solved with twenty minutes of your time and a bit of patience. Don’t wait until the pump starts sounding like a tractor before you decide to act.
My advice is to stop treating your appliances like they’re disposable. We live in a world where people see a bit of buildup and think it’s time to head to the big-box retailer for a replacement, but that’s a waste of good engineering. If you keep on top of the small things—the filters, the scales, the little bits of grit—you’ll find that your machines will outlast just about anything you can buy off a shelf today. It’s about respect for the tools you use every morning. Keep them clean, keep them running, and stop throwing money away on things that aren’t actually broken.
Frequently Asked Questions
Can I just use white vinegar instead of those expensive descaling liquids?
Look, I’ve seen enough machines to know people love a bargain, but vinegar is a bit of a gamble. It’ll dissolve the scale, sure, but that acidity can be a real headache for the internal rubber seals and gaskets if you aren’t careful. If you must use it, dilute it heavily and rinse the system more times than you think is necessary. Personally? I’d rather spend the extra few quid than replace a perished seal.
How do I know if my machine actually needs descaling or if something else is broken?
It’s a common mistake to assume a dead machine means a dead circuit board. Usually, it’s just limescale choking the life out of it. If your coffee is coming out thin, or if the machine is making a strange, angry groaning sound while brewing, that’s your warning. If the water is barely trickling out despite the pump running, you’ve got a blockage. Don’t go buying a new one just yet; it’s likely just scale.
Is it safe to descale if I've been using hard water or if I have a specific brand like Nespresso?
If you’re on hard water, you absolutely must descale. That limescale isn’t just a nuisance; it’s a slow-motion death sentence for the heating element. As for Nespresso, they’re no different. They’re just more delicate. I’ve seen plenty of those pods-only machines end up in my scrap pile because someone thought they could skip the maintenance. Use the right solution, follow the manual, and don’t let the scale build up in the first place.
