







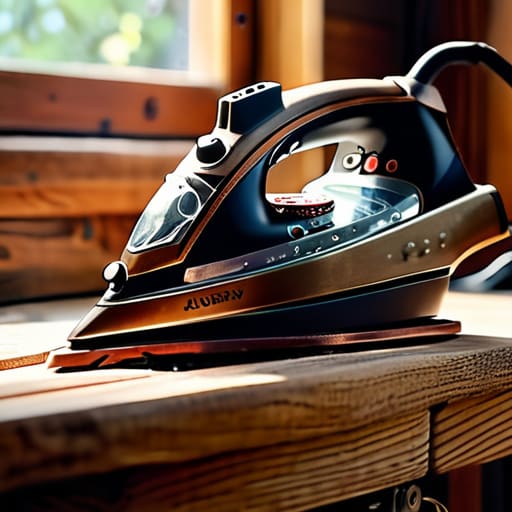

Most people think a scratched or pitted iron is a write-off, a piece of junk destined for the tip because it’s snagging your favorite shirts. They’ll tell you it’s safer to just buy a new one, but after eighteen years of pulling apart everything from Bosch washers to Dyson vacuums, I can tell you that’s usually nonsense. Learning how to replace an iron soleplate isn’t some high-level engineering feat; it’s mostly just about having the right screwdriver and a bit of patience. I’ve seen countless perfectly good machines tossed out just because the heating element was fine but the bottom looked a bit rough, and frankly, it’s a crying shame.
I’m not going to give you any of that glossy, complicated manual jargon that makes you feel like you need a degree just to fix a household tool. Instead, I’m going to walk you through the actual, greasy reality of getting that old plate off and the new one seated properly. I’ll show you exactly where those pesky hidden screws like to hide and how to avoid stripping them. By the time we’re done, you’ll know how to replace an iron soleplate yourself, saving a bit of cash and keeping a perfectly good appliance out of the landfill.
Guide Overview
Tools & Supplies
- Screwdriver set (to remove housing screws)
- Pliers (to disconnect wires or clips)
- Soldering iron (if wire connections need replacing)
- Replacement soleplate (matching specific iron model)
- Thermal paste (small amount for heat transfer)
Step-by-Step Instructions
- 1. First things first, you need to get the iron unplugged and completely cold. I can’t tell you how many times I’ve seen someone try to fiddle with a heating element while it’s still warm to the touch, and that’s a quick way to a nasty burn or a blown fuse. Set it on a stable, flat surface so you aren’t chasing it around the kitchen table while you work.
- 2. Grab a screwdriver—usually a Phillips head, but check yours first—and start looking for the screws holding the outer casing together. They aren’t always right where you’d expect them; sometimes they’re tucked away near the handle or hidden under a small plastic cap. Just take your time and don’t force anything if a screw feels stuck, or you’ll just strip the head and make your life a lot harder.
- 3. Once the casing is loose, you’ll need to gently lift it away from the base. Be careful here, as there might be some thin wires connecting the internal thermostat to the shell. I always suggest moving slowly so you don’t accidentally snap a wire that’s perfectly fine, because then you’ve turned a simple soleplate swap into a full-blown electrical repair.
- 4. Now you’re looking at the heating element and the old soleplate itself. You’ll see a few more screws securing the metal plate to the internal assembly. I’ve seen people try to pry these off with a flathead, but please, just use the right screwdriver. Once those are out, the old plate should lift right off, revealing the guts of the machine.
- 5. Before you put the new one on, take a clean, dry cloth and wipe down the heating element area. If there’s any old burnt-on residue or dust sitting in there, you want it gone. It’s a bit like cleaning a cast iron skillet; if you don’t start with a clean surface, the new part won’t sit quite right and you’ll be fighting it the whole way.
- 6. Line up your new soleplate with the mounting holes on the element. It should fit snugly without you having to hammer it into place. Start the screws by hand first to make sure you aren’t cross-threading them—I’ve seen enough stripped threads in my eighteen years to know that hand-tightening is key before you go in with the screwdriver.
- 7. Finally, once the plate is secure, guide the outer casing back over the top. Reattach all those screws you took out at the start, making sure everything is seated flush. Give the cord a gentle tug to ensure nothing is pinched, plug it in, and give it a test run. If it heats up evenly, you’ve done a proper job.
Understanding How to Replace an Iron Soleplate
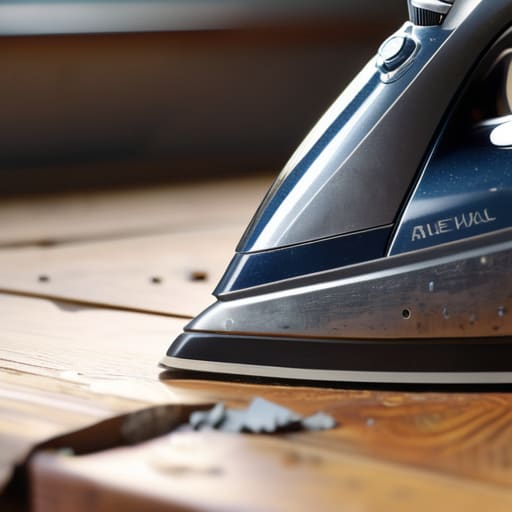
Before you dive in, you need to understand why you’re even looking at a replacement in the first place. Most people call me because they think their iron is “dead” because it’s snagging on a silk blouse, but usually, they’re just dealing with a pitted surface. If you’re looking into how to fix a scratched iron soleplate, you have to decide if the damage is superficial or structural. If it’s just a bit of burnt-on starch, a good soak in white vinegar might save you the trouble. But if the metal is actually gouged or the coating is flaking off, that’s when you move into the territory of replacing damaged iron base components.
I’ve seen plenty of folks try to sand down a bad plate, and frankly, it’s a headache that rarely works. Once you start this steam iron repair tutorial, keep in mind that the soleplate isn’t just a piece of metal; it’s the heart of the heating element. When you’re working through the iron soleplate removal steps, treat those internal wires like they’re made of glass. They’ve been through a lot of heat cycles, and they don’t like being yanked around.
Key Things to Know
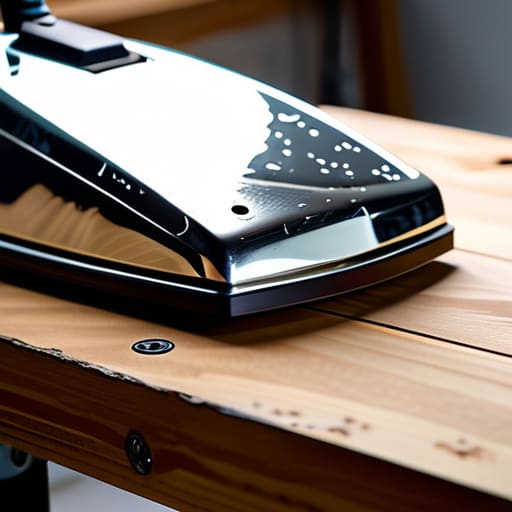
Before you get stuck in, there’s one thing I always tell people: don’t go rushing into a steam iron disassembly guide without checking the condition of the heating element itself. If you’re looking at how to fix a scratched iron soleplate, you might find that the damage is just surface-level. Sometimes, a bit of specialized polishing compound can save you the cost of a whole new part. However, if the metal is pitted or the coating is flaking off, that’s when you know it’s time for a proper replacement.
When you’re actually tackling the iron soleplate removal steps, keep a close eye on the small rubber seals and gaskets tucked underneath. I’ve seen so many people swap out a perfectly good base only to find the machine leaks like a sieve because they didn’t re-seat the seals properly. It’s a tiny detail, but it’s usually the difference between a successful repair and a puddle on your ironing board. Just take your time; there’s no prize for finishing first.
A few bits of advice from someone who's seen too many irons end up in the bin
- Don’t go rushing in with a screwdriver until you’ve actually found the part number. Most people think they can just eyeball a replacement, but if that soleplate doesn’t sit perfectly flush, you’ll end up with a wobbly mess that ruins your shirts.
- Keep a proper tray for the screws. I’ve seen enough “repaired” irons where the person lost a tiny screw under the sofa, only for the heating element to start rattling a week later.
- Watch out for the wiring. When you’re lifting that plate off, the wires are usually tucked right underneath, and they can be a bit brittle if the iron’s seen better days. Give them a gentle nudge rather than a yank.
- Check the thermostat while you’re in there. If you’re going through the trouble of stripping the whole thing down to swap the plate, you might as well make sure the temperature sensor isn’t acting up too. It’s a two-minute job once the guts are exposed.
- Clean the contact points before you put it back together. If there’s any old gunk or burnt-on residue where the plate meets the body, you’ll never get a decent connection, and you’ll be right back where you started.
The Short Version
Most of the time, it’s not a broken iron you’ve got, it’s just a bit of burnt-on gunk or a loose screw that’s making it feel like a write-off.
Don’t go rushing in with a screwdriver until you’ve actually tracked down the exact part number; getting the wrong soleplate is a headache you don’t need.
Take your time with those hidden screws—forcing anything in this job is the quickest way to turn a simple repair into a pile of scrap metal.
A Bit of Final Advice
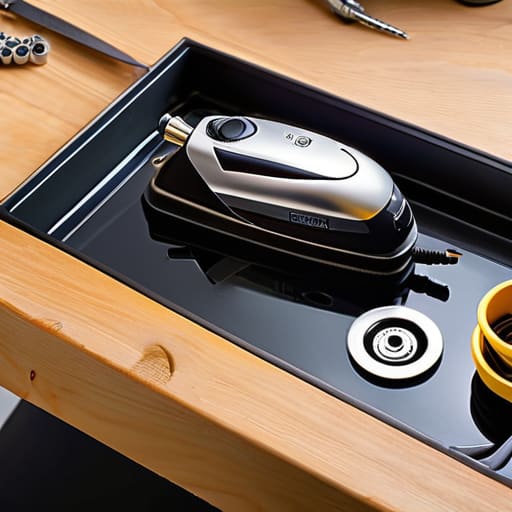
At the end of the day, replacing a soleplate isn’t some dark art, but it does require a bit of patience and the right set of screwdrivers. Just remember to double-check those screw locations before you start pulling things apart, and for heaven’s sake, don’t force anything if it feels stuck. Most of the time, if you’ve kept the workspace clean and followed the steps, you’ll find that the most difficult part was simply getting the old plate off without scratching the housing. Once those new screws are tightened down and you’ve given the cord a quick check, you’re usually good to go.
It honestly makes my blood boil when I see a perfectly good iron headed for the tip just because the base has gone scratchy or burnt. We’ve become a bit too quick to bin things the moment they show a bit of wear. Taking an hour to fix it yourself doesn’t just save you a few quid; it keeps a decent bit of kit out of a landfill where it doesn’t belong. So, don’t be afraid to get your hands a bit dirty and give that machine a second life. It’s much more satisfying than buying a cheap, plastic replacement that’ll end up in the scrap heap in six months anyway.
Frequently Asked Questions
Is it actually worth the cost of a new soleplate, or should I just bin the whole iron?
Look, I’ve seen far too many perfectly good irons end up in the skip just because of a scratched plate. If the heating element and the cord are still solid, don’t bin it. A new soleplate is a relatively cheap bit of kit compared to a brand-new steam station. If you can find the part, fix it. It’s much more satisfying than throwing money away on plastic that’ll break in a year anyway.
How do I know if the damage is just surface scratches or if the metal is actually warped?
The easiest way to tell is to find a perfectly flat surface—a kitchen worktop or a piece of glass works fine. Set the iron on it and give it a tiny wiggle. If it rocks like a seesaw, that plate is warped and it’s game over; you can’t sand out a bend. If it sits still, it’s just surface scratches. Those are much easier to buff out with a bit of patience.
Do I need special tools to get the old plate off, or will a standard screwdriver do the job?
Most of the time, a decent set of standard screwdrivers will get you through it. If it’s a modern iron, you’ll likely just be dealing with Phillips heads. However, don’t get caught out by those tiny, recessed screws—I’ve seen plenty of people struggle because they didn’t have a proper precision set. If the plate is stuck on due to old, baked-on starch or limescale, you might need a bit of gentle heat or a plastic scraper to nudge it loose.
