







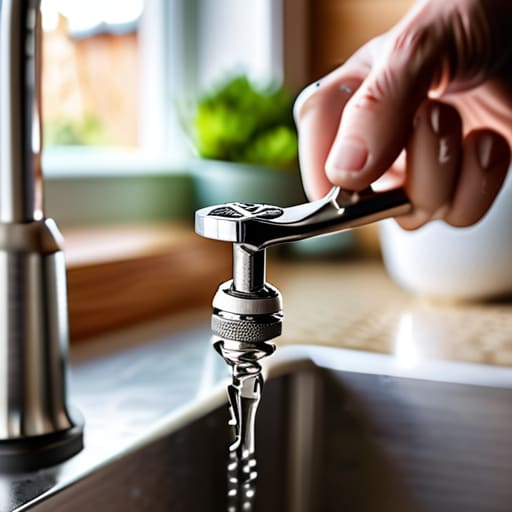

You haven’t broken your plumbing, and you certainly don’t need to call out a professional to replace the whole fixture. Most people see a weak, spraying stream of water and immediately assume the tap is on its last legs, but I’ve pulled apart enough fittings over the years to know that it’s rarely a mechanical failure. Usually, it’s just a bit of grit or limescale playing hide-and-seek in the mesh. Learning how to clean a tap aerator is one of those small, vital skills that saves you a ridiculous amount of money and prevents you from throwing away something that is perfectly functional.
I’m not going to give you a list of fancy, expensive chemical sprays that do more harm than good. Instead, I’m going to show you how to do this properly with things you likely already have in your kitchen cupboard. I’ll walk you through the easiest way to unscrew the bit, how to clear out that stubborn buildup, and how to put it all back together without losing any tiny washers in the process. It’s straightforward, it’s quick, and it’ll have your water pressure back to normal in minutes.
Guide Overview
Tools & Supplies
- Pliers or adjustable wrench (to loosen the aerator)
- Old toothbrush (for scrubbing debris)
- White vinegar (approx. 1 cup)
- Small bowl or container (to soak the part)
Step-by-Step Instructions
- 1. First things first, you’ll need to get that little nozzle off the end of the tap. Most of them just unscrew by hand, but if it’s been sitting there for years, it might be stubborn. If it won’t budge, don’t go at it with a pair of heavy pliers and risk scarring the finish; grab a bit of cloth, wrap it around the metal, and then use your pliers through the fabric. It’s much kinder to the hardware that way.
- 2. Once you’ve got it unscrewed, lay all the bits out on a flat surface—the mesh screen, the little plastic washer, and the metal housing. I’ve seen too many people lose these tiny components down the kitchen drain because they weren’t paying attention. Keep them all in one spot so you aren’t hunting for a microscopic washer once you’re ready to put it back together.
- 3. Now, take a look at that little mesh screen. It’s usually the culprit, choked up with bits of limescale or tiny grains of sand from the pipes. I like to give it a good soak in a bowl of warm white vinegar. If you’ve got heavy buildup, leave it for about half an hour; the acid does all the hard work of dissolving the calcium so you don’t have to scrub it raw.
- 4. If the vinegar doesn’t shift the worst of the grit, grab an old toothbrush. You aren’t trying to polish it like a piece of fine silver; you just want to gently brush out the trapped debris from the tiny holes in the screen. It’s a bit like cleaning a vacuum filter—if you don’t get the fine dust out, the flow will just stay sluggish.
- 5. While the aerator is soaking, take a quick look at the mouth of the tap itself. It’s common to find a little bit of crusty buildup around the rim where the aerator sits. Give it a quick wipe with a damp cloth to make sure you’re screwing the clean part back onto a clean surface, otherwise, you’ll just be trapping more grit in there immediately.
- 6. Give everything a final rinse under a bit of running water to make sure all the loosened bits and vinegar smell are gone. Check the washer—that little rubber ring—to see if it’s still soft and intact. If it’s looking cracked or flattened, don’t bother putting it back; it’s a cheap bit of rubber and worth replacing to prevent a leak.
- 7. Finally, screw everything back on. You don’t need to go overboard with the force here; just tighten it until it feels secure. Turn the tap on and watch the stream. If it comes out steady and clear, you’ve done it. You’ve just saved yourself a call-out fee and a trip to the hardware store for a whole new tap.
Understanding How to Clean a Tap Aerator
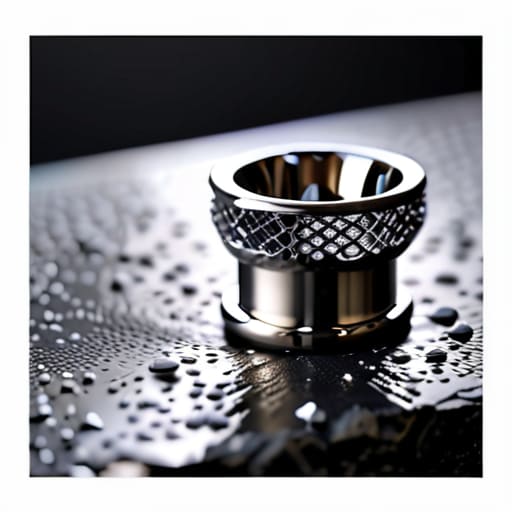
Before you start scrubbing, you need to understand what’s actually happening inside that little bit of mesh. Most people see a trickle of water and assume the plumbing is shot or the pressure has dropped, but it’s rarely that dramatic. Usually, it’s just a stubborn accumulation of calcium and grit. When I’m removing mineral buildup from tap heads, I always remind folks that these tiny screens are designed to catch debris, which means they eventually become the debris trap themselves. It’s not a mechanical failure; it’s just physics doing its thing.
If you’re struggling with how to unscrew a faucet aerator because it’s seized tight, don’t go at it with a pair of heavy pliers and hope for the best—you’ll just mar the finish. A bit of patience and a cloth for grip goes a long way. If the grit is really baked on, a simple vinegar soak for limescale removal is your best friend. Just let it sit in a bit of white vinegar for an hour or two. It softens the hard stuff so it practically falls away, saving you from having to replace the whole fixture.
Key Things to Know
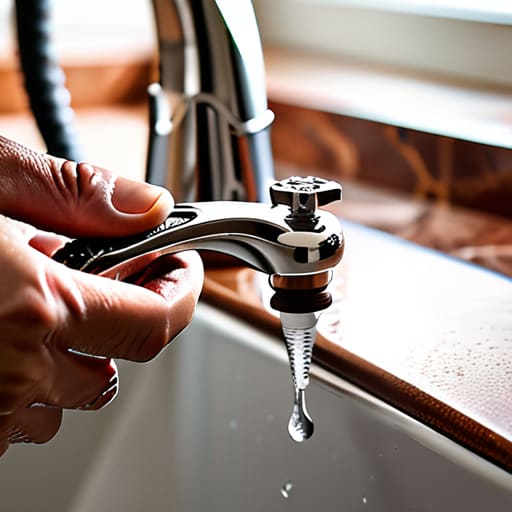
Before you get stuck in, there’s one thing I always tell people: don’t go at it with a hammer. If you’re struggling with how to unscrew a faucet aerator, it’s usually because the minerals have basically glued it in place. Instead of forcing it and stripping the threads, grab a pair of pliers and wrap a bit of old rag or even a piece of scrap leather around the metal first. It protects the finish and gives you the grip you need without leaving ugly teeth marks on your nice chrome.
If the flow is still rubbish after a quick rinse, you’re likely looking at a deep-seated issue. A simple vinegar soak for limescale removal is your best friend here. I’ve seen plenty of people call a plumber for a “broken” tap, only to find the mesh was just choked with white crust. Just pop the bits in a small jar of white vinegar overnight. It’s much more effective at removing mineral buildup from tap components than any fancy chemical spray you’ll find in a supermarket aisle. It’s simple, cheap, and works every time.
A Few Things I’ve Learned from Pulling Apart Too Many Taps
- Don’t go forcing it with a heavy wrench; most of these little things are just threaded on by hand, and if you strip the plastic, you’re looking at a replacement rather than a clean.
- Keep a small bowl of white vinegar handy, because if you’ve got limescale buildup, you’re better off letting the acid do the hard work for twenty minutes than scrubbing until your fingers ache.
- When you get that little mesh screen out, give it a proper rinse under a strong stream of water to flush out the grit—most people forget that the tiny particles are what actually cause the pressure to drop.
- Check the rubber washer every single time you put it back together; if it’s perished or gone wonky, you’ll be dealing with a drip that’ll drive you mad for the next week.
- If you find the aerator is still acting up after a soak, take a look at the supply lines; sometimes the blockage isn’t in the tap at all, but further up the pipework.
The Bottom Line
Don’t go buying a new tap just because the water pressure has gone wonky; nine times out of ten, it’s just a bit of limescale or grit trapped in the mesh.
A quick soak in some decent white vinegar does more for a clogged aerator than most expensive chemical cleaners ever will.
Check the little washer while you’ve got it apart, because if that’s perished, you’re just going to end up with a leaky spout once you’ve finished your cleaning.
Don't Call a Plumber Just Yet
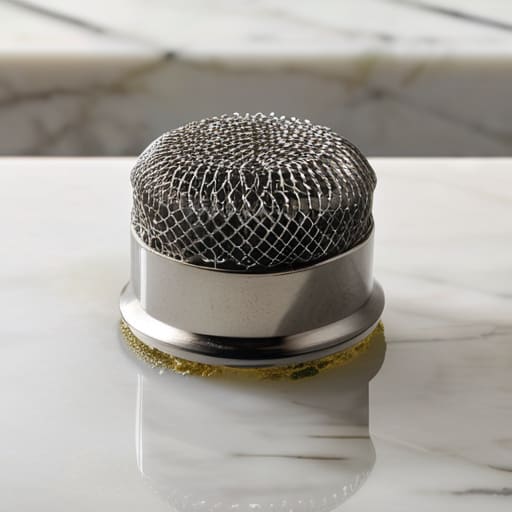
At the end of the day, cleaning an aerator is a ten-minute job that saves you a fifty-pound call-out fee. You’ve unscrewed the bit, soaked it in the vinegar to melt away that stubborn limescale, and brushed out the grit that was choking your flow. It’s a simple process of removing the debris rather than replacing the whole fixture. I can’t tell you how many times I’ve seen people assume their water pressure has failed, only to find the culprit was just a tiny mesh screen packed tight with sediment. Just remember to check the washer while you’ve got it apart; if it’s perished, it’s a cheap fix that prevents a leak later on.
I’ve spent nearly two decades pulling apart everything from heavy-duty washing machines to delicate vacuums, and if there is one thing I’ve learned, it’s that we are far too quick to throw things away. We live in a world that wants you to buy a brand-new tap the moment things get a bit sluggish. But most of the time, your appliances and fittings aren’t actually broken; they are just asking for a little bit of maintenance. Take a moment to look under the hood—or in this case, under the spout. You’ll find that most things are well worth saving with just a bit of patience and a bit of vinegar.
Frequently Asked Questions
I’ve tried soaking it in vinegar but it’s still coming out patchy—could the mesh itself be perished?
It’s possible, but I’d bet my best skillet it’s not the mesh itself. If the vinegar soak didn’t shift it, you’ve likely got calcium buildup trapped inside the tiny holes or a bit of grit wedged in the plastic housing. Try a soft toothbrush and some warm, soapy water to scrub the mesh directly. If the mesh is actually torn or crumbling, then yes, it’s perished—but usually, it just needs a proper scrub.
Do I really need to buy a special tool to unscrew it, or can I just use a pair of pliers?
You can use pliers, but don’t just grab hold and yank. If you use bare metal on that little bit of chrome, you’ll leave teeth marks all over it, and then you’ve turned a quick clean into a cosmetic disaster. Wrap a bit of old rag or even a thick rubber band around the aerator first. It gives you the grip you need without scarring the finish. I’ve seen too many people ruin perfectly good taps because they were too impatient for a scrap of cloth.
If I can't get the grit out no matter what I do, is it worth buying a replacement or is there a way to flush the line?
If you’ve scrubbed it and the flow is still rubbish, don’t bother buying a new aerator just yet. The grit is likely stuck further up the line. Take the aerator off entirely and turn the tap on full blast for a minute—that’ll flush out any loose sediment. If the water comes out clear and strong without the bit on the end, then your aerator is just worn out and needs replacing.
