







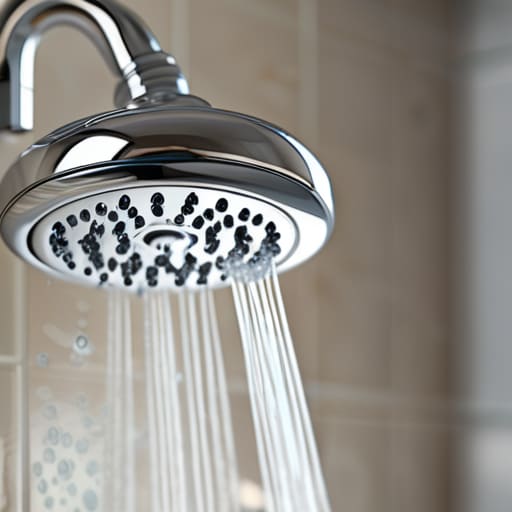

I’ve spent eighteen years pulling apart washing machines and vacuums in Bristol, and if there is one thing I’ve learned, it’s that people are far too quick to reach for the credit card when something stops working properly. You don’t need a brand-new fixture just because your water pressure has gone to nothing; most of the time, you just need to learn how to clean a shower head without losing your temper or your deposit. I once had a customer in Clifton ready to rip out an entire suite because their spray felt like a sad trickle, but all it took was a bit of vinegar and twenty minutes of patience to realize the thing wasn’t broken, just choking on limescale.
I’m not going to give you any of those fancy, overpriced chemical sprays that smell like a laboratory and cost a fortune. Instead, I’m going to show you the practical, no-nonsense way to strip away that mineral buildup using stuff you likely already have in your kitchen cupboard. We’ll go through the actual mechanics of it—from the soaking process to getting those tiny nozzles clear again—so you can get back to a decent soak without wasting money on replacements you simply don’t need.
Guide Overview
Tools & Supplies
- Small brush or old toothbrush for scrubbing nozzles
- Pliers or wrench if the shower head needs removal
- White vinegar 2-3 cups
- Plastic bag 1 large heavy-duty bag
- Rubber band or zip tie 1 unit
Step-by-Step Instructions
- 1. First thing you need to do is get your hands on a sturdy plastic bag and some white vinegar. Don’t go buying any of those expensive, scented “descaling solutions” from the supermarket; they’re mostly just overpriced water with a bit of perfume. You want the cheap, clear stuff from the baking aisle. Fill the bag about halfway with enough vinegar to cover the spray nozzles, then grab a rubber band or a bit of string to secure it around the neck of the shower head.
- 2. Once you’ve got the bag tied tight, let it sit. You’ll want to leave it for at least an hour, but if you’ve got particularly hard water in your part of Bristol, I’d suggest leaving it overnight. This gives the acid time to actually eat through the calcium and limescale that’s clogging up those tiny holes. If you try to rush this, you’ll just be scrubbing for nothing.
- 3. If your shower head is the type that unscrews easily from the wall, I’d recommend taking the whole thing off and dropping it into a bowl of vinegar instead. It’s a bit more of a faff to get the plumbing apart, but it’s much more thorough than the bag method. Just make sure you don’t cross-thread the connection when you’re putting it back on—don’t force it if it feels like it’s resisting.
- 4. After the soaking time is up, take the head off the bag and check the nozzles. If you still see bits of white crust hanging on, grab an old toothbrush. Don’t use a metal wire brush, though; you’ll just scratch the finish and make it look like rubbish. Just a bit of gentle scrubbing with the bristles should be enough to dislodge whatever the vinegar didn’t melt away.
- 5. Now, turn the shower on full blast for a minute. You want to flush out all that loosened grit and vinegar so it doesn’t end up sitting in your pipes. It might sputter and cough a bit at first—that’s perfectly normal—but once the water runs clear and the spray looks even, you’ll know you’ve actually fixed it.
- 6. If you’re still seeing some stubborn blockage in a specific hole, take a sewing needle or a thin toothpick and poke it through the nozzle. Be careful not to go too deep or you’ll damage the internal mechanism, but a little bit of targeted poking is usually all it takes to clear the last of the stubborn mineral buildup.
Understanding How to Clean a Shower Head
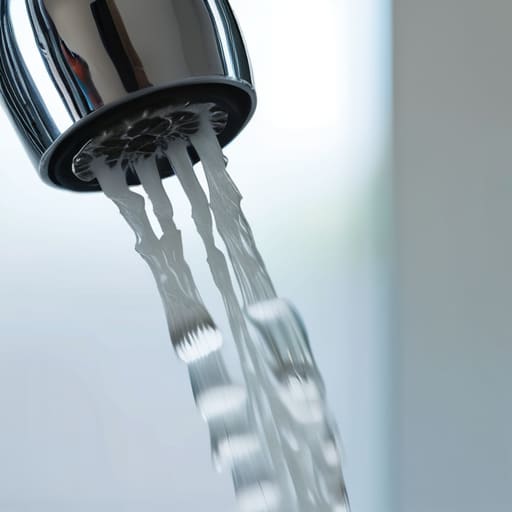
Look, most people think they need a plumber or a brand-new fixture the moment their water starts coming out in a pathetic dribble. In my eighteen years of stripping down appliances, I’ve learned that it’s rarely a mechanical failure; it’s almost always just a stubborn case of removing mineral buildup. That crusty white stuff—limescale—is basically just the water’s way of trying to move in and stay forever. It settles in the tiny holes, turning a high-pressure spray into a sad, uneven mess.
If you aren’t up to the job of unscrewing the whole thing from the arm, don’t worry. You can try a cleaning shower head without removing it by using a simple plastic bag and a bit of elastic. This is where the white vinegar soaking technique really earns its keep. You just submerge the head in a bag of vinegar overnight. It’s not fancy, and it isn’t high-tech, but it works better than any expensive chemical spray you’ll find in a supermarket aisle. You’re just letting the acid do the heavy lifting so you don’t have to scrub.
Key Things to Know
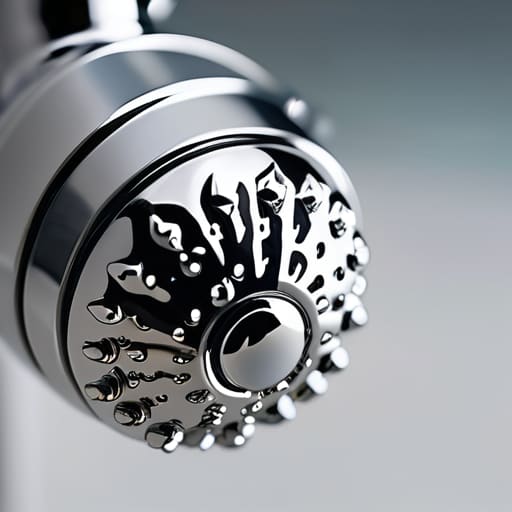
Before you start scrubbing, you need to know what you’re actually fighting. Most of the time, it isn’t “broken”—it’s just choked by limescale. If you live in a hard water area, like much of the West Country, that calcium buildup acts like cement inside those tiny holes. I’ve seen people throw away perfectly good fixtures because they thought the internal mechanism had failed, when really they just needed a bit of removing mineral buildup to get things flowing again.
If your shower head is one of those fixed models that you can’t easily unscrew from the arm, don’t panic. You don’t always need a full teardown to get results. You can try cleaning the shower head without removing it by using a simple plastic bag and a bit of elastic band. Just fill the bag with white vinegar, submerge the nozzles, and let it sit overnight. It’s a lazy person’s way of doing things, but in my eighteen years of fixing appliances, I’ve learned that sometimes the simplest approach is the most effective. Just keep an eye on the finish; you don’t want to soak a fancy plated fixture for too long.
A few things I’ve learned from years of dealing with limescale
- Don’t go buying a fancy new spray bottle of chemical cleaner just yet. A simple bowl of white vinegar does the job better than most of the overpriced stuff you’ll find in the supermarket, and it won’t eat through your seals as fast.
- If you’ve got a shower head that’s built into the wall, you can’t exactly dunk it in a bowl. Just grab a sturdy plastic bag, fill it with vinegar, and tie it around the head with a bit of rubber band or string. It’s a bit of a sight, but it works.
- Check your rubber washers while you’re at it. If you’re taking the whole thing apart to get a proper soak, it’s the perfect time to see if those little rings are cracked or perished. Replacing a fifty-p washer is a lot cheaper than a new shower.
- Give the nozzles a little poke with an old toothbrush or even a needle once they’ve soaked. Sometimes the scale gets stubborn and stays stuck in the little holes even after the vinegar has done its work.
- Watch out for the finish. If you’ve got one of those fancy matte black or brushed brass heads, don’t go scrubbing it like you’re cleaning a floor. Be gentle, or you’ll end up rubbing the color right off and leaving a permanent bald patch.
The Short Version
Don’t go buying a new one just because the water pressure feels weak; nine times out of ten, it’s just limescale playing games with the nozzles.
If you’re going to soak it, use vinegar—it’s cheap, it works, and it’s much better for the metal than those fancy chemical sprays that smell like a hospital.
Take your time with the little rubber bits; if you’re too rough or use a wire brush when you don’t need to, you’ll end up with a spray pattern that looks more like a garden hose than a shower.
A Bit of Maintenance Goes a Long Way
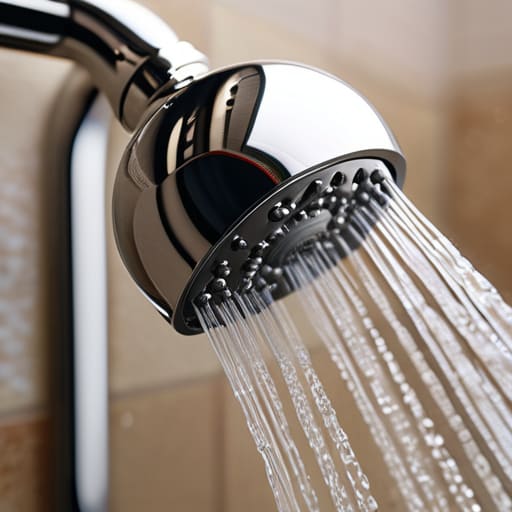
At the end of the day, cleaning a shower head isn’t some complex engineering feat; it’s just about being a bit proactive. You’ve got your vinegar soak, you’ve cleared out the grit, and you’ve made sure those little nozzles aren’t choked with limescale. If you’ve done it right, you won’t need to go out and spend forty quid on a fancy new model just because the water pressure felt a bit pathetic. Just remember that consistency is better than intensity—a quick rinse every few months will save you from having to do the heavy lifting later on. It’s much easier to prevent a blockage than it is to scrub one out once it’s turned into solid stone.
I see it all the time in my line of work: people tossing out perfectly good gear because they think it’s “dead,” when really it just needed a bit of attention. We live in a world that’s far too quick to throw things in the skip the moment they act up. But there is a real, quiet satisfaction in taking something that’s performing poorly and making it work like new again with nothing more than a bit of patience and some household vinegar. Don’t let a bit of mineral buildup convince you that your things are disposable. Give them a chance, and they’ll usually give you a much better service in return.
Frequently Asked Questions
What if the shower head is a fixed model and I can't actually unscrew it from the wall?
If it’s one of those fixed ones that looks like it’s part of the architecture, don’t panic. You aren’t going to go hacking at the pipes. Since you can’t soak the whole thing in a bucket, you’ll need to get creative. Get yourself a sturdy plastic bag, fill it with white vinegar, and tie it around the shower head with a bit of rubber band or string. Let it sit there like a little vinegar balloon. It’s not as thorough as a full soak, but it gets the job done.
Is there any way to do this without making a massive mess in the bathroom?
Look, I’ve spent enough time elbow-deep in grime to know that nobody wants a bathroom looking like a crime scene. If you don’t want to be scrubbing vinegar off your tiles for an hour, skip the soaking bowl. Just grab a sturdy plastic bag, fill it with your cleaning solution, and tie it tightly around the shower head with a bit of electrical tape or a rubber band. It keeps the liquid contained right where you need it.
How often am I actually supposed to be doing this before the water pressure starts to suffer?
Look, there’s no magic number in a manual, but I’ve seen enough limescale buildup to tell you that if you’re noticing a drop in pressure, you’re already late. If you’ve got hard water, I’d aim for every three months. If you wait until the spray looks like a sad, weak trickle, you’re just making the job harder. Don’t wait for the machine to fail; stay ahead of the grit.
