







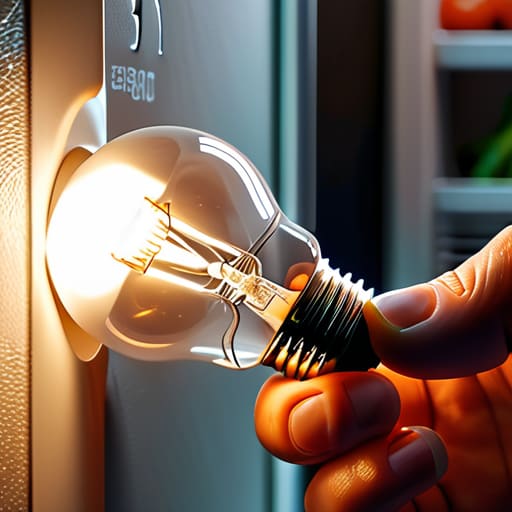

You’d be surprised how many people call me up, sounding absolutely frantic because their fridge has gone dark, convinced they need a brand-new appliance or a costly engineer visit. They treat a dark interior like a total system failure, but I’ve spent eighteen years opening up machines in Bristol, and I can tell you it’s rarely a catastrophe. Most of the time, learning how to replace a fridge light is a ten-minute job that doesn’t require a degree from City and Guilds. It’s usually just a tiny bulb that’s given up the ghost, not a broken compressor or a fried motherboard.
I’m not here to sell you a fancy toolkit or give you a lecture on electrical engineering. I just want to show you the straightforward way to get that light back on without stripping any screws or breaking the plastic housing. I’ll walk you through exactly how to find the bulb, how to pop that little cover off without cracking it, and what to look for so you don’t end up with a flickering mess. It’s simple, practical, and honest—just like everything else I fix.
Guide Overview
Tools & Supplies
- Flat-head screwdriver for prying covers
- Flashlight for visibility in dark compartments
- Replacement light bulb (matching wattage/type) x1
- Microfiber cloth for cleaning lens x1
Step-by-Step Instructions
- 1. First things first, you need to unplug the fridge. I know it feels like a faff to move the milk and the butter, but I’ve seen enough people get a nasty little shock because they thought “it’s just a light” that they didn’t need to cut the power. Safety isn’t a suggestion in my workshop, and it shouldn’t be in your kitchen either.
- 2. Once the power is off, find where the light is hiding. Most modern fridges have a little plastic cover that snaps over the bulb. You might need to use a flat-head screwdriver to gently pry the edge of that cover, but don’t go hacking at it like you’re trying to open a tin of beans. If you force it, you’ll snap the plastic tabs, and then you’ve got a much bigger job on your hands.
- 3. Now, unscrew the old bulb. If it’s a screw-in type, just turn it anti-clockwise. If it’s a bayonet mount—which is very common—you’ll need to push it in slightly and give it a quarter turn to the left until it pops free. If the bulb is stuck because of years of spilled jam or condensation, don’t panic; just give it a little wiggle.
- 4. Before you put the new one in, take a second to look at the old bulb. Don’t just run to the shops and grab whatever looks bright. You need to match the wattage and the fitting. I’ve seen people try to shove a high-wattage bulb into a housing meant for an LED, and they end up melting the plastic casing. It’s a waste of a perfectly good fridge.
- 5. Take your new bulb and slot it into place. If it’s the screw type, just twist it in until it’s firm but not tight. You don’t need to muscle it; if you over-tighten it, you’ll find it’s a nightmare to get out the next time it blows.
- 6. Snap the plastic cover back on. You should hear a little click when it sits right. Give it a gentle tug just to make sure it’s secure and won’t fall off into your salad later in the week.
- 7. Finally, plug the fridge back in and open the door. If you see light, you’ve done it. If you don’t, don’t start tearing the motor apart just yet—check the plug to make sure it hasn’t wiggled loose while you were working. Most of the time, it’s just a simple fix.
Understanding How to Replace a Fridge Light
Before you start poking around with a screwdriver, you need to understand that not every bulb is created equal. I’ve seen folks try to force a standard bulb into a housing that clearly wasn’t meant for it, and that’s a quick way to end up with a cracked plastic casing. The trick is knowing your refrigerator light bulb types before you even head to the shops. Most modern units have moved toward LEDs, but if you’ve got an older model, you might still be dealing with those little incandescent ones. It’s worth taking a quick photo of the old bulb or the markings on the base so you don’t get home with something useless.
If you find your fridge light not turning on even after a fresh swap, don’t go assuming the whole unit is shot. Sometimes the issue isn’t the bulb itself, but a dodgy connection or a faulty door switch. When you’re replacing a refrigerator light socket, be gentle; those plastic clips get brittle over time, especially with all the temperature swings in there. Just take your time and treat the components with a bit of respect.
Key Things to Know
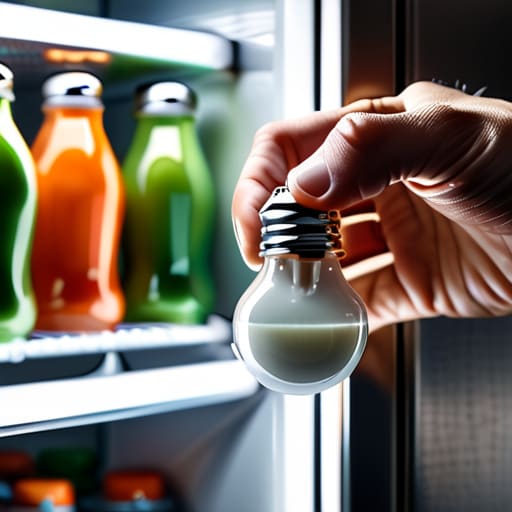
Before you go poking around in there, you need to realize that not all bulbs are created equal. I’ve seen folks try to jam a standard household bulb into a space meant for something much smaller, and that’s a quick way to end up with a melted casing. You really need to get a handle on the different refrigerator light bulb types before you head to the shop. Most modern units use small incandescent pins or screw-ins, but if you’re looking to upgrade, compatible LED fridge bulbs are a much better bet. They run cooler and won’t cook your milk if they’re sitting too close to the food.
Another thing to keep in mind: if you swap the bulb and the light still won’t kick in, don’t immediately assume the whole unit is shot. Sometimes the issue is actually the replacing refrigerator light socket itself being corroded or loose. I’ve pulled out more machines than I can count where the bulb was perfectly fine, but the connection had simply given up the ghost. Always check the contact points for any signs of black soot or charring before you go buying a whole new assembly.
A Few Bits of Advice Before You Start Wiggling Things
- Don’t just grab the first bulb you find in the junk drawer. Check the old one first; if it’s an LED or a specific halogen, you’ll need the exact match or you’ll end up with a fit that’s either too loose or won’t go in at all.
- Pull the plug. I know it seems like a tiny job, but I’ve seen enough people getting a nasty little zap from a live socket to know it’s not worth the risk.
- If the plastic cover is stuck, don’t go at it with a screwdriver like you’re trying to pry open a crate. These things are usually just clipped in, and if you force it, you’ll snap the housing, and then you’ve got a much bigger headache on your hands.
- Check the contacts while you’re in there. If the new bulb doesn’t work, it’s often because the little metal tabs inside the socket have flattened out a bit. Give them a tiny, gentle nudge back toward the bulb.
- Keep the old bulb until the new one is definitely working. It’s much easier to double-check the base type against the original than it is to try and remember what you saw in the shop.
The Bottom Line
Before you go buying any expensive parts, check the bulb first; most of the time, it’s just a simple swap and nothing more complicated.
Always pull the plug before you start poking around inside, because a little bit of caution saves a lot of unnecessary headaches.
Make sure you get the exact right bulb for your specific model, as forcing a wrong fit is a quick way to crack the housing.
A Little Light Goes a Long Way
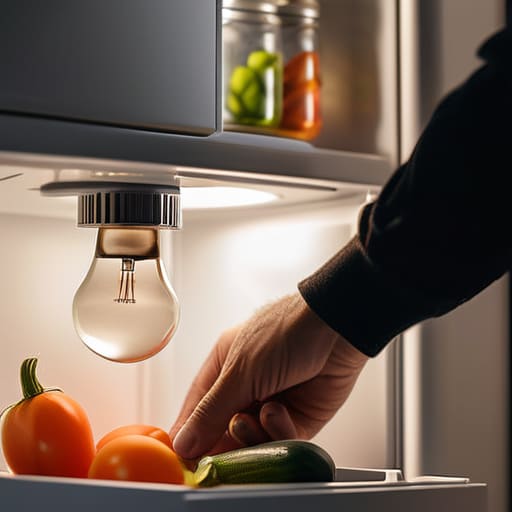
At the end of the day, replacing a fridge bulb is one of those small jobs that feels much bigger when you’re staring into a dark appliance. Just remember to unplug the unit before you start poking around in there; I’ve seen enough near-misses to know it’s not worth the risk. Once you’ve matched the wattage and made sure the new bulb is seated properly, you’re usually good to go. It really comes down to having the right bulb and a bit of patience, rather than needing a degree in electrical engineering. Most of the time, it’s just a five-minute fix that keeps your kitchen running smoothly without any unnecessary fuss or cost.
It genuinely frustrates me how quickly people jump to the conclusion that an appliance is “finished” just because a tiny component has given up the ghost. If a light goes out, it doesn’t mean the whole fridge is dying; it just means a single part needs a bit of attention. We live in a world where everything is designed to be tossed in a skip the moment something minor goes wrong, but I prefer to think differently. Taking ten minutes to fix something yourself is a way of respecting the machine and your own wallet. Don’t let a dark fridge convince you that you need a brand-new appliance; just swap the bulb and get back to your life.
Frequently Asked Questions
Do I need to buy a specific brand of bulb, or can I just use any standard one from the local shop?
Don’t go rushing out to buy a branded bulb from the manufacturer; you’ll just be paying for a fancy box. Most of these are standard fittings. Just pop the old one out first—don’t guess, just look. Check the base and the wattage printed on the glass. As long as the new one matches those specs, any decent shop will do. It’s a tiny part, not a bespoke piece of engineering.
Is there a risk of getting an electric shock if I don't unplug the fridge first?
Look, I’ve seen enough singed wires and startled faces to know that skipping this step is a bad idea. Is it a guaranteed shock? Not always, but you’re playing a game you don’t need to play. Fridges are constantly drawing power, and if you slip or touch a live terminal while fiddling with that housing, you’ll get a nasty jolt. Just pull the plug. It takes five seconds and keeps you out of the hospital.
What if I change the bulb and the light still won't come on?
If you’ve swapped the bulb and you’re still sitting there in the dark, don’t go calling the manufacturer just yet. Most likely, it’s a loose connection or a faulty door switch. That little little plastic bit that clicks when you close the door? If it’s stuck, the machine thinks the door is shut and won’t trigger the light. Give it a wiggle. If that’s fine, you might be looking at a blown fuse or a wiring issue.
