







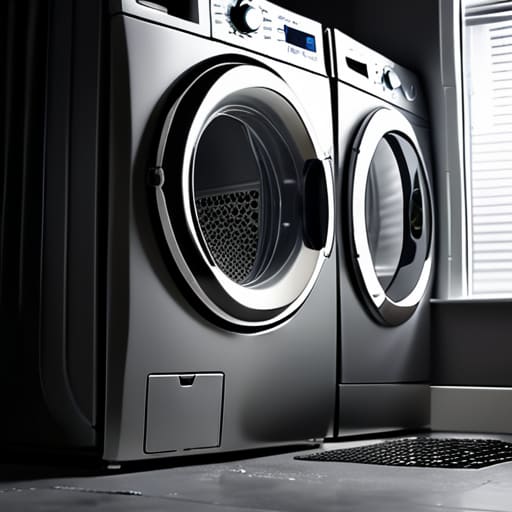

I’ve lost count of how many times I’ve stood in a customer’s kitchen in Bristol, looking at a “dead” dryer that actually just needed a bit of elbow grease. People think they need a brand-new machine when their clothes are still damp after a full cycle, but the truth is usually much simpler. Most of the time, the problem isn’t a blown motor or a fried circuit board; it’s just a massive clog. I’ve spent eighteen years pulling apart machines only to find they weren’t broken at all, just suffocating under a mountain of lint. If you aren’t regular with cleaning and checking a dryer condenser, you’re essentially asking for a repair bill you don’t actually need to pay.
I’m not here to sell you any fancy chemical sprays or complicated gadgets that’ll just end up in the bin. I’m going to show you exactly how to get in there and clear the muck out properly. We’ll walk through the no-nonsense steps of pulling the unit, inspecting the fins, and making sure that airflow is actually moving. By the time we’re done, you’ll know how to keep your machine running like new without throwing money away on a replacement.
Guide Overview
Tools & Supplies
- Vacuum cleaner with hose attachment for lint removal
- Soft-bristled brush or old toothbrush for scrubbing fins
- Warm water and mild dish soap for rinsing
- Microfiber cloth for drying
Step-by-Step Instructions
- 1. First thing’s first, you need to find where that condenser is hiding. On most modern heat pump dryers, it’s tucked away behind a little flap at the bottom of the machine. Don’t go forcing anything; if it doesn’t budge with a gentle tug, you’re probably pulling the wrong way. Once you’ve got the door open, you’ll see the condenser unit sitting there, usually looking a bit grim.
- 2. Now, pull the condenser out. It’ll likely be heavy with trapped water, so keep a steady hand so you don’t drench your floor. I’ve seen enough flooded kitchens to last a lifetime, and it’s a mess no one wants to deal with. Set it down on an old towel or in the sink—don’t just leave it on the bare floor.
- 3. Take a good look at the fins. They’re those thin, delicate metal slats that look a bit like a car radiator. If they’re choked with grey fluff, you’ve found your culprit. Take a soft brush—an old toothbrush works just fine—and gently brush the lint away. Whatever you do, don’t press too hard; those fins bend easier than a cheap washing machine drum, and once they’re flattened, the air won’t flow through them.
- 4. Once you’ve brushed the surface, it’s time for a rinse. Take the unit over to the sink and run lukewarm water through it. You want to wash out the gunk that’s lodged deep inside the channels. I always tell people to watch the water flow; if it’s trickling out like a dying stream, you’ve still got a blockage somewhere in the middle that needs more brushing.
- 5. While the condenser is rinsing, take a moment to check the rubber seals around the edges. Over time, they can get slimy or even start to perish. Give them a quick wipe with a damp cloth to make sure they’re clean. If those seals aren’t sitting flush, your machine won’t be able to hold the heat, and you’ll be wasting money on electricity every time you run a load.
- 6. Before you shove everything back in, give the condenser a good shake and let it drip-dry for a minute. You don’t want to be sliding a puddle of water back into the guts of your machine. Once it’s relatively dry, slide it back into its slot. You should feel it click or seat firmly into place. If it feels loose or wobbly, stop and check that you haven’t missed a seal.
- 7. Finally, close the access flap and run a quick test cycle. I usually run a short, empty cycle just to make sure the machine isn’t complaining with any error codes. If it hums along happily, you’ve done the job. It’s a bit of a chore, I know, but it beats the cost of a brand new machine just because you couldn’t be bothered to clear out some lint.
Understanding Cleaning and Checking a Dryer Condenser
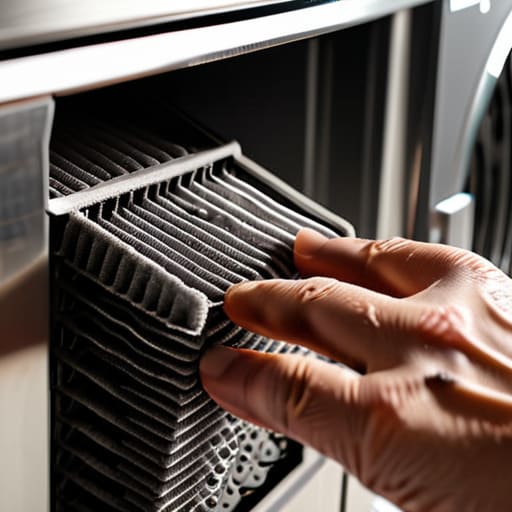
Now, you might think that if the lint trap is clear, you’re golden, but that’s where most people trip up. The condenser is a different beast entirely. It’s tucked away, doing the heavy lifting of pulling moisture out of your clothes, and it’s a magnet for the fine, microscopic dust that escapes the main filter. If you let that gunk settle, you aren’t just looking at a slow cycle; you’re looking at a massive spike in your electric bill. I’ve seen too many perfectly good machines sent to the scrap heap simply because the owner ignored the cleaning condenser coil efficiency until the motor eventually gave up the ghost.
Think of it like breathing through a straw. When those internal fins get choked up, the machine has to work twice as hard to move the same amount of air. If you notice your clothes are still damp after a full cycle, don’t go buying a new machine just yet. Usually, it’s just a matter of improving dryer drying time by getting a bit of grit out of the system. A bit of regular attention here is the best bit of dryer lint buildup prevention you can do to keep your machine running for another decade.
Key Things to Know
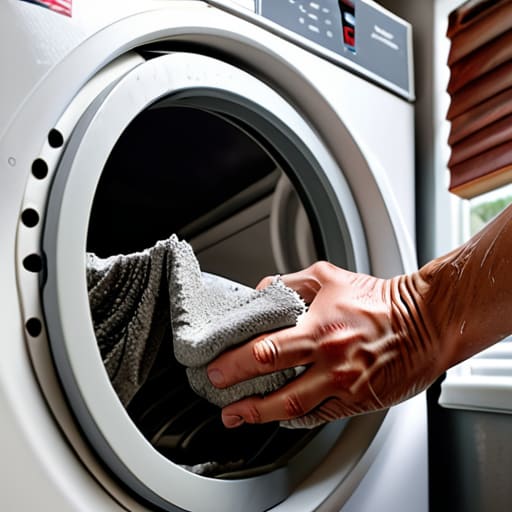
One thing I’ve noticed after nearly two decades of looking into the guts of these machines is that people tend to wait until the dryer is practically screaming before they act. If you’re noticing your clothes coming out damp even after a long cycle, don’t assume the heating element has died. Usually, it’s just a matter of improving dryer drying time by getting rid of the sludge blocking the airflow. When that condenser gets choked, the machine has to work twice as hard to do half the job, which is a massive waste of electricity.
I also see a lot of folks neglecting the actual coils. If you have a heat pump model, you can’t just clear the lint trap and call it a day; you have to keep an eye on the internal parts too. Focusing on cleaning condenser coil efficiency is the difference between a machine that lasts ten years and one that ends up in a skip because of a sensor error. It’s rarely a “broken” machine—it’s just a clogged one. A bit of regular attention goes a long way in preventing a costly call-out.
A few things I’ve learned from a lifetime of looking at lint
- Don’t just rinse it and call it a day. If you see a grey, slimy film on the mesh after washing it, that’s fabric softener buildup. You’ll need a soft brush and a bit of mild soapy water to actually get the pores of the filter open again.
- Check the housing, not just the filter. I’ve seen plenty of people with a clean condenser sitting in a slot choked with a thick mat of lint. If you don’t clear the gap where the part slides in, you’re just spinning your wheels.
- Stop ignoring the smell. If your clothes are coming out smelling a bit damp or, worse, slightly musty, your condenser is likely the culprit. It’s a breeding ground for moisture if it isn’t kept bone-dry and clear.
- Look for the “phantom” drying times. If you find yourself adding an extra twenty minutes to every cycle just to get the towels dry, don’t go buying a new machine. Your condenser is likely struggling to breathe.
- Treat the mesh with respect. I’ve seen people use wire wool or anything too abrasive to scrub these things out. You’ll tear the fine mesh, and once that happens, you’re looking at a replacement rather than a quick clean.
The bottom line
Don’t let a bit of lint convince you that your machine is dying; most of the time, it just needs a thorough clean and a bit of attention.
If you’re seeing longer drying times, stop looking for a new dryer and start looking for a blocked condenser.
A five-minute check once a month saves you the headache of a broken machine and the cost of a replacement you don’t actually need.
Don't let a bit of lint ruin a good machine
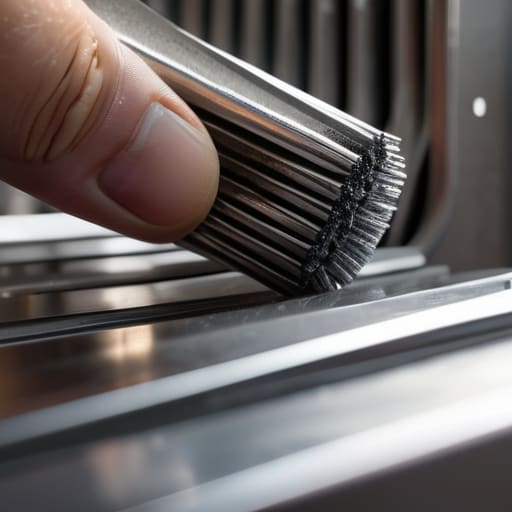
At the end of the day, it really comes down to the basics. You don’t need a degree or a toolkit full of expensive gadgets to keep your dryer running properly; you just need to take ten minutes once a month to clear out that condenser. If you’ve followed what I’ve said about checking the fins and making sure the housing is clear of any clogged debris, you’ve already done more than most people in Bristol do. It’s about preventing that heat buildup and making sure the air can actually move through the system. Most of the “broken” machines that land on my workbench could have been saved if the owner had just cleared the blockage before the heating element gave up the ghost.
I’ve spent eighteen years looking at machines that were tossed on the kerb for no good reason, and it honestly breaks my heart a little. We live in a world where everything is treated as disposable, but a simple bit of maintenance can add years to your appliance’s life. Don’t wait until you smell burning or notice your clothes are still damp after a full cycle to take action. If you treat your machines with a bit of regular respect, they’ll keep serving you well long after the flashy new models have broken down. It’s not about being perfect; it’s just about not being wasteful.
Frequently Asked Questions
Is it worth trying to clean the condenser if it’s actually cracked or physically damaged?
No, don’t bother. If the plastic is cracked or the seal is split, cleaning it won’t do a lick of good. You’ll just be watching your heat and moisture escape right into the machine instead of your clothes. I’ve seen plenty of folks try to patch them with glue or tape, but it never holds. If it’s physically damaged, stop messing about and just buy a replacement. It’s a cheap part compared to a new dryer.
How often should I be doing this if I've got a big family doing loads every single day?
If you’ve got a big family running the machine day in and day out, you can’t be sticking to the “once a month” rule in the manual. With that much lint being churned out, I’d be checking that condenser after every single load, or at the very least, every two or three. Don’t wait for the machine to start acting up; by then, you’re already fighting a losing battle against a blockage.
If I clean the condenser but the dryer is still taking ages to dry, is the problem somewhere else in the machine?
If you’ve scrubbed the condenser and it’s still running like a snail, you’re likely looking at a blockage further down the line. I’ve seen it a hundred times—it’s usually the external vent hose or the wall duct itself choked with lint. If the air can’t escape, the moisture has nowhere to go. Check that vent pipe for kinks or buildup; otherwise, you’re just spinning wet clothes in a warm box.
