







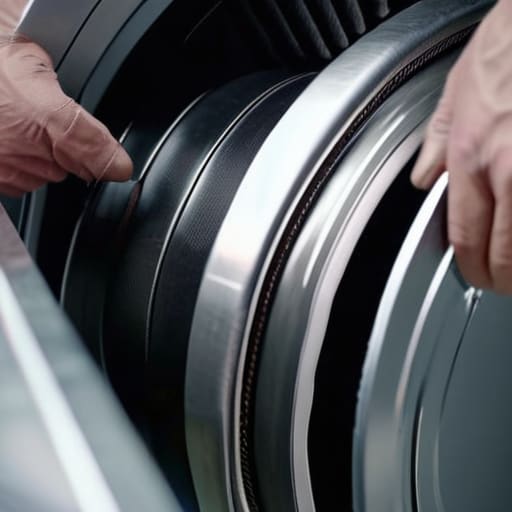

I was elbow-deep in a pile of lint and scrap metal in my Bristol workshop last Tuesday when I found another perfectly good dryer that someone had marked for the tip. The owner thought the motor had given up the ghost because the drum wouldn’t budge, but it was nothing more than a perished, snapped loop of rubber. It’s a crying shame, really; people see a machine that won’t spin and immediately think they need a brand-new appliance, when learning how to replace a dryer belt is often the only thing standing between a working household and a very expensive trip to the landfill.
I’m not going to bore you with a technical manual or give you any of that fancy, over-complicated jargon that makes your head spin. Instead, I’m going to walk you through the actual process, the way I’ve done it for eighteen years. I’ll show you exactly which screws to look for and how to loop that new belt without losing your temper. By the time we’re done, you’ll have your machine humming again, and you’ll have saved yourself a tidy bit of money in the process.
Guide Overview
Tools & Supplies
- Screwdriver (Phillips or flathead to remove panels)
- Nut driver or socket set (to remove motor or drum bolts)
- Flashlight (to see inside the dryer cabinet)
- Replacement dryer belt (1 unit specific to your model)
- Work gloves (1 pair for handling metal edges)
Step-by-Step Instructions
- 1. First things first, you need to get to the guts of the machine. Unplug the thing—don’t be brave and try to work on it while it’s live—and pull it away from the wall. Most of the time, you’ll need to tip the machine back or remove the top panel to see what you’re actually dealing with. I’ve seen people struggle for an hour just because they didn’t realize the screws were hidden under those little plastic decorative caps.
- 2. Once you’ve got the casing off, you’ll be looking at the drum. You need to locate the old, snapped, or stretched belt. It’s usually just a black loop of rubber sitting at the bottom of the housing, looking completely useless and sad. If the belt is still intact but just slipping, you’ll need to figure out how it’s looped around the motor spindle and the large drum pulley.
- 3. Now, you have to get that old belt off. This is the part where most people get frustrated because it feels like you’re fighting the machine. You’ll likely need to tension the drum slightly to create some slack. If you’re working on a front-loader, you might need to reach in and manually rotate the drum to find the sweet spot where the belt can be slipped off the motor shaft without a massive struggle.
- 4. Before you even think about putting the new one on, take a second to clean out the lint. I cannot stress this enough. If you’re going to the trouble of opening the machine, don’t leave a mountain of grey fuzz sitting in the bottom. Use a vacuum or a damp cloth to clear out the debris. Most of the “broken” machines I’ve seen were actually just choking on their own lint.
- 5. Take your new belt and start the “threading” process. This is a bit like trying to put a rubber band around a bicycle wheel. You’ll want to loop it around the large drum pulley first, then carefully guide it around the smaller motor spindle. It takes a bit of fiddly finger work, but if you stay patient, it’ll click into place.
- 6. Give the drum a few manual rotations to make sure the belt is seated properly in the grooves. You don’t want to close everything up only to find the belt is riding high on the edge of the pulley. It should look even and snug all the way around. If it feels wonky, pull it off and start again; it’s better to spend five extra minutes now than an hour fixing it later.
- 7. Finally, put the panels back on and secure every single screw. I’ve seen plenty of DIY jobs where the machine rattles like a bag of spanners because someone forgot a couple of fasteners. Plug it back in, run a quick test cycle with nothing in it, and if you hear that lovely, steady hum instead of a grinding noise, you’ve done a proper job.
Understanding How to Replace a Dryer Belt
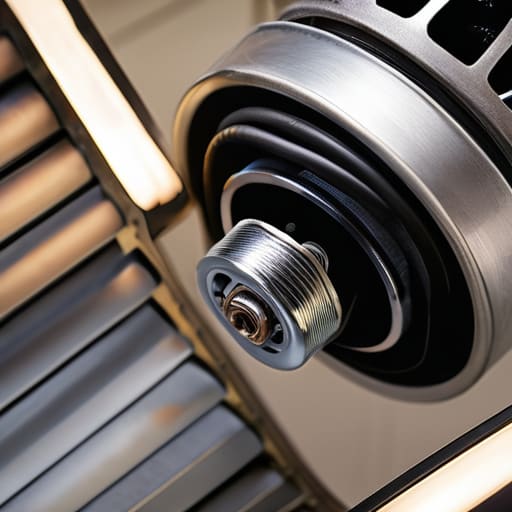
Before you go diving into the guts of the machine, you need to know what you’re actually looking for. I’ve seen plenty of folks mistake a faulty heating element or a motor issue for a belt problem, but if you’re noticing a rhythmic thumping or a complete lack of rotation despite the machine humming along, you’re likely looking at broken dryer belt symptoms. It’s a simple distinction, but getting it wrong means you’ll spend an hour elbow-deep in lint for nothing. Once you’ve pulled the casing off, take a second to look at the dryer drum motor assembly to ensure everything looks seated correctly; sometimes the belt hasn’t snapped, it’s just slipped an inch off the track.
If you’re feeling unsure, don’t just guess. I always tell my clients that if they can’t find the original manual, they should try to find a dryer belt installation diagram online for their specific model. It saves a lot of swearing. Also, while you’ve got the guts exposed, check the tension. If the belt feels limp like a piece of cooked spaghetti, it’s done. Don’t bother trying to stretch it back out; just get a fresh one.
Key Things to Know
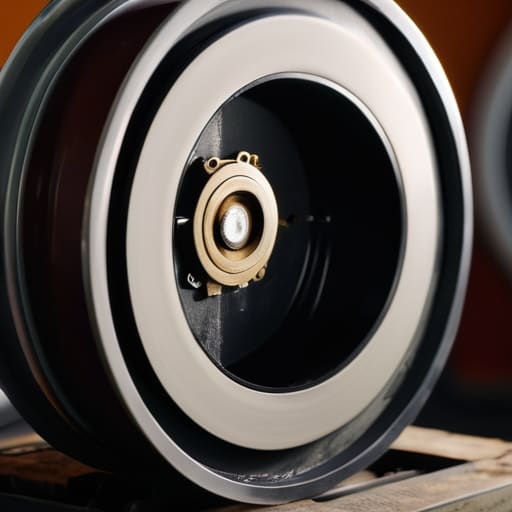
Before you go diving into the guts of the machine, you need to know that a snapped belt isn’t always a solo act. I’ve pulled apart more machines than I can count, and more often than not, the belt didn’t just give up the ghost on its own; it was worn down by a faulty pulley or a slipping motor. While you’re in there, it’s worth checking the tension. If you notice the drum is turning sluggishly or you hear a rhythmic thumping, you might actually need a dryer pulley replacement guide rather than just a new strip of rubber.
Don’t go in empty-handed, either. You’ll need a decent set of dryer maintenance tools needed for the job—mostly a good socket set and maybe some needle-nose pliers to grab those stubborn clips. And a bit of advice from eighteen years on the tools: once you get the old one out, take a quick photo of the routing. It sounds simple, but trying to remember exactly how that belt snakes around the dryer drum motor assembly is a recipe for a headache you don’t need.
A few things I’ve learned from a lifetime of looking inside drums
- Don’t go buying the first belt you see online. Check the model number on the actual machine, not just the box it came in. A belt that looks right can be a fraction of an inch off, and if it’s too loose, you’ll be right back here in a month with a drum that won’t spin.
- Keep a small tray or even an old jam jar handy for the screws. I’ve seen too many people lose a tiny washer in the carpet, only to realize later that’s why the whole casing is rattling like a bag of nails.
- Before you even touch the belt, give the inside of the machine a proper vacuum. Once you crack that casing open, you’re going to find a mountain of lint that’s been hiding for years. If you don’t clear it out now, it’ll just clog up your new work.
- When you’re looping the new belt around the drum, take your time. It’s easy to get frustrated and try to force it, but if you aren’t careful, you’ll end up twisting it. A twisted belt is a noisy belt, and a noisy belt is a sign of a job done in a hurry.
- Always check the rollers while you’ve got the machine apart. There’s no point putting a brand-new belt on if the rollers are worn down or seized up. It’s much easier to swap them now than to tear the whole thing down again next week.
The Bottom Line
Don’t go buying a new machine just because the drum isn’t spinning; nine times out of ten, it’s just a bit of perished rubber that costs less than a sandwich to replace.
Take your time with the casing—most of the frustration comes from forcing a panel that isn’t ready to budge, not from the belt itself.
Keep a close eye on your lint filter, because a clogged machine makes the motor work harder, and a hardworking motor is what snaps these belts in the first place.
A Bit of Final Advice
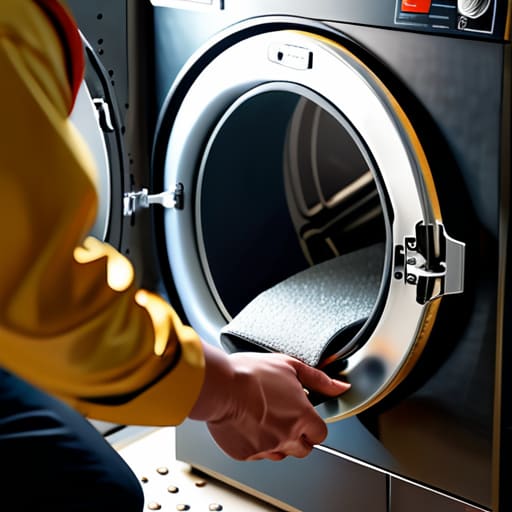
So, there you have it. Replacing a dryer belt isn’t the Herculean task the manual makes it out to be, provided you’ve got the right screwdriver and a bit of patience. Just remember that most of the struggle is simply getting the casing off without snapping a plastic clip, and once you’ve got that new belt looped correctly around the drum and the motor, you’re mostly of the clear. Don’t forget to double-check that you haven’t left any stray tools or old bits of lint sitting in the bottom of the cabinet before you bolt everything back together. It’s those little oversights that usually turn a quick fix into a long afternoon of troubleshooting.
At the end of the day, I can’t tell you how much it bothers me to see a perfectly good machine hauled off to the tip just because a bit of rubber snapped. It’s a waste, plain and simple. Taking an hour out of your Saturday to do this yourself doesn’t just save you a hefty call-out fee; it keeps a useful piece of kit out of a landfill. There’s a real, quiet satisfaction in hearing that drum start spinning properly again because you were the one who fixed it. Keep your tools handy and don’t be afraid to get your hands a bit greasy; it’s much better than buying a new machine you don’t actually need.
Frequently Asked Questions
How do I know if it's actually the belt that's gone and not the motor or a bearing?
It’s a fair question. If the motor’s humming but the drum isn’t budging, it’s almost certainly the belt. If you hear a loud, screeching metal-on-metal sound when it spins, that’s your bearings crying for help. But if it’s just dead silent when you hit start? Check the belt first. I’ve seen plenty of people panic about a motor when, in reality, the belt had just slipped off its track.
Do I need to buy a specific brand's belt, or will a generic one from the local shop do the job?
Don’t go grabbing just any bit of rubber you find at the local shop. A dryer belt isn’t like a lightbulb; it’s got a specific length and tension designed for your machine’s motor. If it’s too loose, it’ll slip and smell like burning; too tight, and you’ll burn out the motor. Look for the part number on your old belt or check the manual. Honestly, spending the extra couple of quid on the right one saves you a massive headache later.
Once I've got the new belt on, is there a trick to getting it seated properly so it doesn't slip straight off?
You’ve done the hard part, so don’t let a bit of slipping ruin it now. Once that new belt is looped around the motor and the drum, don’t just close it up. Give the drum a few slow, manual rotations by hand first. You’ll feel it “climb” the grooves. If it feels jumpy, stop and realign. Once it sits flush in the channel, give it a good spin to settle it in.
