







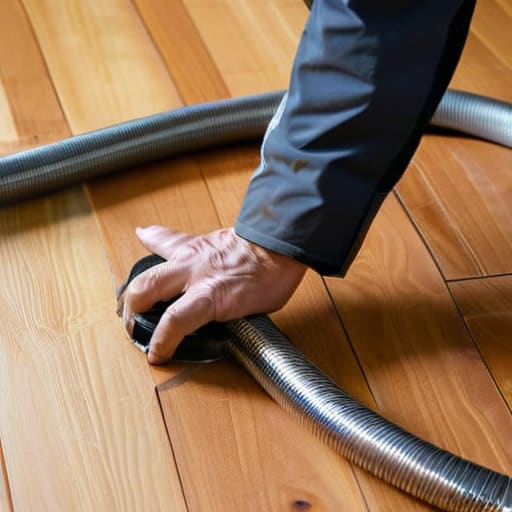

I’ve lost count of how many times I’ve seen someone staring at a vacuum that won’t pick up a single crumb, convinced the motor has finally given up the ghost. They’re ready to lug it to the tip, but more often than not, the machine is perfectly fine—it’s just a perished, split bit of plastic causing the headache. Learning how to replace a vacuum hose is one of those small, vital skills that saves you from throwing away a perfectly good appliance just because of a five-pound part. I remember a lady in Clifton who nearly bought a brand new upright because she thought the suction had died, only for me to find a tiny tear in the corrugated tubing.
In this guide, I’m going to skip the technical jargon and get straight to the point. I’ll show you exactly how to identify a faulty connection, how to pop the old one off without snapping the plastic clips, and how to secure the new one so it actually stays put. No fluff, no expensive specialist tools required—just the honest, practical steps you need to get your machine back to its old self.
Guide Overview
Tools & Supplies
- Screwdriver (to remove housing or clamps if necessary)
- Pliers (to loosen or tighten hose clamps)
- Replacement vacuum hose (compatible with your specific model)
- Electrical tape or zip ties (optional for extra reinforcement)
Step-by-Step Instructions
- 1. First things first, you need to unplug the machine. I know it sounds obvious, but I’ve seen enough people nearly get a shock because they thought “it’s turned off at the switch” was the same as being safe. Pull the plug out of the wall and set it aside so you aren’t tripping over it while you’re working.
- 2. Get your hands on the old hose and see how it’s actually attached. Most of the time, you’ll just need to twist and pull the hose away from the main body of the vacuum or the wand. If it feels stuck, don’t go manhandling it; sometimes there’s a little plastic clip or a locking collar that needs a gentle nudge to release.
- 3. Take a proper look at the connection point on the vacuum itself. While you’ve got the hose off, check the port for any clogs or debris that might have been hiding in there. If there’s a bit of grit or a stray hairball stuck in the socket, cleaning it out now will ensure your new hose actually fits properly and seals tight.
- 4. Now, take your new hose and line up the ends. If it’s a screw-on type, you’ll want to thread it carefully to avoid cross-threading, which is a headache you really don’t want. If it’s a friction fit, just push it in firmly until you feel it seat. You should feel a bit of resistance; that’s a good sign it’s not going to pop off mid-clean.
- 5. Give the hose a good, thorough tug test. I never trust a connection until I’ve given it a solid pull to make sure it isn’t just sitting there loosely. If it feels wobbly or slips right out, you might need to check if there’s a small O-ring or a rubber seal that’s gone missing—I’ve got a drawer full of those in my van for a reason.
- 6. Once you’re sure it’s secure, plug the machine back in and run it for a minute. Listen to the sound of the motor; if it sounds like it’s struggling or whistling, you likely have an air leak somewhere in the connection. If it sounds smooth and steady, you’ve done the job right and can get back to your housework.
Understanding How to Replace a Vacuum Hose
Before you go grabbing a new part, you need to be certain that the hose is actually the culprit. I’ve spent many an afternoon in my workshop looking at machines that people swore were dead, only to find the motor was fine—it was just a bit of grit or a tiny tear in the tubing. A good bit of vacuum suction loss troubleshooting usually starts with a simple visual check. Run your hand along the length of the hose; if you feel a soft spot or a literal hole, you’ve found your problem. Identifying vacuum hose cracks early can save you from the much bigger headache of dust getting past the hose and into the motor, which is a far more expensive disaster to fix.
If you can’t find a tear but the suction is still rubbish, don’t forget about the joints. I often see people struggling with a machine that feels weak, only to realize they haven’t been cleaning vacuum hose connections properly. Over time, hair and lint build up right where the hose meets the wand or the canister, creating a bottleneck. If the hose is truly perished, you don’t always need a brand-new, expensive proprietary model; a decent universal vacuum hose attachment can often do the job just as well, provided the diameter matches.
Key Things to Know
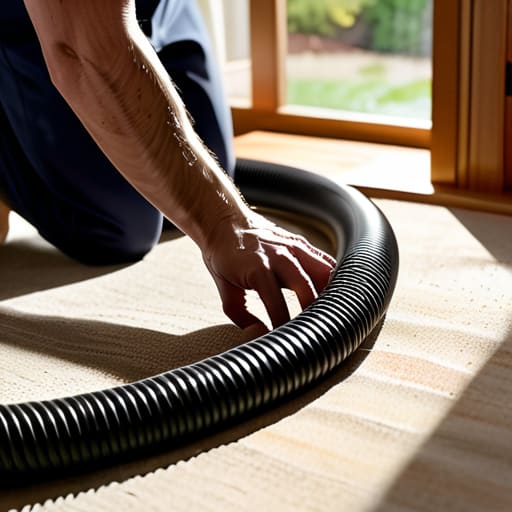
Before you go ordering parts online, you need to be certain that the hose is actually the culprit. I’ve spent many an afternoon performing vacuum suction loss troubleshooting only to find that the problem wasn’t a split hose at all, but a massive clump of hair or a stray sock wedged deep in the neck. If you can see light through a tear, then yes, it’s time for a replacement. However, if the suction is just weak, try cleaning vacuum hose connections first. Sometimes a bit of grit in the joint is enough to break the seal and make you think the whole unit is failing.
When you do decide to swap it out, don’t just grab the first thing you see on a budget website. If you aren’t replacing the entire machine, you’ll likely need a universal vacuum hose attachment to ensure a snug fit. A loose connection is just as bad as a hole; it lets air leak in, which puts unnecessary strain on the engine. Think of it as vacuum motor protection—keeping that airflow tight ensures the motor doesn’t have to work twice as hard just to pick up a bit of dust.
A Few Bits of Advice Before You Get Stuck In
- Don’t just yank the old hose out. If it’s stuck tight, give it a gentle twist first. I’ve seen plenty of people snap the plastic housing around the machine because they were being too impatient with a bit of stubborn suction.
- Check the seals, not just the hose. Sometimes people go through the trouble of buying a brand-new hose only to find the machine still has no suction because a tiny rubber gasket has perished somewhere else. It’s worth a look while you’ve got the lid off.
- Keep a screwdriver and a pair of pliers handy. You rarely need them for the hose itself, but you’ll almost certainly need them to get the old one unclipped or to tighten the new one down so it doesn’t pop off mid-clean.
- Watch out for the “phantom clog.” Before you bin the old hose, run a coin or a small marble through it. If it comes out the other side, your hose wasn’t actually broken—it was just holding onto a lost Lego brick or a clump of hair.
- If you’re buying a replacement, match the connection type exactly. I’ve had people try to force a universal hose onto a specific model, and it’s a recipe for a cracked casing. If it doesn’t look like it fits, don’t force it.
The Bottom Line
Don’t go buying a brand-new vacuum just because it’s lost its suction; nine times out of ten, it’s just a perished hose or a simple blockage that needs sorting.
Always check the connections and the seals before you start ordering parts, as a loose fit is just as bad as a hole in the rubber.
Treat the plastic clips and threading with a bit of respect while you’re working, or you’ll end up replacing the whole machine instead of just a five-pound hose.
Don't Toss It Just Yet
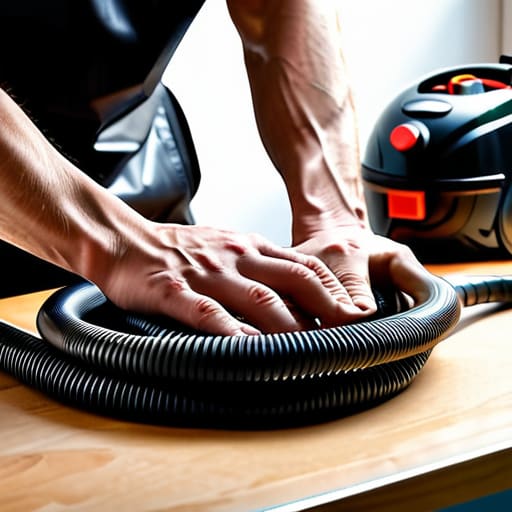
At the end of the day, replacing a vacuum hose is a straightforward job if you take your time. You just need to make sure you’ve got the right model number, a bit of patience when seating those rubber seals, and the sense to check for clogs before you go buying parts you don’t actually need. Most people call me because they think the motor has given up the ghost, but once they see how simple it is to swap a cracked hose, they realize the machine was perfectly fine all along. It really comes down to not rushing the connections and ensuring everything is airtight before you plug it back in.
I’ve spent eighteen years pulling things out of skips that were only destined for the landfill because of a bit of perished plastic. It’s a bit of a shame, really, seeing perfectly good engineering go to waste over a small, inexpensive fix. Next time your vacuum starts losing suction or making that wheezing sound, don’t reach for the credit card to buy a brand-new machine. Take a moment to look at it properly. There is a certain quiet satisfaction in knowing you’ve kept something useful running for another few years, rather than just adding to the pile of rubbish.
Frequently Asked Questions
Do I really need to buy the exact same brand of hose, or can I use a universal one?
You don’t always need the brand name, but don’t just grab the first universal one you see. I’ve seen plenty of people try to force a cheap, generic hose onto a machine, only to end up with a suction leak that makes the whole job pointless. If you go universal, measure the diameter of your wand and the connection point on the machine first. If it fits snug without gaps, you’re golden.
How can I tell if the hose is actually split or if there’s just a massive clog stuck inside?
It’s a common mistake to go buying a new hose when you don’t need to. Here’s how I check: grab a handful of coins or a small marble and drop it into one end. If it thuds out the other side, you’re clear of clogs. If it stops dead, you’ve just got a blockage. If it rattles or feels like there’s a tear when you squeeze it, then you’re looking at a split.
Is there a way to patch a small tear in the hose without having to replace the whole thing?
You can patch a small tear, but don’t expect a miracle. If it’s just a tiny nick, a bit of heavy-duty duct tape or some electrical tape wrapped tight can buy you some time. For something more permanent, I usually reach for some flexible repair tape or even a bit of silicone sealant. Just make sure the area is bone-dry and clean first. If the tear is jagged or right near a joint, though, save yourself the headache and just replace it.
