









I was standing in a kitchen in Bedminster last Tuesday, looking at a dryer that someone was ready to haul straight to the tip because it wouldn’t heat up. They thought the heating element was shot, but after eighteen years of opening up machines, I knew better. Most of the time, it’s not a catastrophic failure; it’s just a tiny, cheap component that’s done its job and called it quits. If you’re staring at a cold machine and wondering how to replace a thermal fuse without spending a fortune on a new appliance, you’re likely looking at a five-pound fix rather than a total loss.
I’m not going to give you any of that polished, corporate manual nonsense that makes you feel like you need a degree in electrical engineering just to turn a screwdriver. I’m going to show you exactly how I do it, from the moment you unplug the unit to the second you test it. You’ll get the straight truth on which tools you actually need and how to spot the culprit so you don’t end up throwing money away on parts that aren’t even broken.
Guide Overview
Tools & Supplies
- Screwdriver (Phillips or Flathead to remove appliance panels)
- Multimeter (To test fuse continuity)
- Needle-nose pliers (To disconnect wire terminals)
- Replacement thermal fuse (1 unit specific to appliance model)
- Wire connectors (1 set if original clips are damaged)
Step-by-Step Instructions
- 1. First things first, you need to unplug the machine. I don’t care if you think you’ve turned the dial to ‘off’; if that cord is still live, you’re playing a dangerous game with electricity. Once you’re sure it’s dead, clear some space around the unit so you aren’t tripping over your own feet while you’re working.
- 2. Now, you’ll need to get to the guts of the thing. Depending on your model, this usually means removing the back panel or the top cover. I always keep a set of proper screwdrivers nearby—don’t try to use a butter knife or a blunt screwdriver, or you’ll just strip the heads and end up with a much bigger headache than a blown fuse.
- 3. Once the panel is off, you’re looking for the heating element or the dryer drum assembly. The thermal fuse is usually a small, white or translucent component tucked away near the heat source, often with two wires clipped onto it. If you see a little plastic housing holding it in place, that’s your target.
- 4. Before you touch anything, take a photo with your phone. I’ve seen so many people pull a part out and then spend an hour staring at a pile of wires wondering where they go. You want to see exactly how those wires were routed before you move them.
- 5. Disconnect the wires from the old fuse. You might have to wiggle them a bit if they’ve been cooked by the heat for a few years, but don’t force them. Once the wires are free, unclip the fuse from its mounting. If the old fuse looks charred or melted, you’ve definitely found your culprit.
- 6. Take that old fuse with you to the shop, or snap a clear photo of the part number. Don’t just guess and buy “something similar.” In my eighteen years, I’ve learned that a fuse that’s slightly off in rating will either blow immediately or, worse, fail to protect the machine from a fire.
- 7. Clip the new fuse into the exact same position as the old one. Slide the wires back onto the terminals—make sure they are snug and secure so they don’t vibrate loose. If they’re loose, they’ll arc, and you’ll be right back where you started.
- 8. Put the panels back on and screw everything down. Before you go ahead and start a full load of laundry, give the machine a quick test run on a short cycle. If it heats up like it’s supposed to, you’ve done it. If not, well, there’s always another part to check, but usually, the fuse is the end of the story.
Understanding How to Replace a Thermal Fuse
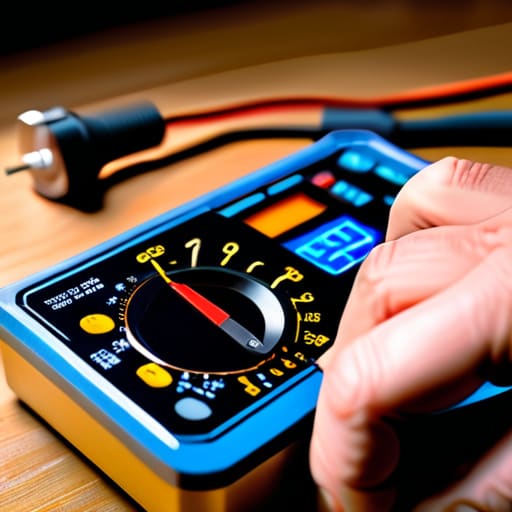
Before you go grabbing a replacement part, you need to be sure that’s actually what’s gone wrong. I’ve seen plenty of folks tear a machine apart only to find the motor was the real culprit. The best way to know for certain is by testing a thermal fuse with a multimeter. You’re looking for continuity; if the meter doesn’t show a complete circuit, that little component has done its job and sacrificed itself to save the rest of the unit.
It’s important to remember that a fuse doesn’t just pop for no reason. These little bits of hardware are there as appliance overheating protection, acting like a bodyguard for the more expensive electronics. If you find a blown one, don’t just swap it and walk away. Take a proper look at your lint filters and the exhaust vent. If the airflow is choked up with fluff, the machine is going to run hot again, and you’ll be right back where you started. Most of the time, it’s not a broken machine you’ve got—it’s just a machine that’s been suffocating.
Key Things to Know
Before you start unscrewing anything, you need to understand that a fuse isn’t just a random part that fails; it’s a safety feature. Most of the time, it’s doing exactly what it was designed to do: acting as appliance overheating protection. If your machine has cut out mid-cycle, it’s likely because it detected a heat spike that could have started a fire. Instead of just swapping the part and moving on, take a moment to look at the lint trap or the vent hose. If they’re choked up, you’re just going to blow the new fuse the moment you turn the power back on.
If you aren’t 100% sure the fuse is the culprit, don’t guess. I’ve seen plenty of people buy new parts only to find out it was a faulty heating element all along. The best way to be certain is by testing a thermal fuse with a multimeter. Set your meter to the continuity setting and check for a beep. If you get no signal, that fuse is definitely toast. It’s a quick bit of detective work that saves you a trip to the spares shop and a lot of unnecessary frustration.
A Few Bits of Advice Before You Start Wrenching
- Don’t just swap the fuse and walk away. If the fuse blew, something else—usually a clogged lint trap or a blocked vent—caused it to overheat. If you don’t fix the source, you’ll be back here doing this again in a week.
- Get yourself a multimeter. You can’t just look at a fuse and guess if it’s gone; you need to test for continuity. It takes two minutes and saves you the headache of replacing parts that aren’t actually broken.
- Treat the wires like they’re made of glass. Most of these little spade connectors are thin and can tear if you’re tugging too hard. If you bend them too much while trying to get them off, you’re looking at a much bigger job.
- Keep a handful of spare fuses in your toolbox. They’re cheap, they’re tiny, and there’s nothing worse than getting a machine halfway apart only to realize your replacement is a dud.
- Watch your fingers when you’re reaching into the chassis. I’ve seen enough people nick themselves on sharp sheet metal edges to know that a little caution goes a long way.
Don't bin it just yet
Most of the time, a machine that won’t heat up isn’t actually “broken”—it’s just a single, cheap fuse doing its job to keep things safe.
Before you go ordering a whole new unit, check that little fuse; it’s often the only thing standing between a working machine and the scrap heap.
Always make sure the power is completely disconnected before you start poking around, because a thermal fuse is a safety component for a reason.
Don't Toss It Just Yet
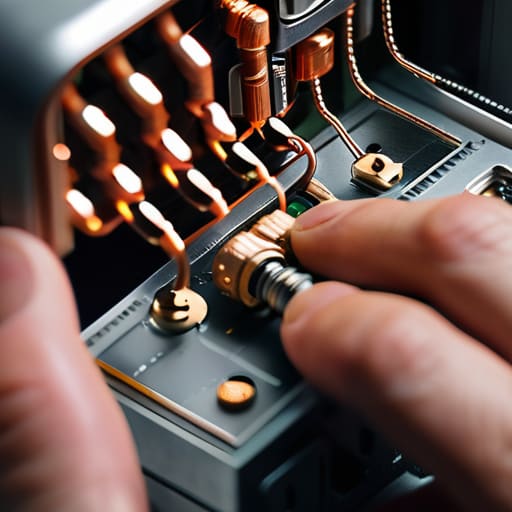
At the end of the day, replacing a thermal fuse isn’t some high-level engineering feat; it’s just about having the patience to find it and the sense to unplug the machine before you start poking around. You’ve checked the connections, you’ve sourced the right part, and you’ve navigated the guts of the unit without losing any screws in the carpet. Just remember that once that new fuse is in place, you should take a moment to look at why it blew in the first place. Whether it was a clogged lint filter or a heating element acting up, catching the root cause is what keeps the machine running long-term instead of just resetting the clock on the next breakdown.
I’ve spent eighteen years pulling these machines apart, and I’ll tell you what I see most often: a perfectly good appliance sitting on a kerbside because someone thought a dead fuse meant the whole thing was rubbish. It’s a waste, plain and simple. There is a real, quiet satisfaction in hearing that motor hum back to life because you decided to fix it yourself rather than clicking ‘buy now’ on a shiny new replacement. Don’t let a five-pound part be the reason a good machine ends up in a landfill. You’ve got this.
Frequently Asked Questions
If I replace the fuse and it blows again straight away, does that mean the whole heating element is shot?
If it pops again immediately, yeah, you’re likely looking at a faulty heating element. The fuse is just the messenger; it’s doing its job by cutting the power before things get dangerous. If the element has a short circuit, it’ll draw too much current and kill that new fuse in seconds. Don’t keep swapping fuses like they’re sweets—check the element for continuity next, or you’ll just be wasting your time and money.
Do I need to buy the exact same part number, or can I use a different fuse as long as the temperature rating is the same?
Look, I’ve seen people try to get creative with parts, and it’s usually a mistake. If you can get the exact part number, do it. It’s the safest bet because it’s designed for that specific machine’s heat profile. If you absolutely can’t find it, the temperature rating must match perfectly—don’t go guessing. But even then, different manufacturers build things differently. Stick to the original if you want to avoid a headache later.
Is there any way to test if the fuse is actually the problem before I start taking the whole casing apart?
You’re thinking ahead, and that’s the right way to do it. I’ve spent far too many afternoons unscrewing panels only to find the fuse was perfectly fine. If you’ve got a multimeter, set it to the continuity setting. Touch the probes to the two ends of the fuse. If it beeps, the circuit is closed and the fuse is good. No beep? Then you’ve found your culprit. Otherwise, keep the casing on.
