








I was standing in a customer’s kitchen in Clifton last Tuesday, staring at a washing machine that had decided to give up the ghost mid-spin. The owner was already halfway through a Google search for a brand-new replacement, convinced the whole unit was scrap metal. I just reached for my screwdriver, because I knew exactly what was happening: they weren’t actually dealing with a dead machine, they were just looking at a simple case of replacing carbon brushes in a motor. It’s the same story every week; people see a motor that won’t turn and assume the heart of the machine has stopped beating, when really, it’s just a tiny, worn-down bit of conductive material that’s reached its limit.
I’m not going to give you a lecture on electrical engineering or hide behind fancy jargon. Instead, I’m going to show you how to identify the signs of wear, how to get inside without stripping your screws, and the proper way to seat those new brushes so they don’t fail you in a month. We’ll get through the whole process of replacing carbon brushes in a motor without any of the nonsense, so you can save your money and keep that appliance out of the landfill where it belongs.
Guide Overview
Tools & Supplies
- Screwdriver (to remove motor housing screws)
- Needle-nose pliers (to extract old brushes)
- Sandpaper (to clean commutator surface)
- Multimeter (to test continuity/function)
- Replacement carbon brushes (1 set specific to motor model)
- Contact cleaner (1 can to clean electrical contacts)
Step-by-Step Instructions
- 1. Before you even think about reaching for a screwdriver, unplug the damn thing. I don’t care if you think the switch is off; I’ve seen enough people get a nasty surprise because they assumed a machine was dead when it was just waiting for a bit of voltage. Get that plug out of the wall and leave it there.
- 2. Once you’re safe, you’ll need to get to the motor, which usually means stripping back the casing or flipping the machine on its side. You’re looking for two small plastic holders tucked into the end of the motor assembly. They’ll have two wires leading into them, and they’re usually held in place by a couple of small screws or a spring clip. Don’t force anything—if it’s stuck, there’s probably a bit of grit or old grease acting like glue.
- 3. Now, take your time unscrewing those holders to release the old brushes. As they slide out, you’ll see a little bit of black dust everywhere; that’s normal, but try not to let it get into the rest of the motor. I always keep a damp rag handy to wipe down the area once the old bits are out, because you don’t want that carbon grit migrating into parts of the machine where it doesn’t belong.
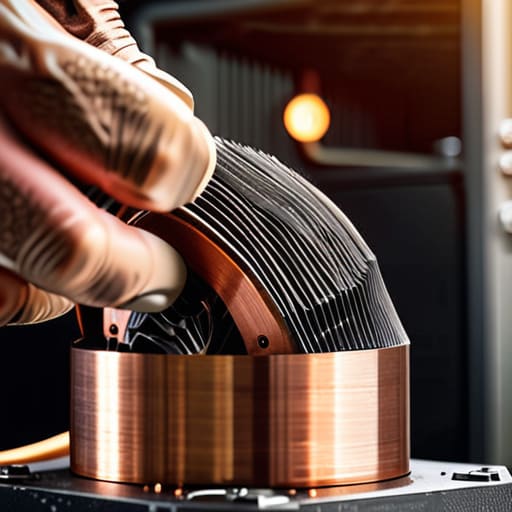
- 4. Take a proper look at the commutator—that’s the copper part the brushes rub against. If it looks dark, pitted, or has deep grooves in it, a quick wipe with a bit of fine sandpaper or a clean cloth might be needed. If the copper looks like it’s been through a war zone, you might have a bigger problem than just brushes, but usually, a simple clean-up is all it takes to get things moving again.
- 5. Slide your new brushes into the holders. Make sure they’re seated straight; if they go in at an angle, they’ll wear down unevenly and you’ll be right back where you started in a month. You’ll feel a bit of spring tension as you push them in, which is exactly what you want. Check the length against the old ones before you finish, just to be absolutely certain you’ve got the right part for your specific model.
- 6. Screw the holders back into place and reconnect the wires. If the wires look frayed or the insulation is brittle from years of heat, this is the time to fix them, not ignore them. Once everything is tucked back in and the casing is closed up, give the motor a little manual spin with your hand to make sure nothing is catching before you plug it back in.
Understanding Replacing Carbon Brushes in a Motor

Now, before you go diving in with a screwdriver, you need to know what you’re actually looking at. I’ve seen plenty of folks mistake a dead motor for a total write-off, when really, it’s just the brushes that have given up the ghost. You’ll know something is up if you notice excessive sparking while the machine is running, or if it just lacks the muscle it used to have. These little blocks of carbon are designed to wear down—that’s their whole job—but once they get too short, they can’t maintain a solid connection.
While you’ve got the casing open, don’t just swap the parts and bolt it back together. Take a proper look at the commutator inspection tips I always tell my apprentices: check the copper surface for any deep grooves or heavy black buildup. If the surface looks pitted or burnt, new brushes won’t fix a thing. Also, keep an eye on the brush holder assembly; if the springs feel weak or the plastic looks melted, that’s a sign of heat issues that go deeper than just simple wear.
Key Things to Know
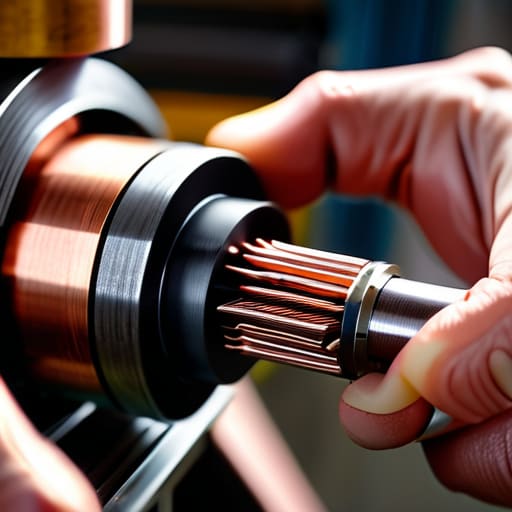
Before you go buying parts online, you need to know what you’re actually looking at. When you pull that brush holder assembly out, don’t just swap the bits and hope for the best. I’ve seen plenty of people replace the brushes only to find the motor still won’t turn because they ignored the commutator inspection tips I always tell my apprentices. If that copper surface looks pitted, blackened, or has deep grooves in it, a fresh set of brushes won’t do a lick of good. You need to make sure that contact point is clean and smooth, otherwise, you’re just wasting your afternoon.
Keep an eye out for common carbon brush wear signs while you’ve got the casing open. If you see a fine, dark dust coating the inside of the housing, that’s your warning. It’s usually a sign that the brushes are dragging or the motor is struggling. I always tell folks that motor sparking troubleshooting starts with a simple visual check; if you see blue flashes through the vents while it’s running, those brushes are likely down to their nubs. It’s better to catch it now than to smell burning plastic later.
A Few Bits of Wisdom Before You Get Stuck In
- Don’t go buying the cheapest ones you find online. I’ve seen plenty of people try to save a few quid on generic brushes, only for them to crumble or arc like a firework after three weeks. Stick to the proper part for your specific model.
- Get yourself a decent can of contact cleaner. While you’ve got the motor open, give the commutator a quick wipe to clear out all that fine black dust. If you leave the old grit in there, you’re just inviting the new brushes to struggle.
- Check the spring tension while you’re at it. If the spring feels a bit limp or looks like it’s lost its fight, it won’t press the brushes firmly against the commutator. A loose brush is a recipe for a motor that’s going to act up sooner rather than later.
- Watch your fingers near the commutator. Those copper segments are delicate, and you don’t want to go scratching them up with a screwdriver while you’re trying to seat the brushes. It’s a precision job, not a demolition derby.
- Always replace them in pairs if you can. If one side is worn down to the nub, the other isn’t far behind. It’s much easier to do the job properly once and get back to your tea than it is to pull the whole machine apart again in a month’s time.
The Bottom Line
Don’t wait for the smell of burning or a motor that won’t spin; if those brushes look like little nubbins, swap them out now and save yourself the headache.
Always grab a set of spares when you’re buying the new ones, because you’ll be glad you have them when the next machine starts acting up.
Treat the motor with a bit of respect—clean out the dust and debris while you’ve got it open, or you’re just inviting the same problem back in a month’s time.
Before You Close the Case
So, once you’ve got those new brushes seated properly and the housing is screwed back tight, give the motor a quick visual check. Make sure no stray wires are poking out and that you haven’t left a screwdriver lying where it shouldn’t be. It sounds simple, but I’ve seen more than one person rush the finish only to find a loose screw rattling around inside the machine a week later. Remember, it’s not just about getting the parts in; it’s about ensuring the connection is clean and the tension is right. If you’ve done it correctly, that motor should hum along just like the day it left the factory, rather than making those dreaded grinding noises that signal the end of the road.
At the end of the day, replacing a few bits of carbon is a tiny bit of effort compared to the cost of a brand-new appliance. It’s a bit of a nuisance to get your hands greasy, I know, but there is a real satisfaction in knowing you’ve saved a machine from the scrap heap. Most people see a dead motor and think “bin it,” but usually, it’s just a machine asking for a little bit of attention. Don’t let a five-pound part be the reason something useful ends up in a landfill. Keep your tools handy, keep your wits about you, and don’t be afraid to get stuck in.
Frequently Asked Questions
Can I just keep using them for a few more months if they aren't completely gone yet?
Look, I get it. You’re looking at them, they still look like they’ve got a bit of life left, and you think, “Why bother now?” But here’s the thing: I’ve seen too many motors go up in smoke because someone tried to squeeze an extra three months out of a dying brush. If they’re getting short, they’ll start arcing, and that’s when you turn a cheap part into a dead machine. Just swap them.
How do I know if I need to replace just one brush or the whole set?
Look, I’ve seen people try to get clever and just swap one side, but honestly? Don’t bother. If one brush is worn down to the nub, the other one isn’t far behind. They’ve been rubbing against that commutator at the same rate for years. You might save a few quid today, but you’ll be back at my door in three months when the other side fails. Just change the set. It’s simpler and it actually works.
Is there a way to tell if the motor itself is shot, or is it definitely just the brushes?
Look, I’ve seen plenty of people bin a perfectly good machine because they couldn’t tell the difference. If the motor is smelling like something’s actually burning or you’re seeing sparks flying through the vents, that’s a bad sign. But if it’s just dead silent or making a pathetic clicking sound, it’s usually just the brushes. If you swap them and it still won’t turn, then—and only then—do we start talking about a new motor.
