







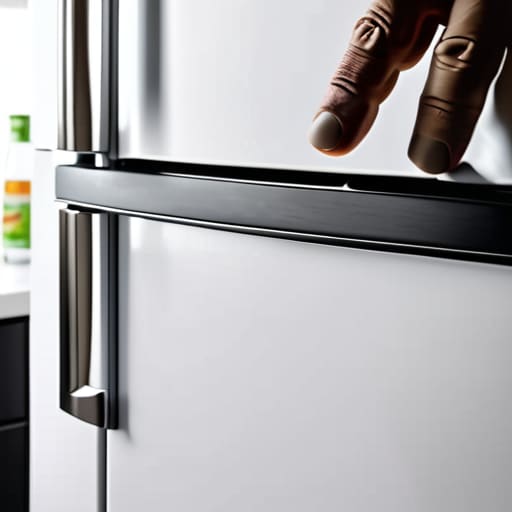

People will tell you that a fridge that won’t stay shut is a sign of a dying compressor or a motor that’s finally given up the ghost. They’ll try to sell you a brand-new appliance when the reality is much simpler: your gasket is just tired. I’ve spent eighteen years pulling apart machines in Bristol, and more often than not, the “broken” fridge is just gasping for air because of a perished bit of rubber. Learning how to replace a fridge door seal is one of those small, practical wins that saves you hundreds of pounds and keeps a perfectly good machine out of the scrap heap.
I’m not going to give you any of that overly complicated, manual-style nonsense that makes you feel like you need an engineering degree just to tidy up your kitchen. Instead, I’m going to show you exactly how to swap that seal out without making a mess of things. We’ll go through the proper way to prep the new part, how to get it seated so it actually holds, and a little trick I use to make sure it stays airtight. It’s straightforward work, and once you’ve done it, you’ll realize you’ve just saved yourself a massive headache.
Guide Overview
Tools & Supplies
- Flathead screwdriver (to pry old seal)
- Hairdryer or heat gun (to soften new rubber)
- Soft cloth (to clean surfaces)
- Replacement door gasket (specific to fridge model)
- Mild soap and water (for cleaning tracks)
Step-by-Step Instructions
- 1. First thing you need to do is get the fridge empty. I know, it’s a pain, but you aren’t going to be able to manhandle the door around while it’s heavy with milk and jars. Clear everything out onto the kitchen counter or a table. Once the door is light, you can actually work without feeling like you’re wrestling a heavy metal beast.
- 2. Next, grab a screwdriver and find out how your seal is attached. Most modern machines have a seal that just pushes into a groove—what we call a “press-fit”—but some older models might have screws holding the gasket in place. If you see screws, unscrew them carefully and tuck them into a jar so they don’t end up on the floor. If it’s just a groove, you’re in luck; it’ll be a bit easier.
- 3. Now, you need to pry the old seal out. I usually use a flat-head screwdriver or a small blunt tool, but be careful not to gouge the plastic housing of the door. You want to catch the edge of the rubber and pull it steadily out of that track. It might feel stubborn, but don’t go hacking at it. Once it’s out, give the groove a good wipe with a damp cloth to get rid of any old crumbs or mouldy bits that have been hiding in there.
- 4. Before you even touch the new seal, take a look at it. If it’s arrived in a box, it’s probably been folded or squashed, which makes it look a bit wonky. I always find it helpful to soak the new seal in warm water for a few minutes or run it under a hot tap. This softens the rubber and helps it remember its proper shape, making it much easier to seat into the groove without it fighting you.
- 5. Start the installation at the corners of the door. Don’t just start at the top and work your way down, or you’ll end up with a bunch of slack at the bottom. Push the corners in first to anchor it, then work your way along the edges, pressing the rubber firmly into the track. You want to use your thumbs to really work it into place so there are no gaps.
- 6. Once the whole thing is in, close the door and check the fit. If you see any spots where the seal is pulling away or looking thin, use a hairdryer on a low setting to gently warm those specific areas. The heat helps the rubber expand and settle into the groove properly.
- 7. Finally, do the “paper test.” Take a single sheet of paper, place it halfway in the door, and shut it. If you can pull the paper out with zero resistance, your seal isn’t making a good contact. If it grips the paper, you’ve done the job right and you can stop worrying about your electric bill for a while.
Understanding How to Replace a Fridge Door Seal
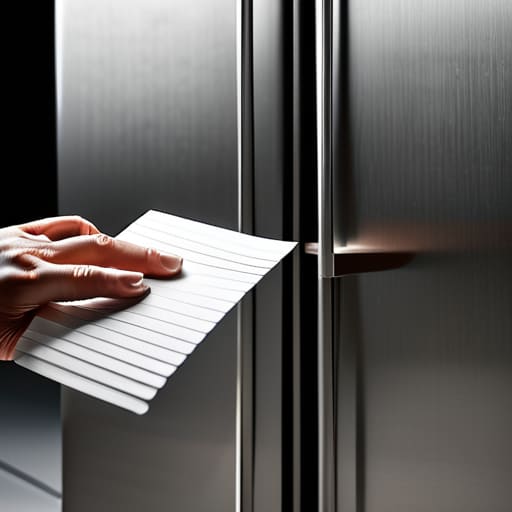
Before you go buying a new part, you need to be certain the seal is actually the culprit. I’ve seen plenty of people call me out for a “broken” fridge, only to find the compressor is fine and the seal is just dirty. A quick way to learn how to check fridge seal for leaks is the old paper test: close the door on a single sheet of paper. If you can pull it out with zero resistance, that gasket isn’t doing its job. You might also notice condensation pooling on the floor or the motor running constantly—these are classic signs of a faulty fridge seal that’s letting cold air escape.
If the seal looks intact but isn’t sticking, don’t panic. Sometimes the rubber just gets stiff from sitting in a warehouse. A bit of warm soapy water for cleaning refrigerator door gaskets can work wonders, or even a quick blast from a hairdryer to soften the material. However, if the rubber is cracked or torn, you’re looking at a full replacement. Most modern ones just slide into a groove, but you’ll want to ensure the magnetic door seal installation is seated perfectly even all the way around, or you’ll be right back where you started.
Key Things to Know
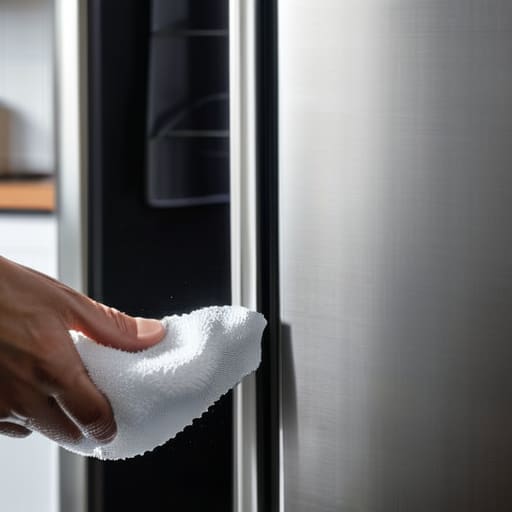
Before you go ordering a new part, you ought to be certain that’s what the problem actually is. I’ve spent plenty of afternoons in Bristol homes where the owner was convinced they needed a whole new unit, when in reality, they just had a bit of dried milk or crumbs stuck in the crease. A good first step is cleaning refrigerator door gaskets with nothing more than warm, soapy water and a soft cloth. If the seal is just dirty, it won’t seat properly, and you’ll be left wondering why your electric bill is climbing. If you’re still unsure, try the “paper test”—slide a banknote between the seal and the fridge; if it pulls out without any resistance, you’ve found your culprit.
One thing people often forget is that these seals aren’t just rubber; they’re magnetic. When you’re doing the magnetic door seal installation, you have to make sure the new gasket is seated perfectly flush. If it’s slightly twisted or pinched, it’ll never hold a vacuum. I always suggest using a hairdryer on a low setting to gently warm the new rubber; it makes it much more pliable and helps it conform to the frame much faster.
Five bits of advice before you start pulling things apart
- Don’t just buy the first seal you see online; make sure you’ve got the exact model number from the sticker inside the fridge, otherwise you’ll end up with a piece of rubber that looks right but won’t sit flush.
- Give the new seal a quick warm bath or a run with a hairdryer before you fit it; it makes the rubber much more pliable and stops it from fighting you when you’re trying to tuck it into the groove.
- Clean the actual frame of the fridge with a bit of warm soapy water while the old seal is off, because if there’s old gunk or crumbs in that channel, the new seal won’t ever get a proper grip.
- Once the new one is in, close the door and check for gaps with a piece of paper; if you can slide the paper out easily, the seal isn’t seated properly and you’ll be wasting money on your electric bill.
- Resist the urge to go straight to the scrap heap if the seal looks a bit wonky at first; sometimes it just needs a few days of the door being shut tight to find its shape and settle in.
Before You Toss the Fridge
Don’t go buying a new machine just because the door isn’t staying shut; most of the time, it’s just a bit of grit in the seal or a seal that’s lost its stretch.
Check the seal for cracks or tears first, because if the rubber is actually split, a bit of cleaning won’t do a thing and you’ll definitely need the replacement part.
When you get the new seal, give it a bit of a warm soak or a hairdryer treatment to help it settle into place, otherwise you’ll be fighting it all day.
Don't Toss the Fridge Just Yet
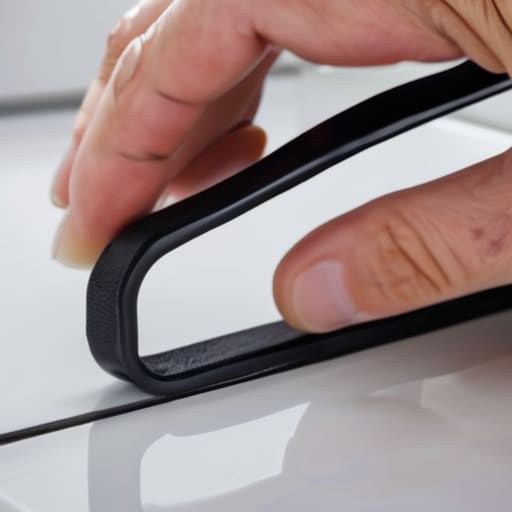
At the end of the day, replacing a seal is one of those small, annoying jobs that most people avoid by assuming the whole appliance is on its way to the tip. Just remember to check that the new gasket is seated properly and give it a bit of a massage to ensure it’s making a proper, airtight connection along the entire frame. If you’ve cleaned the surface and swapped the part correctly, you’ve already saved yourself a massive headache and a lot of wasted electricity. It really is as simple as matching the part number and having a bit of patience while the new rubber settles in.
I’ve spent nearly two decades looking at the insides of machines, and I can tell you that the world doesn’t need more landfill; it needs more people willing to pick up a screwdriver. There is a quiet sort of satisfaction in fixing something that others would have just written off as “broken.” Once you get the hang of these little repairs, you start to see that most appliances aren’t actually dying—they’re just asking for a bit of maintenance. So, don’t be intimidated by a bit of perished rubber. You’ve got this, and your fridge will be thanking you for the extra few years of life.
Frequently Asked Questions
Do I really need to buy a brand-new seal, or can I just clean the old one and hope for the best?
Look, I’ve seen plenty of people try to scrub a seal with hot soapy water and pray for a miracle. If it’s just a bit of grime or some spilled jam making it stick, go ahead and clean it. But if the rubber is cracked, stiff, or won’t stay sucked against the frame, cleaning it won’t do a thing. Don’t waste your time—if the material is perished, buy the new part.
If the seal is still soft but just not sticking, is there a way to reshape it without replacing the whole thing?
If it’s still supple and hasn’t cracked, don’t go buying a new one just yet. Most of the time, it’s just lost its shape or has some invisible gunk preventing a tight fit. Give the seal a proper scrub with warm, soapy water first. If that fails, try a hairdryer on a low setting to warm the rubber up; it’ll soften and expand, helping it find its seat again. Just don’t go overboard and melt it.
How do I know if the problem is actually a dodgy seal or if my fridge is just misaligned on the floor?
It’s a fair question, and honestly, I see people buying new seals when they really just need to level the kitchen floor. Do the paper test first: close the door on a single sheet of paper. If you can yank it out with no resistance, the seal is shot. But if the paper feels stuck and the door still feels “bouncy” or won’t stay shut, your fridge is likely leaning. Check the feet first.
