







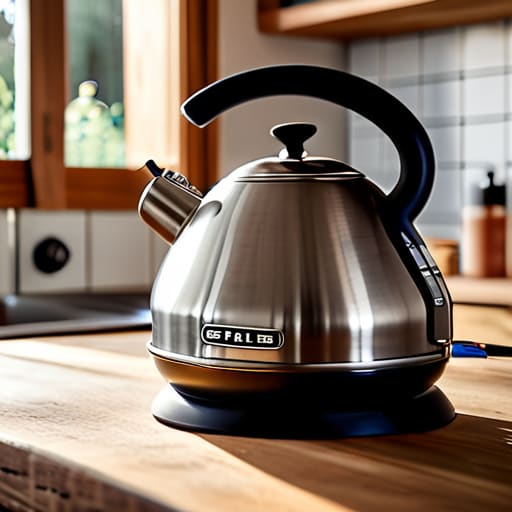

I was sitting in my kitchen in Bristol last Tuesday, staring at a perfectly good kettle that refused to boil, and all I could think about was the sheer waste of it all. Most people see a cold kettle and immediately head to the shops for a shiny new one, convinced the whole thing is rubbish. They think it’s a complex electrical failure, but usually, it’s just a tired heating element that’s given up the ghost. Learning how to replace a kettle element isn’t some high-level engineering feat; it’s a simple fix that keeps a decent appliance out of the landfill where it doesn’t belong.
I’ve spent eighteen years pulling apart everything from washing machines to vacuums, and I can tell you that most “broken” things are just waiting for a bit of attention. In this guide, I’m going to show you the no-nonsense way to get in there, swap that part out, and get your morning tea back on track. I won’t be wasting your time with technical jargon or fancy tools you don’t own; I’m just going to give you the straight truth on how to replace a kettle element so you can stop throwing money away.
Guide Overview
Tools & Supplies
- Screwdriver (to remove the base or housing)
- Multimeter (to test continuity and ensure power is off)
- Pliers (to disconnect wire terminals)
- Replacement heating element (compatible with your specific model)
- Electrical tape or heat shrink tubing (to secure connections)
Step-by-Step Instructions
- 1. Before you even think about reaching for a screwdriver, you need to unplug the kettle. It sounds obvious, but I’ve seen enough people nearly give themselves a shock to know that “common sense” isn’t always common. Make sure the base is clear and the cord is well away from any water.
- 2. Turn the kettle upside down on a steady surface to get a good look at the bottom. Depending on your model, the element will either be a visible coil (the old-fashioned kind) or a flat plate tucked inside. If it’s the exposed type, you’ll likely see two or three screws holding the terminal connections in place. Loosen those carefully; don’t go forcing them if they’re stuck, or you’ll just strip the heads.
- 3. Once the screws are loose, you’ll need to pull the wires off the terminals. If they feel stuck, give them a gentle wiggle. Most of the time, they’re just held on by a small spade connector. If you’re worried about where they go, take a quick photo with your phone first. I do this every single time because memory is a fickle thing once you’ve got a pile of loose wires in front of you.
- 4. Now you need to get the old element out. If it’s a built-in unit, you might have to unscrew the housing or even pop the lid of the kettle to access the underside. It can be a bit of a fiddly business, especially if limescale has acted like glue between the parts. Use a bit of patience here; if you force it, you might crack the plastic casing, and then you’ve turned a simple repair into a trip to the skip.
- 5. Before you pop the new element in, take a clean cloth and wipe down the area. I can’t tell you how many times I’ve seen someone install a perfectly good part only for it to fail because there was grit or old scale sitting in the connection point. You want a clean, dry surface for that new element to sit on.
- 6. Slide the new element into position and line up the terminals. Thread your wires back onto the connectors—make sure they are snug and secure. If a wire is loose, it’ll arc, get hot, and potentially melt your kettle. Give each wire a tiny tug just to be certain they aren’t going anywhere.
- 7. Screw everything back together in the reverse order you took it apart. Once the bottom plate is firmly back in place and the screws are tight, you can plug it back in. Fill it up, switch it on, and if you hear that familiar click of the thermostat, you’ve done a proper job.
Understanding How to Replace a Kettle Element
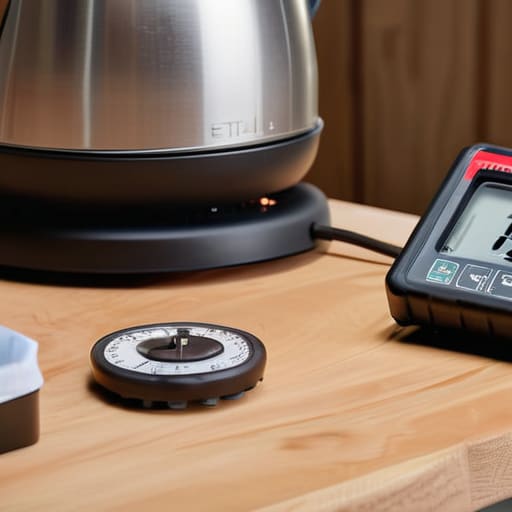
Before you start unscrewing anything, you need to be sure that’s actually the problem. I’ve seen plenty of people tear a kettle apart only to find the base connection was just loose or the limescale had built up so thick it was acting as insulation. The most obvious signs of a faulty heating element are a kettle that takes ages to boil or one that simply refuses to click on at all. If you want to be certain before you go buying parts, grab a multimeter. Testing the heating element with a multimeter is the only way to know if the circuit is actually broken or if you’re just chasing ghosts.
If the element is dead, you’re usually looking at either a simple swap or a more involved job depending on whether it’s a concealed element or a traditional coil. If you’re dealing with an older model, you might even be replacing the heating coil in the kettle directly. Just remember, this isn’t a job for the faint of heart or the careless. Always double-check your connections and keep your workspace dry; proper safety precautions for appliance repair aren’t just suggestions, they’re the reason you get to keep your eyebrows.
Key Things to Know
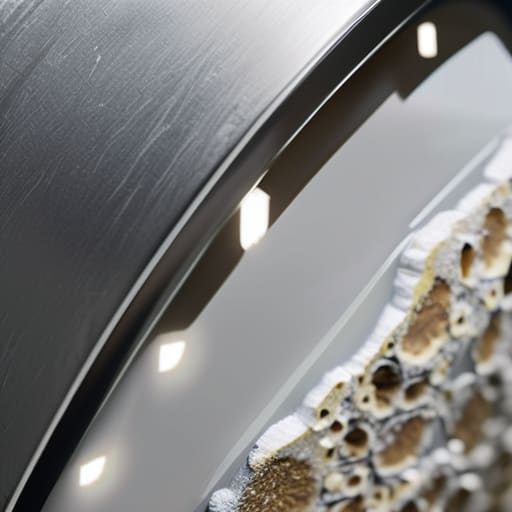
Before you go diving into the guts of your kettle, there are a few bits of reality you need to sit with. First off, don’t just assume it’s the element itself. Sometimes the problem is actually a dodgy kettle thermostat replacement job waiting to happen, or a bit of limescale buildup that’s acting like an insulator. If you see white, crusty flakes all over the base, give it a good descale before you start unscrewing anything. It’s a waste of a perfectly good morning if you replace a part only to find the real culprit was just a bit of calcium.
You also need to be smart about your kit. If you’re serious about this, you’ll want a decent set of electric kettle repair tools—mostly just some precision screwdrivers and a pair of pliers—but the real hero is a multimeter. Testing the heating element with a multimeter is the only way to be certain the circuit is actually broken rather than just disconnected. And please, for the love of all things practical, make sure the plug is pulled. I’ve seen enough singed fingers to know that safety precautions for appliance repair aren’t just suggestions; they’re the difference between a working kettle and a trip to the hospital.
A bit of wisdom before you start poking around
- Don’t go rushing in. Even if you think you’ve switched it off, double-check that the plug is actually out of the wall. I’ve seen enough singed fingertips to know that “off” isn’t always “safe.”
- Keep a small tray or a couple of magnets handy. When you’re unscrewing the element, those tiny washers and screws have a habit of vanishing into the floorboards the moment you let go.
- If you’re replacing a concealed element—the kind hidden under the floor of the kettle—make sure the new one sits perfectly flush. If there’s even a tiny gap, you’ll end up with a leak that’ll ruin your kitchen counter.
- Check the wiring while you’ve got the guts of the thing exposed. If the insulation on the wires looks brittle or cracked, don’t just slap a new element in; fix the wires too, or you’re just asking for a short circuit.
- When you’re tightening everything back up, don’t go mad with the screwdriver. You want it firm, not crushed. I’ve opened plenty of kettles where someone’s over-tightened a screw and cracked the plastic housing entirely.
The Bottom Line
Don’t bin the kettle just because it’s gone cold; most of the time, it’s just a cheap element that’s given up the ghost.
Safety isn’t a suggestion when you’re messing with electricity—unplug the thing properly before you even think about unscrewing anything.
Keep your tools handy and your workspace dry, because a bit of patience and the right screwdriver can save you thirty quid on a new appliance.
A Final Word Before You Plug In
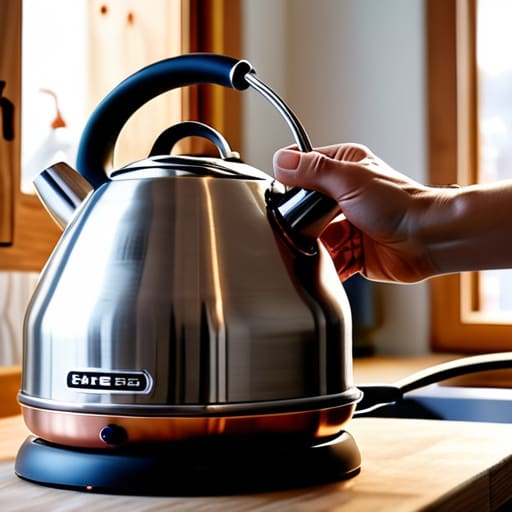
So, there you have it. Replacing a kettle element isn’t the daunting task the manual makes it out to be, provided you’ve kept your wits about you. Just remember the basics: make sure the kettle is completely unplugged before you even think about touching a screwdriver, and ensure that new element is a proper match for your model. I’ve seen far too many people rush this bit and end up with a kettle that either trips the fuse or, worse, leaks all over the kitchen counter. If you’ve seated that element firmly and tightened everything back up to where it belongs, you’ve done the hard part. It really boils down to patience and a steady hand, which is more than most people bother with these days.
At the end of the day, there is a quiet sort of satisfaction in fixing something yourself instead of just tossing it into a skip. We live in a world that expects us to throw everything away the moment it stops working perfectly, but I don’t buy into that. Every time you swap out a dead part and hear that familiar click of the switch, you’re proving that things are worth saving. Don’t let a bit of limescale or a burnt-out coil convince you that a perfectly good appliance is rubbish. Give it a second life, enjoy your tea, and remember: it’s rarely as broken as it looks.
Frequently Asked Questions
Is it actually worth the effort to swap the element, or should I just bin the kettle and buy a new one?
Look, if it’s a decent kettle, it’s absolutely worth the effort. I’ve seen far too many perfectly good machines sent to the landfill just because a ten-pound element gave up the ghost. If the body isn’t scaled up to death and the handle isn’t cracked, swap the part. It takes twenty minutes and saves you sixty quid. Don’t let a bit of copper and steel end up in a skip just because you’re feeling lazy.
How do I know for certain if it's the element that's gone and not just a dodgy plug or a blown fuse?
Before you start stripping wires, check the basics. If the kettle is dead, try a different socket first—it sounds simple, but I’ve seen it happen. If the fuse in the plug is blown, it’s usually a sign the element is drawing too much current or shorting out. The real test is a multimeter; if you get no continuity across the element terminals, it’s definitely gone. Otherwise, it’s just a bit of bad luck with a plug.
Can I use a generic element from a different brand, or do I need to find the exact match for my specific model?
Look, I’ve seen people try to force a generic element into a kettle, and it’s rarely a good idea. If the wattage is off or the physical fit isn’t spot on, you’re asking for a melted base or a tripped fuse. I always tell folks: find the exact match for your model. It saves you the headache of a failed repair and keeps your kitchen from smelling like burnt plastic. Stick to the specific part.
