







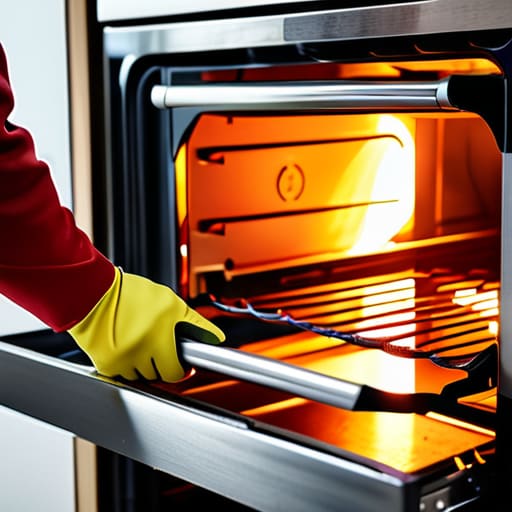

You’re staring at a cold oven and thinking you need to shell out hundreds for a service call or, worse, buy a brand-new cooker. Let me stop you right there. Most people think a dead heating element means the whole machine is scrap metal, but after eighteen years of pulling apart junked appliances in Bristol, I can tell you that’s just nonsense. Usually, it’s just one burnt-out coil that’s reached the end of its life. Learning how to replace an oven element isn’t some high-level engineering feat; it’s a straightforward job that most folks avoid simply because they’re intimidated by a few wires and a screwdriver.
I’m not here to give you a polished, corporate manual that reads like a legal disclaimer. I’m going to show you exactly how I do it in my own workshop, without the fluff or the fancy jargon. We’ll walk through the tools you actually need, how to spot the right part so you don’t waste your money, and the one crucial safety step most people skip. By the time we’re done, you’ll have that oven heating up again, and you’ll have kept a perfectly good appliance out of the landfill where it belongs.
Guide Overview
Tools & Supplies
- Screwdriver (Phillips or flathead depending on screw type)
- Needle-nose pliers (to disconnect terminal wires)
- Work gloves (for safety and handling)
- Replacement oven element (1 unit)
- Multimeter (optional, for testing old element)
Step-by-Step Instructions
- 1. First thing’s first: pull the plug. I don’t care if the oven is turned off at the dial; if you’re poking around in the guts of a machine, you need to kill the power at the wall or the fuse box. I’ve seen too many people get a nasty jolt because they thought they were being clever, and it’s just not worth the risk.
- 2. Once you’re sure you won’t get fried, you need to get inside. Most modern ovens have a little panel at the back, but if you’re dealing with an older model, you might have to unscrew the entire back casing. Lay your screws in a small bowl or a magnet tray; there is nothing more frustrating than hunting for a tiny screw in a pile of carpet lint halfway through the job.
- 3. Now, locate the element. It’ll be that big metal loop at the top or bottom that looks like it’s seen better days. You’ll see two wires connected to the ends of it with spade connectors. Gently wiggle those connectors off—don’t yank them with all your might or you’ll snap the terminal, but give them a firm, steady pull until they pop free.
- 4. You’ll see the element is held in place by a couple of screws or a mounting bracket. Unscrew these carefully. If they feel like they’ve been fused in place by years of spilled gravy and heat, give them a little bit of wiggle, but don’t force it. If you strip the head of the screw, you’ve turned a twenty-minute fix into a whole afternoon of swearing.
- 5. Once the old element is out, take a proper look at the space where it was sitting. I always tell people to give it a good clean with a damp cloth before putting the new one in. If there’s grease or crumbs baked onto the back of the oven, you’re just inviting a smoky mess the moment you turn the power back on.
- 6. Slide your new element into position and line up the holes. It should fit snugly, like it was meant to be there. Screw the mounting bracket back in, and then reconnect those spade connectors you pulled off earlier. Make sure they are seated firmly; if they’re loose, they’ll arc, and that’s how you end up with a burnt-out terminal instead of a working oven.
- 7. Finally, put the back panel or the access door back on and replace your screws. Plug the machine back in and run a quick test cycle. If it starts heating up without any weird smells or clicking sounds, you’ve done it. You’ve just saved yourself a hefty call-out fee for something that was essentially just a bit of metal and some wire.
Understanding How to Replace an Oven Element
Before you start stripping screws, you need to be certain that it’s actually the element that’s gone. It sounds obvious, but I’ve lost count of how many times I’ve turned up to a job only to find a tripped breaker or a loose connection at the terminal. If you see visible cracks, blistering, or a dark, burnt spot on the metal, those are classic oven heating element symptoms. However, if it looks fine but still isn’t getting hot, you’ll need to do a bit of detective work. I always suggest a bit of multimeter testing to check for continuity; if the circuit is broken inside that metal tube, the part is dead, plain and simple.
Once you’ve confirmed the fault, don’t just rush in. There are a few basic safety precautions for appliance repair that people tend to overlook in their rush to get dinner on the table. First, make sure the power is physically disconnected at the wall or the fuse box—don’t just rely on the oven’s own switch. I’ve seen enough people get a nasty shock because they thought “off” was safe enough. It isn’t. Take your time, keep your workspace clear, and remember that patience saves fingers.
Key Things to Know
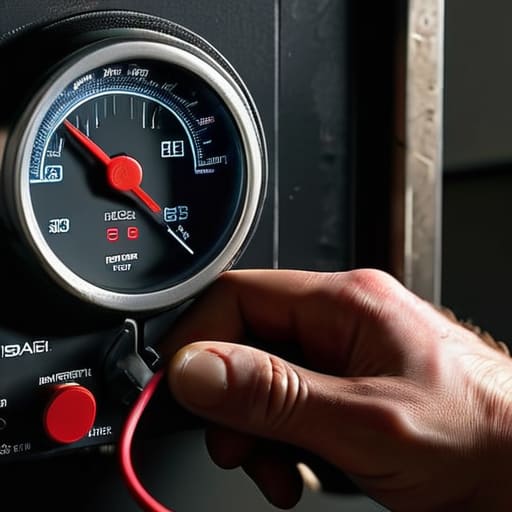
Before you go buying parts, you need to be sure that’s actually what’s gone wrong. I’ve seen plenty of folks tear an oven apart only to find out the issue was a tripped breaker or a faulty thermostat. The best way to be certain is through some basic multimeter testing oven element checks. If you can see a visible blister, a crack, or a dark spot on the coil, it’s a dead giveaway. But if it looks fine on the outside, you’ll need that meter to check for continuity. If the circuit is broken, the electricity has nowhere to go, and your oven stays cold.
One thing I always tell people is that safety isn’t optional when you’re poking around live wires. Even if you’ve unplugged the machine, treat every terminal like it’s live. When you’re moving through the oven element installation steps, make sure those spade connectors are tight. A loose connection creates heat, and heat creates more problems down the line. I’ve seen more melted terminals from poor connections than I have from actual element failures. Do it right the first time, and you won’t be calling me out to fix it again next month.
A Few Bits of Advice Before You Get Stuck In
- Don’t go buying the first heating element you see on the internet. Get your oven model number off the door frame or the back first; if you get the wrong part, you’ll just end up with a very expensive paperweight and a cold dinner.
- When you’re unscrewing the old element, don’t go manhandling it. Those terminals can get brittle after years of heating up and cooling down, and the last thing you want is to snap a wire and turn a simple fix into a nightmare.
- Check the wiring while you’ve got the guts of the machine exposed. If the insulation on the wires looks cracked or scorched, replacing the element won’t do much good—you’ll just be heating up a fire hazard.
- Make sure those mounting screws are snug, but for heaven’s sake, don’t over-tighten them. I’ve seen plenty of people strip the threads because they thought “tighter is better,” and then they’re left wondering why the element is rattling.
- Give the whole area a quick wipe down with a damp cloth before you seal it back up. It’s a silly thing, I know, but if you leave crumbs or grease near that new element, it’ll start smoking the moment you turn it on, and you’ll think you’ve broken it straight away.
Don't Bin the Whole Oven Just Yet
Most “broken” ovens are just suffering from a single burnt-out part, and replacing an element is a fraction of the cost of a new machine.
Safety isn’t optional; pull the plug and let the thing cool down completely before you start poking around the internals.
Always double-check your model number before ordering a replacement, because a part that looks right might not actually fit.
Before You Close the Oven Door
At the end of the day, replacing an element isn’t some grand engineering feat; it’s just about having the right part and the patience to screw the terminals in tight. You’ve checked the power, matched the model number, and swapped the old, burnt-out coil for the new one. Just make sure you haven’t left any stray wires or tools sitting on the floor of the oven cavity before you plug it back in. If you’ve followed the steps and double-checked your connections, you’ve done the hard part. It’s a simple job, but it’s one of those small wins that saves a perfectly good appliance from a trip to the landfill.
I’ve spent eighteen years looking at machines that people gave up on far too soon. Most of the time, they weren’t actually “broken”—they were just waiting for someone to take ten minutes to fix a single component. There’s a real bit of satisfaction in hearing that heating element click on and seeing the temperature climb, knowing you did it with your own two hands. Don’t let the big manufacturers convince you that everything is disposable. Once you realize how easy these little repairs are, you’ll start seeing potential instead of rubbish every time a gadget makes a funny noise.
Frequently Asked Questions
I’ve found the new element, but how do I know if the terminal connectors are actually good or if they’re too corroded to use?
Have a look at the metal. If they’re just a bit dull, they’re fine. But if you see crusty white powder, green fuzz, or if the metal looks pitted and flaky, leave them be. That’s corrosion, and it’ll just cook your new element. If the terminals are dodgy, you’ll need to crimp on some new spade connectors. Don’t try to force a loose fit; a bad connection is a fire waiting to happen.
Do I really need to replace the whole heating element if it's just the top part that looks burnt, or can I get away with something else?
Look, if it’s just a bit of surface discoloration, you might be fine. But if that “burnt” look is actually a physical blister, a crack, or a bulge in the metal, it’s done. That’s a sign the internal insulation has failed. Don’t try to sand it down or patch it; you’ll just end up blowing a fuse or, worse, causing a fire. If the integrity is gone, swap the whole thing out.
Once I've swapped it out, how can I tell if the problem was actually a faulty element or if something else in the oven is pulling too much power?
If the new element works perfectly, then the old one was definitely the culprit. But if the oven still trips the breaker or won’t heat, you’re likely looking at a deeper issue. It could be a dodgy thermostat or, more often, a fault in the wiring itself. If you’ve swapped the part and the power still cuts out, stop poking around and call someone. I’ve seen enough burnt-out sockets to know when a job’s gone beyond a simple fix.
