







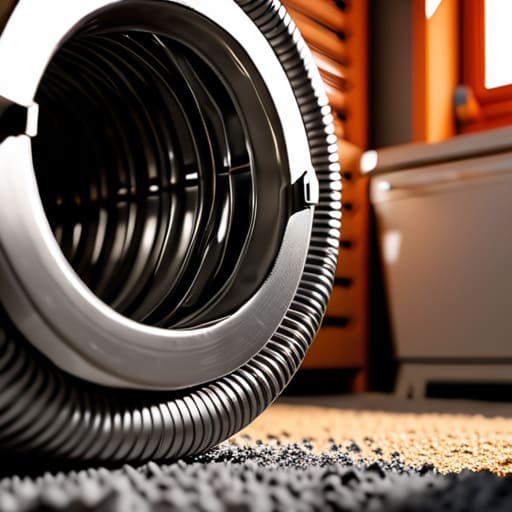

I was elbow-deep in the guts of a Bosch last Tuesday when I saw it again—a thick, grey plug of lint wedged so tight in the duct that the machine looked like it was gasping for air. People think their dryer is “broken” or that the heating element has finally given up the ghost, but more often than not, they just haven’t learned how to clean a dryer vent hose properly. I’ve spent eighteen years pulling these things out from behind machines in Bristol, and I can tell you, most of them aren’t actually broken; they’re just suffocating.
I’m not here to give you some glossy, complicated manual that requires a degree in engineering. I’m going to show you the practical, no-nonsense way to get that airflow back without spending a fortune on a specialist. We’ll go over exactly what tools you actually need, how to reach those stubborn bends, and how to make sure you aren’t just moving the mess around. If you want to stop wasting electricity and actually extend the life of your appliance, you’re in the right place.
Guide Overview
Tools & Supplies
- Vacuum with hose attachment for initial debris removal
- Dryer vent cleaning brush kit for scrubbing the interior
- Screwdriver to detach the dryer and vent connections
- Damp microfiber cloth for wiping connections
- Mask or N95 respirator to prevent inhaling lint particles
Step-by-Step Instructions
- 1. First things first, you need to unplug the machine. I don’t care if it’s switched off at the wall; you’re going to be reaching into dark, cramped spaces behind a heavy metal box, and I’ve seen enough people get a nasty shock to last a lifetime. Once that’s sorted, pull the dryer out from the wall just enough so you can actually see what you’re doing.
- 2. Now, you’ll need to disconnect the hose from both the back of the dryer and the wall vent. Most of these are held on by simple screw clamps, so get a screwdriver ready. As you pull the hose away, be prepared for a cloud of grey fluff to follow you. I’ve seen enough of these hoses choked so tight with lint that you couldn’t even fit a finger through them, so move slowly and try not to breathe it all in.
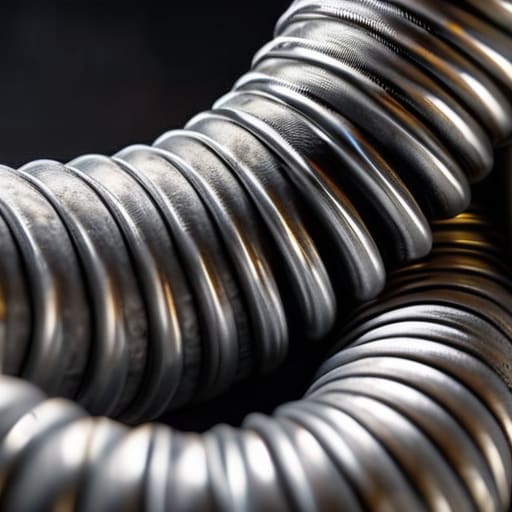
- 3. If you’re using one of those flexible foil hoses, take a good look at it. If it’s crushed, kinked, or feels like it’s held together by nothing but hope, throw it away. I keep a stash of old filters and hoses in my shed, and I can tell you from experience that a crushed hose is just a lint trap waiting to happen. If it’s in good shape, take it outside or into the garden to shake it out.
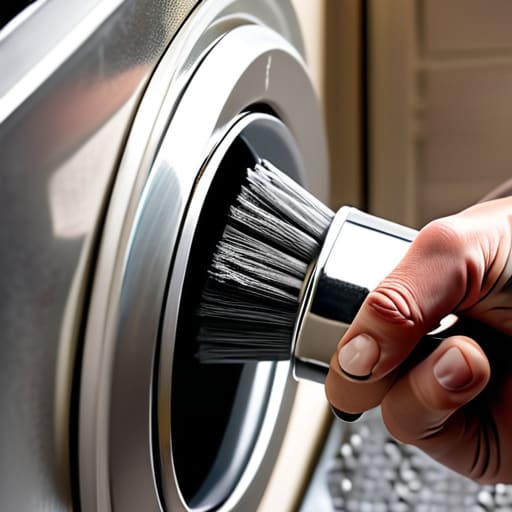
- 4. For the actual cleaning, I highly recommend getting a proper dryer vent cleaning kit—the kind with the long, flexible rods and a brush on the end. You’ll feed the brush through the hose, working your way from the machine toward the wall. You want to scrub the inner walls of that duct until you aren’t seeing any more clumps of lint coming out the other side.
- 5. Don’t forget the wall part of the vent. Once the hose is clear, stick that brush into the hole in the wall and give it a good go. If you have a vent flap on the outside of your house, go out there and make sure it actually opens and closes freely. I’ve seen plenty of houses where the external vent is so clogged with debris that the flap is practically glued shut.
- 6. Before you shove everything back into place, give the back of the dryer a quick vacuum. It’s a waste of time to clean the hose if you’re just going to leave a pile of dust right where the air is supposed to go. Once the area is clear, reconnect the hose, make sure the clamps are tight and secure, and slide the machine back into its home.
Understanding How to Clean a Dryer Vent Hose
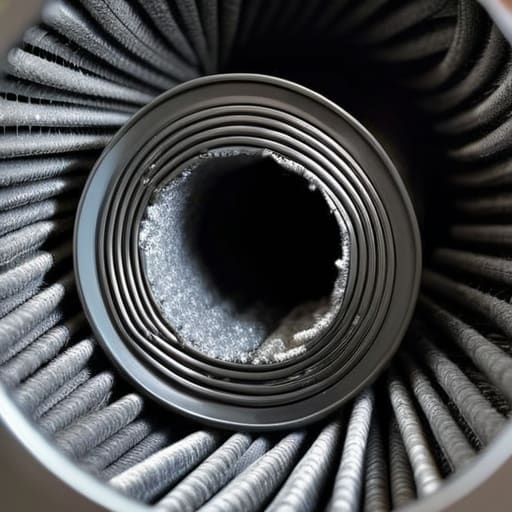
The thing about these machines is that they’re designed to push air, but they aren’t designed to fight a wall of felt. If you start noticing your laundry taking two or three cycles to actually dry, or if the machine feels unusually hot to the touch, those are your first dryer lint buildup symptoms. Most people think they just need more detergent, but usually, it’s just that the air has nowhere to go. I’ve seen far too many perfectly good dryers end up in a skip because the thermal fuse blew—not because the motor died, but because the heat couldn’t escape.
If you’re serious about this, don’t just poke a vacuum nozzle down there and call it a day. You really need a proper dryer vent brush kit to get into the bends of the ductwork. I always tell my customers that preventing dryer fires is much cheaper than replacing a burnt-out unit. It’s about getting that deep clean in the cleaning dryer exhaust duct, right up to where it meets the outside wall. It’s a bit of a chore, I’ll grant you, but it’s the only way to do it right.
Key Things to Know
One thing I see constantly in my van is people ignoring the obvious signs until it’s too late. If you notice your clothes are still damp after a full cycle, or if the machine is running uncharacteristically hot, you’re likely looking at dryer lint buildup symptoms. It’s not just about the clothes taking longer to dry; it’s about the heat having nowhere to go. When that air can’t escape, you’re putting massive strain on the heating element and the motor, which is a quick way to turn a simple maintenance job into a very expensive replacement.
If you’re serious about doing this right, don’t just poke a coat hanger down the pipe and call it a day. You really need a proper dryer vent brush kit to get into the bends of the ductwork. I’ve seen enough scorched lint to know that preventing dryer fires starts with getting the stuff stuck deep in the walls, not just what’s visible behind the machine. It’s a bit of a chore, but it’s much better than the alternative.
Five things I’ve learned from pulling far too many lint-clogged hoses
- Stop using those foil accordion tubes. They’re a nightmare. They trap lint in every single bend, and once that stuff settles, you’ll never get it all out. Get yourself a smooth-walled rigid duct if you can; it’s much harder for the debris to grab hold.
- Don’t just clean the hose and ignore the wall connection. I’ve seen plenty of people clear the machine side only to find the blockage is actually six feet down the line inside the house wall. If you can’t see through the whole run, you haven’t finished the job.
- Check your clamps every single time you move the machine. Those little metal rings get loose over time from the heat and the vibration, and a loose hose is just as bad as a dirty one if it starts leaking hot, linty air behind your dryer.
- If you’re using a vacuum attachment to suck out the lint, don’t be surprised if it doesn’t do much. A vacuum is fine for a light dusting, but for a real clog, you need actual airflow—like a brush kit or a specialized blower—to push that heavy lint through the line.
- Keep an eye on your drying times as your primary warning sign. If you notice you’re running two cycles just to get a single load of towels dry, don’t just buy more softener. That’s your machine’s way of telling you the vent is choking.
The Bottom Line
Don’t wait for the machine to get hot or the cycles to take longer; if you’re seeing lint buildup, you’re already behind.
A bit of effort now saves you a massive headache later—most “broken” dryers are just suffocating on their own debris.
Check the connections every time you clean; a loose hose is just as much of a hazard as a clogged one.
Don't Toss It Just Yet
At the end of the day, cleaning that vent isn’t some complex engineering feat; it’s just basic maintenance that most people ignore until the machine starts acting up. You’ve got to remember to check the connection at the back of the drum, clear out the lint trap, and make sure that external exhaust vent isn’t clogged with bird nests or debris. If you take twenty minutes to do it right, you’ll save yourself from a massive electricity bill and a much more expensive repair job down the line. It’s really just about clearing the path so the hot air has somewhere to go instead of baking your clothes or, worse, smouldering in the ductwork.
I see far too many perfectly good dryers end up in the skip because someone thought a slow dry cycle meant the heating element had died. Usually, it’s just a handful of lint and a bit of neglect. If you can manage to pull a hose out and give it a proper clean, you’re already doing better than most. Don’t let a five-pound problem turn into a five-hundred-pound replacement. Treat your machines with a bit of respect, keep the airflow moving, and they’ll likely outlast the next three models you’re tempted to buy. It’s a simple bit of work, but it makes all the difference.
Frequently Asked Questions
I’ve seen people using those foil accordion hoses—are they actually safe to keep, or should I be replacing them with something sturdier?
Those foil accordion ones? Honestly, they’re a nightmare. I’ve seen enough of them crushed or torn to know they’re a fire waiting to happen. The ridges trap lint like a magnet, and they’re far too flimsy for any real airflow. If you can, swap it out for a solid, semi-rigid metal duct. It’s sturdier, easier to keep clean, and won’t collapse the moment you push the machine back into place.
How often am I actually supposed to be doing this if I notice the clothes are still coming out a bit damp?
If your clothes are still coming out damp, you’ve already waited too long. That’s your machine’s way of gasping for air. Normally, I tell people to check the lint trap every load and the hose once a year, but if you’re seeing dampness, stop everything and pull that hose out right now. It’s likely choked with lint. Don’t wait for a scheduled cleaning; if the performance drops, the blockage is already there.
If I pull the hose off and it looks clear, could the blockage be further back in the wall where I can't reach it?
Aye, it very well could be. I’ve seen plenty of folks pull a perfectly clean hose off a machine, only for the dryer to still be running hot or taking ages to dry. If the hose is clear, the clog is likely sitting in the ductwork inside your walls or where it exits the house. You’ll need a dryer vent cleaning kit—the kind with the flexible brush on a long rod—to get into those tight spots.
