







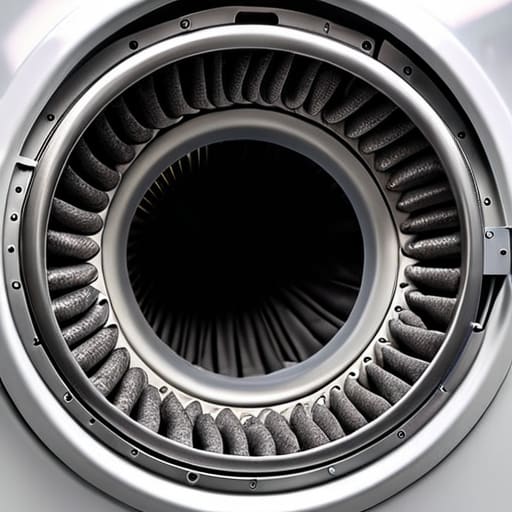

I’ve spent eighteen years pulling machines apart in Bristol, and if there’s one thing I’ve learned, it’s that most people think they’ve broken their dryer when they’ve really just choked it to death. You’ll call me out because the clothes are still damp or the machine is running hot, but I can tell you right now: it isn’t a faulty heating element or a dead motor. Most of the time, you just haven’t figured out how to clean a tumble dryer properly beyond that little plastic mesh screen in the door. I’ve seen more “dead” units scrapped for parts than I care to count, only to find the internal ducts packed tight with a solid wall of grey lint that no vacuum cleaner could ever reach.
I’m not here to sell you any fancy chemical sprays or complicated gadgets you don’t need. I’m going to show you exactly where the real filth hides—from the condenser unit to the hidden vent lines—and how to clear it out with basic tools you likely already have in your shed. This is the straight-talking, no-nonsense method I use when I’m fixing a customer’s machine, ensuring it runs efficiently without costing you a fortune in replacement parts.
Guide Overview
Tools & Supplies
- Vacuum cleaner with hose attachment for lint removal
- Screwdriver if vent housing needs removal
- Soft brush or old toothbrush for crevices
- Microfiber cloth for wiping surfaces
- Lint from previous cleanings (discarded)
- Mild detergent or white vinegar for cleaning agent
- Water for dampening cloths
Step-by-Step Instructions
- 1. First thing’s first, you need to unplug the machine. I don’t care if you think it’s safe just to turn it off at the dial; I’ve seen enough people get a nasty shock while poking around in a damp drum to know better. Treat every appliance like it’s live until you’ve physically pulled the plug from the wall.
- 2. Open the door and pull out that lint filter. Most people just give it a quick swipe with their fingers, but that’s not enough. Take it to the sink and run it under warm, soapy water to get the invisible film of fabric softener off the mesh. If you can still see a grey haze through the screen even after it’s dry, you haven’t cleaned it well enough.
- 3. Now, look inside the slot where the filter sits. I’ve pulled out countless machines where a thick, felt-like layer of lint had built up right at the bottom of the housing. Use a vacuum cleaner with a narrow nozzle attachment to suck out the debris from that gap. If you don’t, that lint just falls right back into the drum the next time you run a cycle.
- 4. Next, we need to talk about the condenser or the vent hose. If you’ve got a condenser dryer, find the little flap at the bottom, drain the water out using the emergency tube, and pull the tank out. You’ll likely find a sludge-like buildup in there that smells a bit off. Clean that compartment out thoroughly with a damp cloth; if that sludge stays put, your machine will start taking twice as long to dry a single load of towels.
- 5. If you’re using a vented dryer, you need to check the actual hose at the back. I’ve seen hoses so clogged with lint that the air couldn’t even move, which is a massive fire risk. Give the hose a gentle squeeze to feel for blockages, and if it feels stiff or heavy, it’s time to disconnect it and clear it out. A clear path for the air is the difference between a machine that works and one that’s a ticking time bomb.
- 6. Finally, take a damp cloth and wipe down the rubber seal around the door. It sounds a bit obsessive, but lint and moisture love to hide in those folds, which can eventually lead to a musty smell or even mould. Once everything is dry and the filters are back in their rightful places, you can plug it back in. You’ll notice the difference immediately—the machine will actually breathe again.
Understanding How to Clean a Tumble Dryer Properly
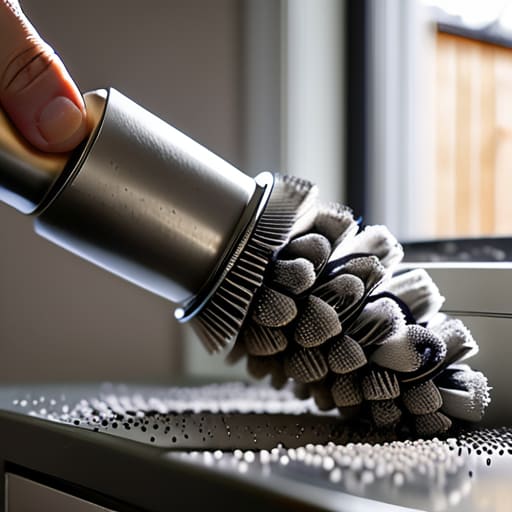
It’s not just about the fluff you see sitting on top of the lint trap. When I’m out on a call in Bristol, half the time the machine isn’t actually “broken”—it’s just suffocating. People think a quick swipe of the screen is enough, but the real danger is the hidden stuff. If you aren’t removing lint buildup from the deep recesses of the internal housing, you’re basically running a slow-motion fire hazard in your utility room. I’ve seen far too many units sent to the scrap heap because a customer didn’t realise that a clogged internal airway was the culprit behind a burnt smell.
If you’ve got a condenser model, you need to be even more diligent. Cleaning the condenser unit isn’t an optional extra; it’s the difference between a machine that lasts ten years and one that dies in three. I always tell people that preventing dryer fires starts with looking where you can’t easily see. Don’t just wait for the machine to act up or start taking twice as long to dry a single load of towels. If you stay ahead of the dust, you’ll find you’re actually improving dryer efficiency and saving yourself a hefty repair bill down the line.
Key Things to Know
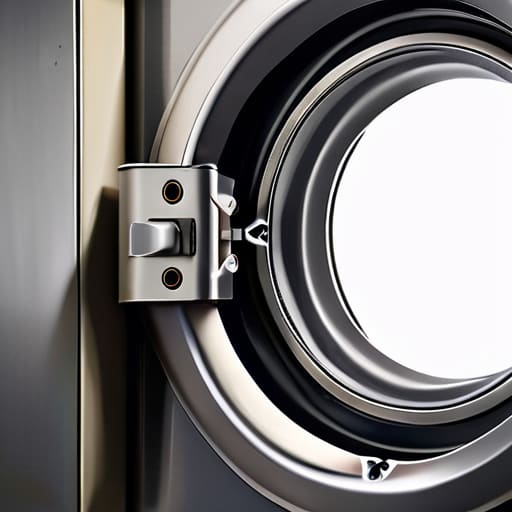
One thing I’ve learned after eighteen years of hauling these heavy boxes around Bristol is that people tend to focus way too much on the easy bits. You’ll clear the lint trap every single load and think you’re a saint, but that’s just the surface. If you really want to talk about improving dryer efficiency, you have to look at the parts you can’t see. I’ve opened up countless machines that were drawing massive amounts of power and running hot, only to find a thick, felt-like layer of dust choking the internal components.
If you have a heat pump or a condenser model, you cannot skip the cleaning condenser unit step. It’s not optional. If that unit gets gunked up, the machine is basically fighting itself to get the job done. Most importantly, don’t ignore the external ducting. I’ve seen far too many families panicking about a “broken” machine when, in reality, they were just one clogged vent away from a serious hazard. Preventing dryer fires isn’t about luck; it’s about making sure that air can actually move.
Five things I wish people did before calling me out
- Don’t just wipe the lint trap; get a vacuum attachment and get into the slot where the filter actually sits. I’ve seen more “broken” heating elements than I can count, and half the time it was just a thick plug of lint sitting right in the airway.
- Check the door seal for any stray bits of fabric or hair. It sounds small, but if that seal isn’t sitting flush, you’re losing heat and making the machine work twice as hard for half the result.
- If you’ve got a condenser dryer, don’t ignore the water tank or the heat exchanger. People treat them like they’re “set and forget,” but a clogged exchanger is a one-way ticket to a repair bill you don’t need.
- Listen to the machine. If it starts sounding like it’s struggling or taking twice as long to dry a single load, it’s usually telling you that something is blocked or the airflow is restricted. It’s not a ghost in the machine; it’s just physics.
- Keep an eye on your vent hose if you have one. I’ve pulled out hoses so clogged with grey fluff they looked like something out of a horror film. If the air can’t get out, the moisture stays in, and that’s how you end up with damp clothes and a massive electric bill.
The Bottom Line
Don’t just clear the lint trap; if you aren’t checking the internal vents and the condenser unit, you aren’t actually cleaning it.
Most “broken” dryers are just suffocating under a layer of dust that a simple vacuum and a bit of patience could have cleared.
Treat your machine like a tool, not a disposable gadget—a little regular maintenance saves you from throwing away a perfectly good appliance over a blocked hose.
A Bit of Common Sense Goes a Long Way
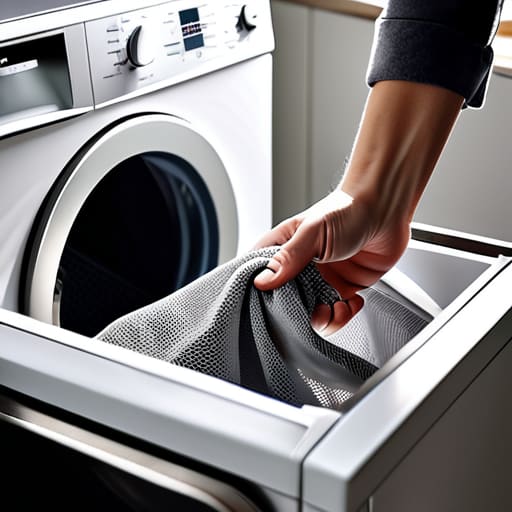
At the end of the day, cleaning your tumble dryer isn’t some complex engineering feat; it’s just about being a bit more mindful of the debris you’re creating. If you’ve cleared the lint trap, vacuumed out the internal housing, and made sure the vent isn’t choked with a buildup of fluff, you’ve done more than most. I can’t tell you how many times I’ve been called out to a house in Bristol only to find a machine that’s “dead” because the air simply couldn’t move. It usually comes down to a blocked vent or a neglected filter, not a failed heating element or a snapped belt. Keep those pathways clear, and you’ll avoid the two biggest headaches: high electricity bills and the dreaded smell of burning lint.
I’ve spent eighteen years looking at the guts of these machines, and I’ve learned that longevity is earned through maintenance. We live in a world that wants us to just toss things in the skip the moment they act up, but there is a real satisfaction in keeping something running well past its expected life. You don’t need a degree from City and Guilds to take care of your kit; you just need to spend ten minutes once a month doing the basics. Treat your appliances with a little respect, and they’ll keep your clothes warm and your home safe for years to come.
Frequently Asked Questions
I've noticed a funny smell coming from my clothes after a cycle; does that mean there's gunk stuck inside the actual drum or the internal ducting?
It’s usually a bit of both, to be honest. If it’s a damp, sour smell, you’ve likely got biofilm or leftover detergent gunk sitting in the drum seals or the outer tub. But if it’s more of a musty, stale scent, that’s the internal ducting. Lint and moisture get trapped in those hidden channels, creating a perfect little breeding ground for mould. It’s rarely just the drum; the real mess is often hiding where you can’t see it.
How often should I actually be cleaning the condenser unit, and is it something I can do myself without stripping the whole machine apart?
Look, if you’ve got a condenser model, you shouldn’t be waiting for a fault code to appear. I’d say give that unit a proper rinse every month or two, depending on how much laundry you’re throwing at it. Most of the time, you can get it done yourself just by pulling the housing out—no need to strip the whole machine to the chassis. Just don’t go poking around with anything sharp; you’ll do more harm than good.
Is it safe to use any old household cleaner on the drum, or am I going to end up with a chemical residue that transfers onto my laundry?
Don’t go grabbing the heavy-duty bleach or those scented floor cleaners. I’ve seen enough machines to know that once those chemicals get into the nooks and crannies of the drum, they’re hard to shift. You’ll end up with a weird film that clings to your clothes, and nobody wants their clean laundry smelling like a hospital ward. Stick to plain white vinegar or a mild dish soap. It gets the job done without the nasty residue.
