







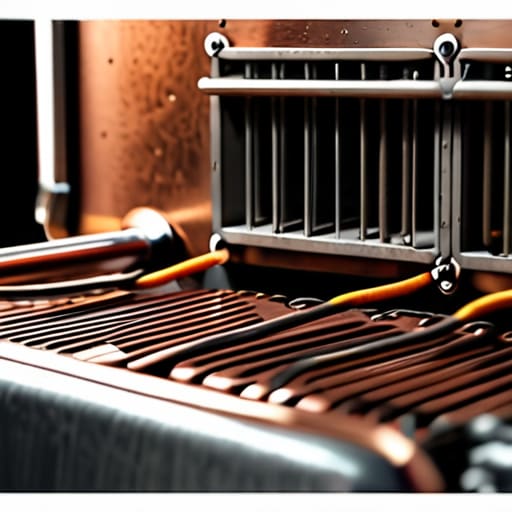

You’re standing in your kitchen at midnight, staring at a silent refrigerator and wondering if you’re about to lose a hundred pounds worth of groceries to a single, tiny electrical failure. Most people hear that clicking sound coming from the back of the unit and immediately start panicking about the cost of a new appliance, but here’s the truth: you aren’t looking at a dead fridge, you’re likely just looking at a failed part. I’ve spent eighteen years pulling motors out of machines all over Bristol, and I can tell you that replacing a fridge compressor relay is often the difference between a bin-job and a working kitchen. It’s a small, cheap bit of plastic and copper that people mistake for a catastrophe.
I’m not going to give you a lecture on thermodynamics or sell you a fancy toolkit you don’t need. Instead, I’m going to show you exactly how to identify the culprit, get the old one out without breaking anything, and click the new one into place like a pro. We’re going to do this the practical way—no jargon, no nonsense, just the straight facts so you can get that hum back in your kitchen before the milk goes off.
Guide Overview
Tools & Supplies
- Screwdriver (to remove access panels)
- Needle-nose pliers (to detach wire connectors)
- Multimeter (to test old relay for continuity)
- Replacement compressor relay (1 unit)
- Replacement start capacitor (if required by model)
Step-by-Step Instructions
- 1. First things first, you need to unplug the fridge. I don’t care how much you need that milk to stay cold; if you’re poking around electrical components with live power, you’re asking for trouble. Once that cord is out of the wall, find a clear space to work and grab a screwdriver—usually a Phillips head, but keep a flathead handy just in case.
- 2. Now, you’ve got to get to the back of the unit. Pull the fridge away from the wall, and mind your toes; these things are heavier than they look. Once you’re behind it, you’ll see a black, covered compartment attached directly to the side of the compressor—that big, heavy black tank at the bottom. You’ll need to unscrew the cover plate to reveal the relay itself.
- 3. Take a good look at the relay before you touch anything. It’s usually a small plastic box plugged directly into the compressor terminals. If you see any charred plastic or smell something burnt, you’ve definitely found your culprit. I always recommend taking a quick photo with your phone before you start pulling wires; it saves a lot of head-scratching when you’re trying to remember which color went where.
- 4. Gently pull the wires off the relay. If they feel stuck, don’t force them or you’ll snap the terminals, which turns a simple fix into a right nightmare. Use a pair of needle-nose pliers if your fingers are too clumsy, and just wiggle them off one by one. Once the wires are clear, pull the old relay straight off the compressor pins.
- 5. Before you pop the new one in, give the compressor terminals a quick wipe with a dry cloth. You don’t want any dust or old debris getting in the way of a solid connection. If the new relay came with a little starter capacitor (that’s the little cylinder part), make sure you’ve got that ready to go too.
- 6. Line up your new relay with the pins on the compressor and push it on firmly. You want it to feel secure and snug. Then, take those wires you photographed earlier and slide them back onto their corresponding terminals. If you’ve followed your photo, it should click right back into place without any fuss.
- 7. Screw the protective cover back onto the compressor and slide the fridge back into position. Plug it in, and now comes the best part: the wait. It won’t get cold instantly; give it at least an hour to settle in and start its cycle. If you hear that familiar hum kick in, you’ve done a proper job.
Understanding Replacing a Fridge Compressor Relay

Before you start unscrewing anything, you need to be sure it’s actually the relay and not something more expensive. I’ve seen plenty of folks panic thinking they need a whole new cooling system when, in reality, it’s just a bit of plastic and copper. If you’re hearing a rhythmic refrigerator clicking sound troubleshooting session is usually your first clue; it’s that distinct “click-hum-click” where the compressor tries to kick over but fails. Another dead giveaway is when you have a fridge not cooling but compressor humming, which often means the relay is trying to bridge the connection but just can’t hold the charge.
If you want to be certain before you spend a penny, grab your meter. Knowing how to test a fridge relay with a multimeter is a skill that’ll save you a lot of wasted trips to the spares shop. You’re essentially checking for continuity; if the circuit is wide open, that little component is toast. I always tell my clients that if the relay looks burnt or smells like a short circuit, don’t bother testing it—just swap it. Often, picking up a universal refrigerator relay kit is the easiest way to get back up and running without hunting for a specific model number.
Key Things to Know

Before you start unscrewing anything, you need to be sure it’s actually the relay and not something more expensive. If you’re hearing a repetitive refrigerator clicking sound troubleshooting session in your own kitchen, that’s usually the relay trying—and failing—to kick the compressor into gear. It’s a common enough frustration. You might find the fridge isn’t cooling, but you can still hear that low, heavy hum from the back. If that hum is followed by a sharp click every few minutes, you’re likely looking at a faulty relay rather than a dead compressor.
I always tell people to grab a multimeter if they want to be certain. Knowing how to test a fridge relay with a multimeter is the difference between a quick fix and a wasted afternoon. You’re essentially checking for continuity; if the circuit is wide open, the part is toast. If you can’t find the exact model for your specific machine, don’t panic. I’ve used a universal refrigerator relay kit more times than I care to admit, and they’re a lifesaver when the manufacturer decides to stop making parts for anything older than five years.
A Few Bits of Advice Before You Get Stuck In
- Don’t go buying a new fridge just because you hear a clicking sound every few minutes. That’s usually just the relay trying—and failing—to kick the compressor into gear. It’s a cheap fix, not a death sentence for your kitchen.
- Keep a steady hand when you’re pulling the old relay off the terminals. They can get a bit brittle with age, and if you snap a plastic casing or bend a pin, you’re turning a ten-minute job into a much bigger headache.
- While you’ve got the back panel off, give the area around the compressor a quick once-over with a vacuum. Dust and pet hair love to settle in there, and keeping things clean helps the whole system run a lot cooler.
- Check the plug before you start. I’ve seen plenty of people tear into the guts of a machine only to find out the wall socket was the real culprit all along. It sounds silly, but I’ve seen it happen more times than I’d like to admit.
- Make sure your replacement part is the exact match for your model. I know it’s tempting to grab the one that looks “close enough” at the local shop, but these little components are finicky. If the amperage isn’t right, you’ll just be back where you started.
Don't bin it just yet
Most of the time, it’s not a dead fridge you’re looking at, just a tiny, cheap component that’s decided to stop playing its part.
Before you go calling out a professional and paying for a call-out fee, grab a screwdriver and check the relay yourself; it’s a ten-minute job if you’ve got the right part.
Always keep an eye on the condition of the wires and the plug while you’re in there, because a bit of burnt plastic is just as easy to fix as a faulty relay.
Don't Let It Go to Waste
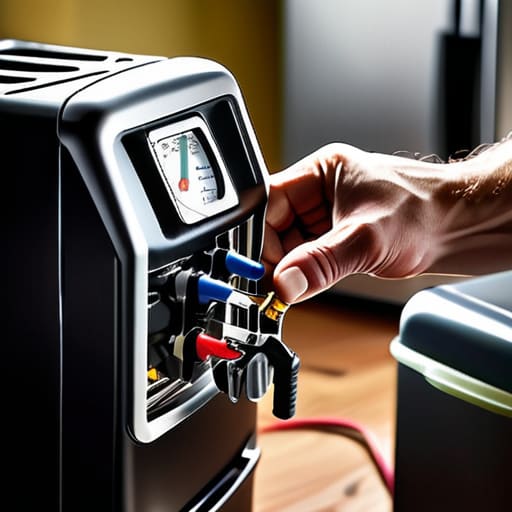
So, there you have it. Once you’ve unplugged the unit, cleared your workspace, and swapped out that faulty relay, you’ve done the heavy lifting. Just remember to double-check that your connections are tight and that you haven’t left any tools sitting on top of the compressor before you slide everything back into place. It’s a straightforward job, but it’s the little details that stop a repair from turning into a headache later on. If you’ve followed the steps, that hum should be back to its usual self in no time, and you won’t have to worry about a mountain of spoiled milk or melted ice cream.
It genuinely gets to me when I see a perfectly good fridge sitting on a kerbside in Bristol just because of a tiny, cheap component like this. We’ve become a bit too quick to throw things away the moment they stop working, but I promise you, most machines aren’t actually dead—they’re just waiting for someone to give them a bit of attention. Replacing a relay isn’t just about saving a few quid on a call-out fee; it’s about taking a bit of pride in what you own and refusing to let a bit of plastic and copper go to landfill. Give it a go; you’ll feel much better once that compressor kicks back in.
Frequently Asked Questions
If I hear a clicking sound every few minutes but the fridge isn't cooling, is that definitely the relay or could it be something more expensive like the compressor itself?
That clicking sound is a classic. It’s usually the relay trying to kick the compressor into gear, failing, and then resetting itself. Most of the time, it’s just that little plastic component giving up the ghost. Now, don’t panic—it’s rarely the compressor itself. A dead compressor is a death sentence for the fridge, but a clicking relay is just a cheap fix. Swap the relay first; don’t go buying a new appliance just yet.
Do I need to worry about the refrigerant leaking out when I'm messing around with the relay on the side of the unit?
Not in the slightest. The relay is just an electrical component sitting on the outside of the sealed system. It’s like changing a lightbulb on a lamp; you aren’t touching the wiring that holds the actual gas. As long as you aren’t hacking at the copper pipes with a saw, that refrigerant is staying exactly where it belongs. Just keep your screwdriver steady and don’t go poking around the compressor’s internals.
Can I just bypass the relay for a day to keep my food from spoiling, or is that going to fry the whole motor?
Look, I’ve seen enough burnt-out motors to know that “just for a day” is a dangerous gamble. If you bypass that relay, you’re essentially stripping away the machine’s protection. You might get the compressor running, but without that relay managing the start-up surge, you’re asking for a melted coil or a dead motor. It’s not worth risking a several-hundred-pound repair just to save a bit of milk. Get the part instead.
