







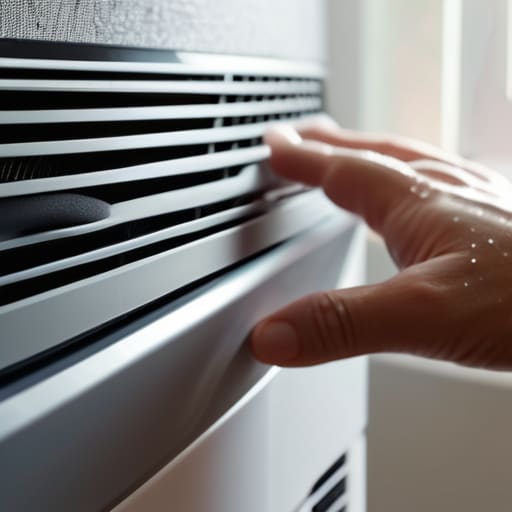

I was halfway through a tea in Bedminster last Tuesday when a customer called me, sounding absolutely frantic because her expensive compressor unit had “died” and needed replacing. I spent forty minutes driving over, cracked the casing, and what did I find? A thick, grey mat of dust choking the intake and a water tank so slimy it looked like something from a horror film. It wasn’t a mechanical failure; it was just a lack of servicing a dehumidifier properly. I’ve seen it a thousand times in my eighteen years—people assume a machine is broken when, in reality, it’s just suffocating under its own filth.
I’m not here to sell you a fancy technician’s kit or tell you to buy a brand-new model. What I want to do is show you how to get under the hood and actually clear the way for the air to flow. I’ll walk you through the bits that actually matter, from cleaning the filters to clearing out the gunk that builds up in the coils, without any of the unnecessary jargon. By the time we’re done, your machine will be breathing easy again, and you’ll have saved yourself a hefty repair bill.
Guide Overview
Tools & Supplies
- Screwdriver (to remove outer casing)
- Vacuum with brush attachment (to remove dust from coils)
- Soft brush (to clean delicate fins)
- Mild detergent or specialized coil cleaner (1 bottle)
- Microfiber cloth (1-2 cloths)
- Water (for rinsing)
Step-by-Step Instructions
- 1. First thing’s first, you’ve got to unplug the bloody thing. I can’t tell you how many times I’ve seen someone poking around a live unit and giving themselves a nasty shock. Once it’s safely disconnected, find a flat, dry spot to work on—your kitchen table is usually fine, just lay down an old towel because these things tend to hold onto a bit of residual moisture.
- 2. Next, you need to empty the water tank and give it a proper scrub. Don’t just rinse it; if you’ve been running it for a while, there’s likely a layer of slimy biofilm living at the bottom. Use a bit of warm soapy water and a soft brush to get into the corners. If it’s particularly grim, a splash of white vinegar works wonders for killing off any mould spores without leaving a chemical stench.
- 3. Now, we get to the business end: the air filter. Most people think they’re clean because they don’t look “dirty,” but they’re usually choked with microscopic dust. Pop the filter out—it’s usually just a simple slide-out job—and take it to the sink. If it’s a washable mesh, use lukewarm water and a tiny bit of mild detergent. Don’t use boiling water, or you’ll warp the plastic and then you’ve really done it. Let it air dry completely before you even think about putting it back.
- 4. While the filter is drying, take a look at the intake vents. I’ve seen machines struggling to breathe because someone shoved them right up against a heavy curtain or a sofa. Use a vacuum cleaner with a brush attachment to gently suck the dust out of the grilles. If you see any stubborn bits of lint stuck in the crevices, a soft toothbrush is your best friend here.
- 5. If you’re feeling a bit more adventurous, you can check the coils behind the filter. This is where the magic happens, but it’s also where the grime likes to hide. Use a soft brush to gently whisk away any dust buildup on the fins. Be careful, though; those metal fins are about as delicate as a wet biscuit and they bend if you look at them wrong.
- 6. Once everything is bone-dry and clean, reassemble the unit. Slide the filter back into its slot, click the water tank home, and give it a quick test run. If it sounds like it’s purring rather than wheezing, you’ve done a proper job. It’s a simple process, but doing it once every few months will save you from having to buy a new one just because it’s “stopped working.
Understanding Servicing a Dehumidifier

When I pull a unit apart, I’m usually looking for why it’s struggling to pull moisture from the air. Most people think the motor has given up the ghost, but more often than not, it’s just suffocating. A machine can’t work if it can’t breathe, and that usually comes down to the dust buildup. If you aren’t regular with cleaning dehumidifier coils, you’re essentially asking the machine to work twice as hard for half the result. It’s a waste of electricity, and frankly, it’s a waste of a perfectly good appliance.
I always tell my customers to keep a simple dehumidifier maintenance checklist tucked away in a kitchen drawer. It shouldn’t be a chore, just a bit of routine habit. Beyond the filters, you really need to keep an eye on the water path. If you neglect unclogging dehumidifier drain lines, you’ll end up with a stagnant mess that does more harm than good. I’ve seen plenty of units scrapped simply because a bit of sludge blocked the exit, turning a simple fix into a total write-off.
Key Things to Know
One thing I’ve noticed after eighteen years of pulling apart machines is that people tend to treat a dehumidifier like a “set it and forget it” gadget. They don’t. If you aren’t keeping an eye on the internals, you’re basically inviting a science experiment to grow in your living room. A huge part of preventing mold in dehumidifier units is simply being proactive about the damp stuff that builds up where you can’t see it. If you wait until the machine smells like a wet dog, you’ve already waited too long.
When you’re going through your regular dehumidifier maintenance checklist, don’t just stop at the water tank. I’ve seen plenty of units that look fine on the outside but are struggling because the insides are choked with dust. You’ll want to get comfortable with cleaning dehumidifier coils every so often; if those fins are coated in grey fluff, the machine is working twice as hard just to move half the air. It’s a bit of a nuisance, I know, but it’s the difference between a machine that lasts a decade and one that ends up in my scrap pile by next winter.
A few things I’ve learned from the scrap heap
- Don’t just clear the dust from the outside; if you aren’t getting your hands near the intake fins, you aren’t actually servicing it. Dust loves to hide in the gaps where the air meets the coils, and that’s where the real trouble starts.
- Keep an eye on that water tank. People treat it like a bin, but if you let gunk or biofilm build up in the corners, it’ll eventually find its way into the internal pump or sensor, and then you’re looking at a much bigger headache than a simple wash.
- Check your filters more often than the manual says. I’ve seen plenty of units “fail” because they were basically choking on pet hair and household dust—it wasn’t a mechanical fault, it was just a machine that couldn’t breathe.
- Listen to the machine. A healthy dehumidifier has a steady, predictable hum. If you start hearing rattling or a weird, uneven struggle, it usually means something is blocked or a fan is fighting through a buildup of debris.
- Watch the drainage if you’re using a hose. I’ve scrapped more machines than I care to admit because a tiny bit of sludge blocked the continuous drainage line, causing the whole thing to overflow and cause dampness instead of fixing it.
The Bottom Line
Most of the time, your machine isn’t actually broken; it’s just suffocating under a layer of dust and lint that needs clearing out.
Don’t let a bit of grime lead you to buy a new unit when a simple, thorough cleaning of the filters and coils would do the job.
Treat the machine with a bit of respect—keep it clean, keep the airflow clear, and it’ll likely outlast the next three things you buy.
A Bit of Common Sense
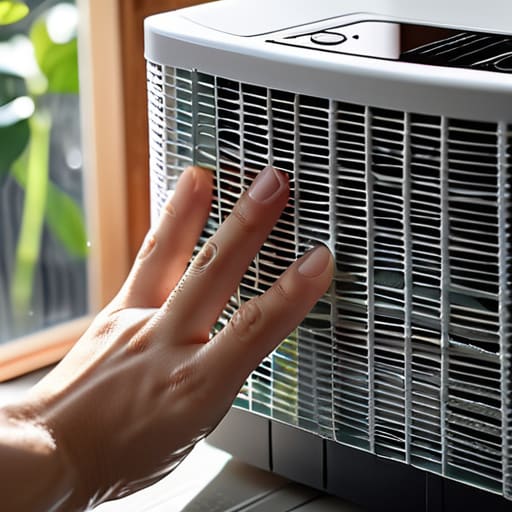
At the end of the day, servicing your dehumidifier isn’t some complex engineering feat that requires a degree. It really just comes down to being a bit proactive with the dust and the water. If you keep on top of the filters, clear out the sludge from the tank, and make sure the coils aren’t choked with lint, you’ve already done ninety percent of the work. I’ve seen far too many people call me out to a job only to find the machine was perfectly fine—it just needed a proper scrub and a bit of breathing room. Don’t wait for the machine to start making strange noises or losing its pull before you decide to take a look inside.
We live in a world where it feels easier to just toss things in the skip the moment they act up, but I promise you, most of these machines are built to last if you actually bother to look after them. There is a certain satisfaction in knowing your gear is running well because you took ten minutes to maintain it yourself. It saves you money, it saves you the hassle of a repairman, and it keeps perfectly good kit out of the landfill. Treat your appliances with a bit of respect, and they’ll keep your home dry for years to come.
Frequently Asked Questions
If I find a lot of black gunk or mould inside the unit while I'm cleaning it, is that a sign the machine is actually dying?
Not by a long shot. If you’ve found a bit of black gunk or mould, it doesn’t mean the motor is giving up the ghost; it just means the machine has been doing its job too well in a damp room. It’s more about hygiene than hardware. Clean it out thoroughly, give the filters a proper scrub, and let it dry. It’s not dying; it’s just a bit choked up.
Do I really need to bother cleaning the condenser coils, or is just wiping down the filter enough to keep it running?
Look, if you only wipe the filter, you’re only doing half the job. The filter catches the big bits like hair and lint, but the condenser coils are where the real grit settles. If those coils are choked up with dust, the machine has to work twice as hard just to breathe, and that’s how motors burn out. Don’t just skim the surface; give those coils a proper clean. It’s worth the extra five minutes.
I've seen some people suggest using certain sprays to clean the insides—is that going to ruin the electronics or is it safe?
Look, I’ve seen people go a bit mad with the aerosol sprays, and honestly, it makes me nervous. If that liquid finds its way onto the control board or into a sensor, you’ve turned a simple cleaning job into a very expensive replacement job. If you must use a spray, keep it to the coils and use a tiny amount. Personally, I’d rather stick to a damp cloth and a soft brush. It’s safer for the guts of the machine.
