







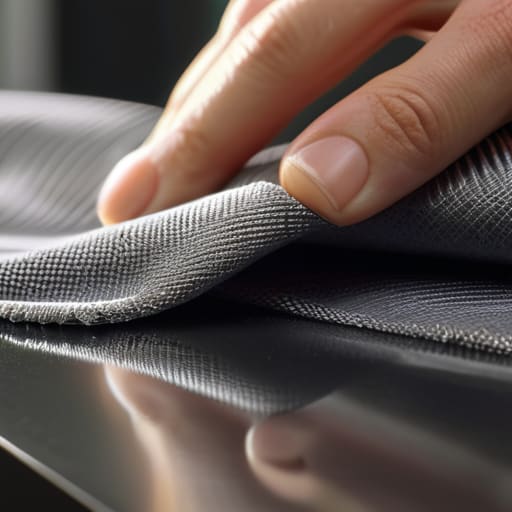

I’ve lost count of how many times I’ve seen someone standing in their kitchen, looking defeated by a smudge on their fridge, only to reach for some overpriced, lemon-scented spray that costs a fiver and does nothing but move the grease around. It’s a joke, really. People think they need a chemistry degree or a boutique cleaning kit for cleaning stainless steel without streaks, but most of those fancy products are just watered-down soap in a pretty bottle. I’ve spent eighteen years pulling apart washing machines and fixing vacuums, and if there’s one thing I’ve learned, it’s that complexity is usually just a way to hide a lack of results.
I’m not here to sell you a subscription to a cleaning club or tell you to buy a specialized kit. I’m going to give you the straightforward, no-nonsense truth based on what actually works when you’re elbow-deep in real-world grime. We’re going to look at the tools you already have in your cupboard and the specific way you need to move your hands to get that shine. By the time I’m done, you’ll realize that achieving a professional finish isn’t about the cost of the bottle, but about understanding the metal you’re working with.
Understanding Cleaning Stainless Steel Without Streaks
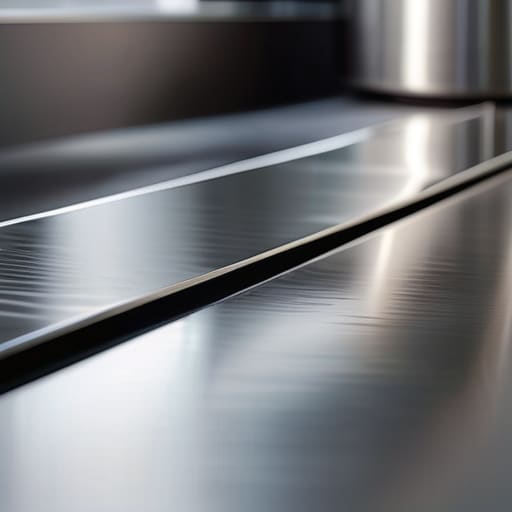
The thing about stainless steel is that it’s a bit of a liar. It looks sleek and high-end in the showroom, but the moment you get it into a real kitchen, it starts showing every single mistake you make. I’ve spent years pulling apart washing machines and dishwashers, and I can tell you that the panels are often the first thing to look “broken” simply because they’re covered in a hazy film. Most people think they need some heavy-duty chemical stripper to get it looking right, but that’s usually how you end up with a permanent mess.
The real trick isn’t about the strength of the soap; it’s about how you handle the tool in your hand. You have to respect the metal. Every piece of steel has a microscopic pattern, and if you aren’t cleaning direction with the grain, you’re just swirling dirt around in circles. I always tell people to stop scrubbing like they’re trying to remove rust from a cast iron skillet. You aren’t fighting the surface; you’re just trying to lift the oils. If you don’t follow that grain, you’ll never get those annoying streaks to disappear.
Key Things to Know
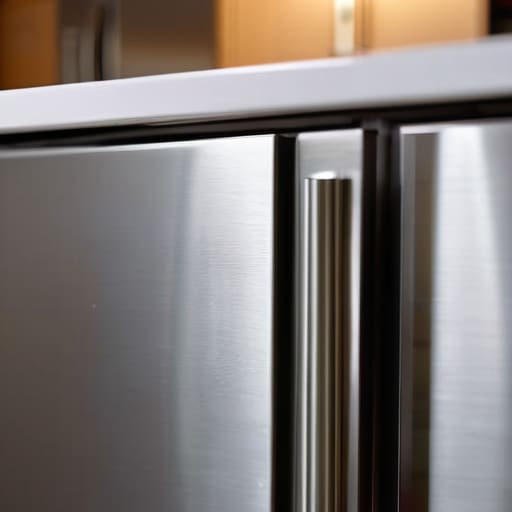
First things first: stop treating your kitchen surfaces like a dirty floor. Most people I see scrubbing at their fridge are using the wrong tools and the wrong motion. If you aren’t paying attention to the cleaning direction with the grain, you’re basically just moving the grime around in circles rather than lifting it. Every piece of metal has a direction, like wood, and if you fight it, you’re going to end up with those annoying little scratches that catch the light and make the whole thing look battered.
You also don’t need a cupboard full of expensive, chemical-smelling sprays that promise the world. Honestly, if you’re looking for the best natural cleaners for metal, you can’t go wrong with a bit of vinegar and a drop of oil. It sounds too simple, but after eighteen years of looking at ruined finishes, I can tell you that less is usually more. Just make sure you use a proper microfiber cloth for stainless steel to do the final buff; if you use an old tea towel or a paper rag, you’re just inviting streaks to stay for tea.
Practical Tips and Steps

First things first, stop scrubbing in circles. I see it all the time—people attacking a dishwasher door like they’re trying to sand down a piece of timber. You need to look closely at the metal; you’ll see faint lines running one way. That’s your guide. Always follow the cleaning direction with the grain, otherwise, you’re just pushing dirt into the microscopic grooves and making a mess of things. If you don’t respect the grain, you’ll never get that professional finish.
When it comes to the actual kit, skip the heavy chemical sprays that leave a tacky film. If you want to keep it simple, try cleaning with vinegar and oil. Use a diluted white vinegar solution to cut through the grime, then follow up with a tiny drop of mineral oil on a fresh cloth. This is the secret to polishing stainless steel surfaces so they actually repel those annoying greasy smudges. Grab a decent microfiber cloth for stainless steel—don’t bother with those cheap, scratchy paper towels—and buff it out. It’s a bit of extra effort, but it beats seeing those streaks every time you walk into the kitchen.
Common Mistakes to Avoid
The biggest blunder I see—and I’ve seen it on enough high-end kitchen ranges to last a lifetime—is people treating stainless steel like it’s a ceramic tile. They grab a scrubby sponge or, heaven forbid, something abrasive, and start attacking it. You aren’t trying to strip paint off a garden gate; you’re just trying to tidy up. If you use anything rough, you’ll end up with microscopic scratches that catch the light and make the whole surface look dull. Always remember the golden rule of cleaning direction with the grain. If you scrub against those tiny lines in the metal, you’re just inviting permanent damage.
Another mistake is the “more is better” approach with chemicals. I’ve walked into houses where the appliances are practically dripping with soap residue because someone used too much dish liquid. That film is exactly what causes those annoying streaks to appear once the surface dries. If you’re looking for a lighter touch, cleaning with vinegar and oil is a decent way to go, but even then, you have to wipe it all away. If you leave a layer of anything behind, you haven’t cleaned it; you’ve just made a sticky mess that’ll attract every fingerprint in the house.
Final Thoughts
At the end of the day, keeping your kitchen looking sharp shouldn’t feel like a chore that requires a degree in engineering. I’ve seen enough people get frustrated with their appliances because they’re fighting against the material rather than working with it. If you remember to always follow the cleaning direction with the grain, you’ve already won half the battle. It’s about patience and using the right tools, not how much muscle you can throw into a scrub.
If you’re looking to keep things simple and cheap, don’t go hunting for expensive, branded sprays that just leave a film. A bit of cleaning with vinegar and oil works wonders for most of what I see in my line of work. Just make sure you finish it off with a clean, dry microfiber cloth for stainless steel to buff away any lingering residue. Most of the “broken” or “ruined” looks I encounter are just people leaving a smeary mess behind. Treat your machines with a bit of respect, keep them dry, and they’ll serve you well for years.
My Five Golden Rules for Keeping Steel Looking Proper
- Stop scrubbing in circles. I’ve seen enough people go at it like they’re polishing a gemstone, but with stainless, you’ve got to follow the grain. If you scrub against it, you’re just etching tiny scratches into the surface that’ll catch the light and look like a mess.
- Ditch the heavy-duty sprays for a moment. Most of those fancy, scented supermarket cleaners are just full of soaps that leave a filmy residue behind. If you want it clean without the haze, a bit of mild dish soap and warm water is usually more than enough to get the job done.
- The secret isn’t in the washing; it’s in the drying. You can use the best cleaner in Bristol, but if you let it air dry, you’re just inviting water spots to move in. Keep a clean, dry microfiber cloth handy and buff it dry immediately.
- Watch out for those abrasive pads. I’ve opened enough machines to know that once you’ve scoured the finish off a control panel or a door, there’s no fixing it. If it feels scratchy, don’t use it on your steel.
- Use a tiny drop of oil for the finishing touch. If you’ve got a stubborn smudge that just won’t budge, a microscopic amount of olive oil or a dedicated stainless polish on a dry cloth can help seal it and give it that deep, even shine without the streaks.
The Bottom Line
Stop scrubbing in circles; always follow the grain of the metal or you’ll just be pushing the grime deeper into the microscopic lines.
Ditch the heavy chemicals that leave a film; a simple, clean wipe followed by a dry microfiber is what actually does the job.
Most “damage” isn’t permanent, it’s just a layer of poorly cleaned residue that you can fix if you stop rushing the process.
One Last Bit of Advice
At the end of the day, keeping your steel looking decent isn’t about buying some expensive, fancy-labeled spray that promises the world. It’s about understanding that you’re working with a surface that has a grain, just like wood, and that patience is your best tool. Stop using those abrasive scouring pads that leave tiny scratches you can’t see until the light hits them just right, and for heaven’s sake, stop using wet cloths to finish the job. If you follow the steps—clean it properly, wipe with the grain, and always, always finish with a dry microfiber—you’ll spend a lot less time fighting with smears and a lot more time actually using your kitchen.
I’ve spent eighteen years pulling apart machines that people thought were dead, only to find a bit of grit or a blocked valve was the culprit. Appliances and surfaces are much the same; they don’t need much, they just need proper care. There is a real, quiet satisfaction in taking something dull and streaky and making it shine again with nothing more than a bit of elbow grease and the right technique. Don’t let a bit of smudge make you think your kitchen is falling apart. Treat your things with a bit of respect, and they’ll look good enough to last you a lifetime.
Frequently Asked Questions
Is it actually safe to use vinegar on my fridge, or am I going to end up pitting the metal?
Look, I’ve seen enough ruined finishes to know you shouldn’t just go spraying acid everywhere. If you use straight vinegar, you’re asking for trouble—it’s acidic enough to eat away at the protective coating and leave you with those nasty little pits. If you must use it, dilute it heavily with water. Honestly, though? Just stick to a bit of warm soapy water and a dry cloth. It’s simpler and much safer.
If I’ve already left some nasty water spots behind, is there a way to get them off without scratching the surface?
Don’t panic; you haven’t ruined it. Those spots are just mineral deposits, not permanent scars. Grab a bit of white vinegar on a soft cloth and rub it directly onto the spots. Let it sit for a minute to soften them up, then wipe it away. If they’re being stubborn, a tiny bit of baking soda paste works, but go easy—you want to avoid any heavy scrubbing that might dull the finish.
Do I really need to go through the trouble of wiping with the grain, or is that just one of those things people say to make it sound harder?
Look, I know it feels like a bit of a chore, but it isn’t just some fancy nonsense. If you scrub against the grain, you’re essentially pushing dirt and cleaning residue into the microscopic grooves of the metal rather than lifting it out. It’s like trying to sweep a floor by pushing the dust into the cracks. Follow the lines. It takes an extra ten seconds, but it’s the difference between a shine and a smear.
