







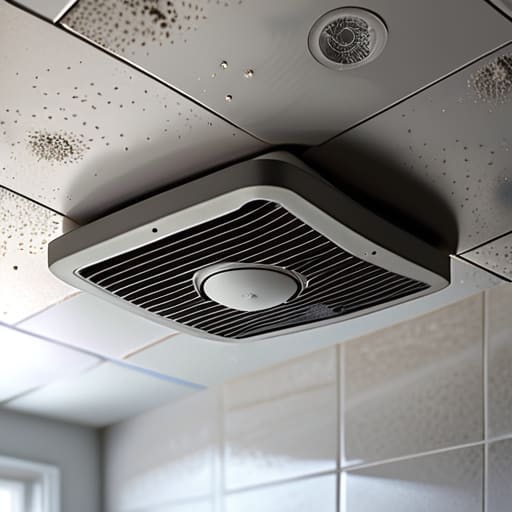

I’ve lost count of how many times I’ve stood in a damp bathroom, staring at a fan that’s supposedly “dead,” only to find it’s actually just suffocating. Most people think that when the air stops moving, the motor has finally given up the ghost and they need to shell out for a brand-new unit. But after eighteen years of pulling apart appliances, I can tell you that’s rarely the case. Usually, the motor is perfectly fine; it’s just choked to death by a thick, greasy layer of dust and lint. Cleaning an extractor fan in a bathroom isn’t some complex engineering feat that requires a specialist—it’s mostly just about getting the gunk out of the way so the machine can actually breathe again.
I’m not going to give you any of that polished, professional nonsense you see in glossy magazines. Instead, I’m going to show you exactly how to get in there, strip away the buildup, and get it spinning freely again without breaking anything. I’ll walk you through the practical bits, from safely removing the cover to scrubbing the blades, so you can save your money and stop living in a steam room.
Guide Overview
Tools & Supplies
- Screwdriver (to remove the cover)
- Vacuum cleaner with brush attachment (to remove loose dust)
- Ladder or step stool (to reach the ceiling)
- Microfiber cloth (1-2 pieces)
- All-purpose cleaner or warm soapy water (small amount)
- Old toothbrush (1 piece for crevices)
Step-by-Step Instructions
- 1. First thing’s first, you need to cut the power. I’ve seen too many people poking around a live unit with a damp cloth and it’s a recipe for a nasty shock. Don’t just flick the light switch; if you can, turn it off at the main consumer unit. It’s better to be safe than sorry when you’re working with electricity and water.
- 2. Now, you’ll need to get that cover off. Most of these units have a plastic grille that either clips on or has one tiny, fiddly screw holding it in place. I usually keep a small set of precision drivers in my kit for exactly this reason. Give it a gentle tug or a turn, and it should pop right off. If it feels like you’re going to snap the plastic, stop and look for a hidden screw.
- 3. Once the cover is off, don’t go rushing in with a wet sponge. You’ll just turn the dust into a thick, grey sludge that’s even harder to get out. Grab a vacuum cleaner with a brush attachment first. Suck up all that loose fluff and hair sitting on the blades and the housing. If you try to wipe it while it’s dry and loose, you’ll just end up breathing it in, and nobody wants that.
- 4. If the blades are still looking a bit grim, you can use a soft toothbrush and some warm, soapy water. Dip the brush in, but keep it mostly dry. You don’t want water dripping down into the motor assembly behind the fan. Scrub the individual blades carefully, making sure you get into the corners where the grime likes to hide.
- 5. While you’ve got the cover off, take a proper look at the motor itself. If you see any signs of burning or if the wires look frayed, that’s when you actually have a broken machine. But usually, it’s just a case of the motor being choked by dust. A quick blast of compressed air around the motor housing can do wonders to keep it spinning freely.
- 6. After you’ve scrubbed everything, give it a good chance to dry completely. I always tell people to wait a bit before putting it back together. If you trap moisture inside the unit, you’re just asking for rust or a short circuit later on. A bit of patience here saves you a lot of grief down the line.
- 7. Finally, snap the cover back into place. If it’s a screw-in type, don’t over-tighten it; these plastic housings can crack if you’re too heavy-handed. Once it’s secure, turn the power back on and give it a test run. If it sounds quieter and smoother than before, you’ve done a proper job.
Understanding Cleaning an Extractor Fan in a Bathroom
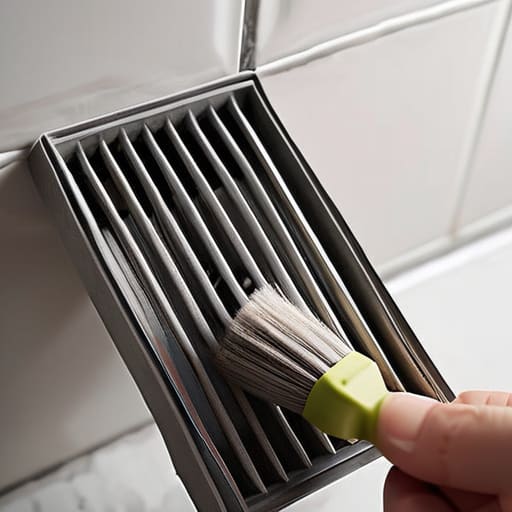
Most people think a fan is “broken” when it stops pulling air, but after eighteen years of opening up units, I can tell you it’s rarely a motor failure. Usually, it’s just a massive buildup of damp lint and hair that’s effectively choked the life out of it. If you aren’t regular about removing dust from bathroom vents, that grime starts to compact, making the motor work twice as hard just to move a tiny bit of air. It’s a waste of electricity and a quick way to burn out a perfectly good component.
Beyond just making the machine last longer, you’ve got to think about the air in the room. A choked fan is the primary culprit behind preventing bathroom mold and mildew from taking hold in your grout and ceilings. When the air stays stagnant because the blades are weighted down with sludge, moisture just sits there. Keeping those blades spinning freely isn’t just about maintenance; it’s about improving bathroom ventilation efficiency so your house actually stays dry and healthy. It’s a simple fix that saves a lot of headache down the line.
Key Things to Know
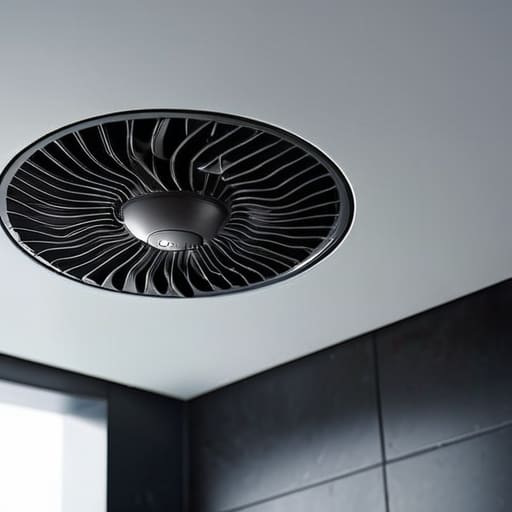
One thing I’ve learned after nearly two decades of looking into the guts of household machines is that people tend to wait until they hear a grinding noise before they even think about maintenance. By then, you’re often looking at a burnt-out motor rather than a simple fix. Most of the time, though, it’s just a matter of improving bathroom ventilation efficiency by getting rid of the thick layer of grey sludge that builds up on the housing. If you can’t see the blades clearly through the grime, the motor is working twice as hard as it needs to, which is a waste of electricity and a fast track to a breakdown.
Don’t forget that regular maintenance is your best defense when it comes to preventing bathroom mold and mildew. If that fan isn’t pulling moisture out of the air effectively because it’s choked with lint, you’re going to end up with damp patches on your ceiling. I always tell people: don’t just clean the cover; make sure you’re actually removing dust from bathroom vents deep inside the unit. It’s a bit of a nuisance to do every few months, but it beats replacing a whole unit because you let the grit settle in the bearings.
A Few Bits of Advice from Someone Who’s Seen Too Many Burnt-Out Motors
- Turn the power off at the wall before you even think about touching the cover. I’ve seen enough people get a nasty little shock just because they thought they could be quick about it, and it’s never worth the risk.
- Don’t go at it with a heavy vacuum nozzle if you can help it. You’ll end up snapping the plastic clips on the cover, and then you’re looking at a replacement instead of a simple clean. A soft brush or a damp cloth is much kinder to the casing.
- If you see a thick layer of grey sludge on the blades, don’t just wipe the surface. You need to get into the nooks. That buildup unbalances the fan, makes it wobble, and eventually, that’s what kills the motor.
- Check the vent on the outside of your house while you’re at it. There’s no point in having a sparkling clean fan inside if the air has nowhere to go because the external flap is stuck shut with grime or a bit of bird’s nest.
- Keep a small tub of mild soapy water handy. Some of these bathroom fans get a film of grease on them from hair products and steam, and a bit of actual cleaning goes much further than just dusting it off.
The Bottom Line
Most “broken” fans are just suffocating under a layer of grime; a bit of cleaning usually does more than a replacement part ever could.
Don’t be afraid to get stuck in, but always make sure the power is off at the wall before you start poking around the motor.
If you catch the dust buildup early, you’ll save yourself the headache of a burnt-out motor and a much more expensive repair bill later on.
A Bit of Maintenance Goes a Long Way
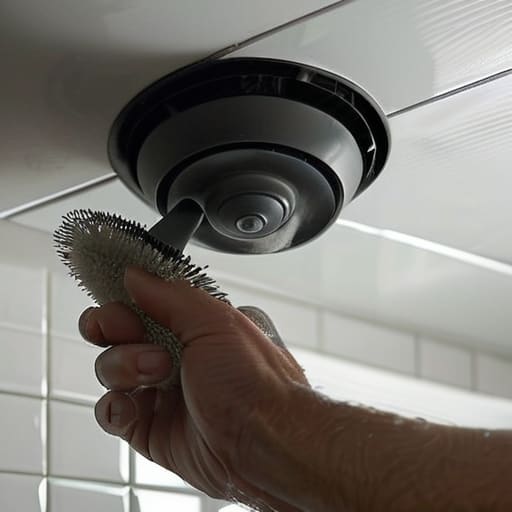
At the end of the day, cleaning your bathroom fan isn’t some massive engineering project; it’s just basic housekeeping. You’ve taken the cover off, cleared out the thick layers of grime, and made sure the blades can actually spin without fighting through a wall of dust. If you’ve done it right, you’ll notice the motor sounds quieter and the air actually moves again. It’s much better to spend twenty minutes with a screwdriver and a brush now than to end up calling someone like me because the motor has burnt itself out trying to work through a clogged vent. Just remember to keep an eye on the electrical connections and don’t force anything that feels stuck.
I can’t tell you how many times I’ve been called out to replace a perfectly good extractor fan, only to find the motor was fine—it was just suffocating on dust. It breaks my heart to see people bin a machine that just needed a bit of a scrub. If you take the time to look after these little bits of kit, they’ll look after you. It’s about moving away from that “throwaway” culture and realizing that most things don’t actually need replacing; they just need a bit of proper attention. Keep your tools handy, stay patient, and don’t be afraid to get your hands a bit dirty.
Frequently Asked Questions
If I clean the blades and it's still making a loud rattling noise, is the motor actually shot or is it just something stuck in there?
Don’t go buying a new motor just yet. If it’s rattling after a clean, it’s usually something mechanical rather than electrical. Check if a blade is chipped or if the housing has come loose from the wall; a loose screw can make a hell of a racket. It could also be a bit of grit trapped in the bearing. Give the spindle a wiggle—if there’s play in it, the motor’s tired, but often it’s just a loose part.
Do I really need to take the whole unit off the wall to get to the dust, or can I just get away with a vacuum and a brush?
Look, if you’re just doing a quick tidy-up, a vacuum and a soft brush will do the job for the visible bits. But if you want to actually fix the problem, you’ve got to get the cover off. Dust loves to hide in the crevices where the brush can’t reach, eventually choking the motor. I’ve seen too many fans burn out because someone was too lazy to unscrew the housing. Do it properly once.
How often am I actually supposed to be doing this before the buildup starts causing real problems?
If you’re like most of the people I visit in Bristol, you’re probably waiting until the fan sounds like a jet engine before you even think about it. Don’t do that. I’d say give it a proper once-over every six months. If you’ve got a damp bathroom or someone’s constantly running a hot shower, check it more often. It’s much easier to wipe away a bit of grime now than to struggle with a motor choked by thick, greasy dust later.
