







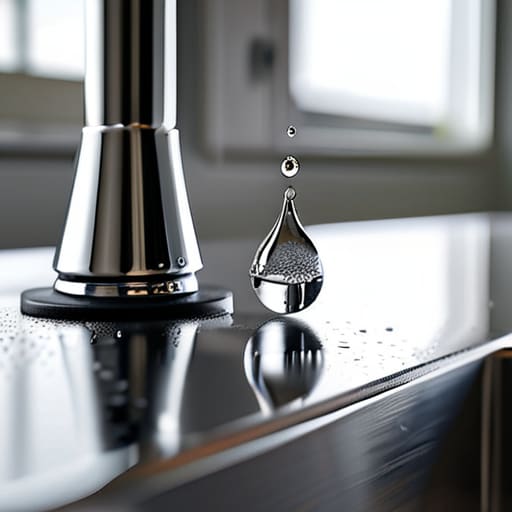

Most people hear that rhythmic drip-drip-drip coming from the kitchen sink and immediately start browsing websites for an expensive new mixer tap. They think the whole unit is shot, but after eighteen years of poking around in people’s plumbing, I can tell you that’s almost never the case. Usually, you don’t need a plumber or a credit card; you just need to learn how to change a tap washer. It’s one of those little things that makes people think they need a professional, when in reality, it’s just a tiny bit of perished rubber that’s lost its fight against the water pressure.
I’m not here to give you a lecture or sell you a fancy toolkit you’ll never use again. I’m going to show you exactly how to get in there, get the old bit out, and get the new one in without flooding your kitchen in the process. I’ll walk you through the bits of gear you actually need—and more importantly, the bits you don’t—so you can stop that annoying leak and save your money for something better, like a decent piece of cast iron.
Guide Overview
Tools & Supplies
- Adjustable wrench to loosen the tap bonnet
- Screwdriver to remove the handle screw
- Pliers to extract the old washer
- Replacement tap washers (assorted pack)
- Plumber's grease (small amount)
Step-by-Step Instructions
- 1. First things first, you’ve got to turn the water off. Don’t just assume it’s off because you turned the tap handle; find the isolation valve under the sink or, if you’re unlucky, the main stopcock. I’ve seen far too many people start a job only to end up with a miniature indoor lake because they forgot the basics.
- 2. Once the water is off, open the tap to let the remaining pressure bleed out. Now, you’ll need to get to the guts of the thing. Most taps have a decorative cap on top—usually marked ‘H’ or ‘C’—that you can pop off with a flathead screwdriver. Underneath that, there’s a screw holding the handle in place. Unscrew that carefully, pull the handle off, and you’ll finally be looking at the valve itself.
- 3. Grab an adjustable spanner and get a good grip on the brass valve stem. You’ll need to unscrew the whole assembly from the tap body. If it’s been sitting there for a decade, it might be a bit stubborn, so don’t go using brute force like you’re trying to crack a nut. A steady, firm pressure is what you want to avoid snapping anything.
- 4. Once the valve is out in your hand, you’ll see the old washer sitting at the bottom. It’ll probably look flattened, perished, or just plain messy. Use a small screwdriver to pry it out of its seat. This is the moment where most people think they need a new tap, but really, you’re just looking at a bit of perished rubber that costs pennies to replace.
- 5. Before you pop the new one in, take a clean rag and wipe out the inside of the tap body. If there’s any grit or limescale sitting in there, your new washer won’t sit flush, and you’ll be right back where you started with a drip. It only takes a second, so don’t skip it.
- 6. Grab your replacement washer—make sure it’s the exact same size as the old one, or you’re wasting your time—and slot it into place. If your tap uses a small brass nut to hold the washer in, make sure that’s tightened down too. It’s all about getting a tight, clean seal.
- 7. Now, you just reverse the whole process. Screw the valve back into the tap, tighten it up (but don’t overdo it, or you’ll crush the new washer), pop the handle back on, and screw the cap into place. Turn your water supply back on slowly, and give it a test. If it’s dry, you’ve done it. If it’s still dripping, you might have a worn-out seat, but let’s not get ahead of ourselves.
Understanding How to Change a Tap Washer
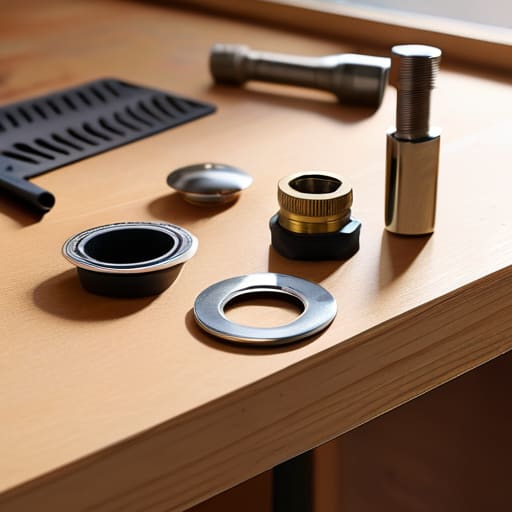
Before you get stuck in, you need to understand that not all taps are created equal. Most of the jobs I see in Bristol involve the standard compression taps, where you’re essentially replacing rubber washers that have perished or flattened over time. However, if you have those fancy lever-style mixers, you aren’t looking for a simple washer; you’re likely dealing with a ceramic disc cartridge. It’s worth taking a quick look at the handle before you head to the hardware shop, otherwise, you’ll end up with a drawer full of bits that don’t fit anything.
The most important bit of plumbing maintenance for beginners isn’t actually the repair itself—it’s the preparation. I’ve seen far too many people dive in without turning off the water supply first, usually resulting in a kitchen that looks like it’s been hit by a burst pipe. Once the mains are off, plug the sink drain with a cloth. I do this every single time. There is nothing quite as soul-destroying as watching a tiny, five-penneth screw slide down the drain just when you thought you’d mastered the job.
Key Things to Know
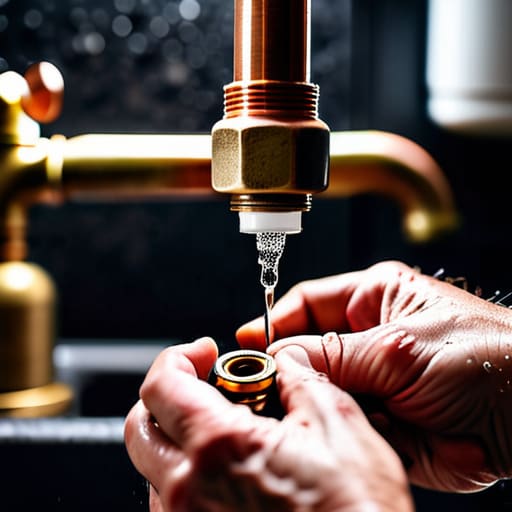
Before you dive in, there is one golden rule that separates a quick fix from a flooded kitchen: you must ensure you are turning off the water supply at the isolation valve or the main stopcock first. I’ve seen far too many people jump straight into the repair, only to have a jet of cold water hit them square in the face because they forgot that simple step. Once the pressure is gone, take a moment to check if you’re dealing with a standard compression tap or a ceramic disc variety. They require very different approaches, and grabbing the wrong parts will only lead to a second trip to the hardware store.
When it comes to the actual components, don’t just grab the first black ring you see. There are several types of tap washers out there, including flat ones and thicker, domed versions, and using the wrong thickness can leave you with a tap that feels loose or won’t shut off properly. While you’re at it, have a quick look at the valve seat. If it’s pitted or scarred, a new washer won’t do much; you might need to smooth it out or replace the whole unit to truly stop that drip for good.
A bit of advice from someone who's seen too many flooded kitchens
- Don’t just swap the washer and walk away; take a quick look at the valve seat while you’re in there. If it’s pitted or rough, your shiny new washer will be chewed up and leaking again in a fortnight.
- Buy a proper assortment pack rather than just one single washer. They’re pennies on the pound, and there’s nothing more frustrating than getting the tap apart only to realise you’ve grabbed a size that’s a fraction too small.
- Use a bit of plumber’s grease on the new washer and the threads. It makes the job easier and helps everything seal properly without you having to manhandle the handles too hard.
- If you’re using a wrench, wrap a bit of old rag or some electrical tape around the jaws first. I’ve seen far too many people ruin the finish on a nice brass tap just because they weren’t thinking about the grip.
- Always, and I mean always, double-check that the water is off at the mains before you start unscrewing anything. I’ve seen people try to “test” the tap halfway through and end up with a fountain in their cupboard.
The Bottom Line
Don’t go buying a whole new tap just because it’s dripping; nine times out of ten, it’s a fifty-pence rubber washer that’s seen better days.
Always, always turn the water off at the mains before you start poking around, unless you fancy a free indoor swimming lesson.
Take the old washer with you to the hardware shop so you don’t come home with the wrong size—there’s nothing more frustrating than a job half-done.
A Bit of Maintenance Goes a Long Way
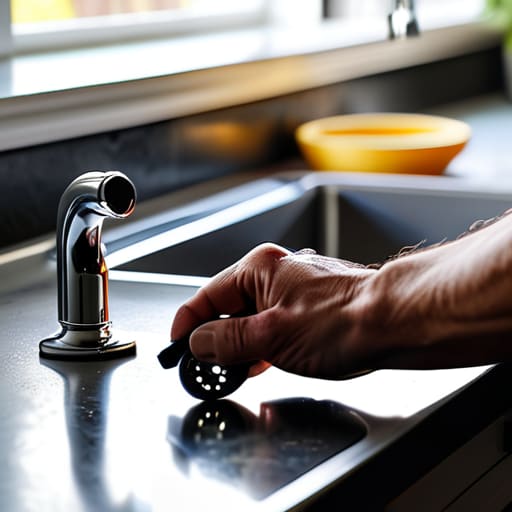
So, there you have it. It isn’t nearly as daunting as it looks when you’re standing over a puddle in your kitchen. Just remember to keep your tools tidy, make sure you’ve actually turned the water off at the mains before you start poking around, and don’t go forcing anything if it feels stuck. Most of the time, you’re just swapping a tiny bit of perished rubber for a fresh one, and that’s all it takes to stop the drip. It’s a simple job, but if you take your time and get the right size washer, you’ll save yourself a massive headache and a much higher water bill.
I’ve spent nearly two decades pulling apart machines that people thought were dead, only to find they just needed a bit of attention and a clean. We live in a world that’s far too quick to bin things the moment they act up, but there is a real, quiet satisfaction in fixing something yourself. It keeps your hands busy and your wallet a bit heavier. Next time you hear that annoying rhythmic drip keeping you up at night, don’t reach for the phone to call a plumber just yet. Grab a spanner, have a go, and remember that most things aren’t broken—they just need a little bit of care.
Frequently Asked Questions
What if the tap is still dripping even after I've put a brand new washer in?
If it’s still weeping after a new washer, don’t go buying a whole new tap just yet. Usually, it’s one of two things. Either you’ve picked the wrong size washer—they look identical but aren’t—or the valve seat itself is pitted and worn. If that metal seat is scarred, a new rubber washer won’t have anything flat to press against. You might need a seat cutter to smooth it out, or it’s time for a new unit.
Do I need to buy a specific type of washer, or will any one from a multipack do the job?
Don’t just grab the first multipack you see and hope for the best. Most packs come with a decent variety, but they aren’t one-size-fits-all. You’ve got different thicknesses and diameters depending on whether it’s a kitchen mixer or an old bathroom tap. My advice? Take the old, crusty washer with you to the hardware shop. Match it up physically. It saves you a second trip and prevents a leak that’ll drive you mad.
How do I know if I've actually damaged the valve seat while I was tightening everything back up?
If you’ve tightened everything back up and the drip is still there—or worse, it’s getting worse—you might have scored the valve seat. The easiest way to tell is to turn the water back on and watch the spout. If it’s a steady, rhythmic drip that doesn’t stop even with a fresh washer, the seat is likely pitted or uneven. If it looks like it’s weeping from the base instead, you’ve probably just cross-threaded something.
