







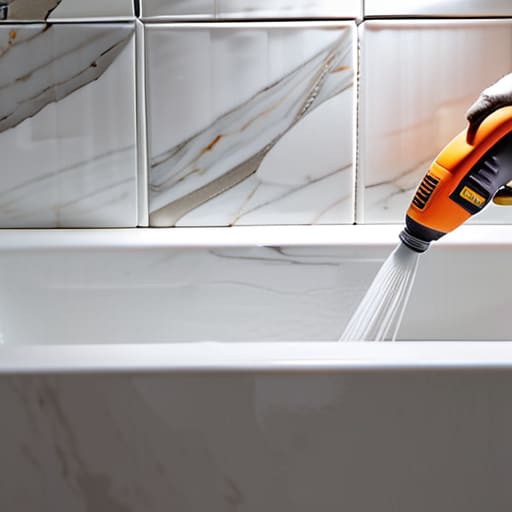

I’ve seen it a hundred times in my eighteen years of fixing things around Bristol: someone notices a tiny bit of black mould or a hairline gap and thinks they need to call out a specialist or, worse, rip the whole suite out. Most people think how to reseal a bath is some high-stakes construction project, but truth be told, it’s usually just a case of being too impatient with the prep work. I once spent an entire afternoon helping a neighbor who’d tried to slap new silicone right over the old, crusty gunk; it looked alright for ten minutes before it peeled away like a wet paper towel. If you don’t start with a clean slate, you’re just wasting your time and your money.
In this guide, I’m going to walk you through the job properly, without any of the fancy jargon or unnecessary expensive tools. I’ll show you exactly how to strip that old sealant off without scratching your tub and, more importantly, how to make sure the new bead is smooth and watertight. We aren’t looking for a showroom finish here; we’re looking for a seal that actually does its job so you don’t end up with damp rot behind your tiles.
Guide Overview
Tools & Supplies
- Utility knife for removing old sealant
- Caulking gun for applying new silicone
- Plastic scraper for cleaning residue
- Microfiber cloth for wiping surfaces
- Sanitary grade silicone sealant (1 tube)
- Silicone remover gel (1 bottle)
- Masking tape for clean lines
Step-by-Step Instructions
- 1. First thing you need to do is get that old, crusty gunk out of the way. I’m not talking about just scraping the top; you’ve got to strip it back until you’re touching the actual tub or tile. Use a proper sealant removal tool or a sharp Stanley knife, but watch your fingers because these things slip if you aren’t careful. If you leave even a tiny bit of the old silicone behind, the new stuff won’t grab, and you’ll be right back where you started in a month.
- 2. Once the bulk of the mess is gone, you’ve got to clean the area properly. I usually grab a bit of methylated spirits or a dedicated silicone remover to get rid of any leftover oils or soap scum. If the surface isn’t completely bone-dry and chemically clean, the new seal is going to peel off like a bad sunburn. I’ve seen people try to skip this step, and it never ends well.
- 3. Now, grab your masking tape. If you aren’t confident in your steady hand, lay two lines of tape down—one on the wall and one on the bath edge—leaving a gap about the width of your sealant bead. It might feel a bit fussy and slow, but it’s the only way to get those straight, professional lines that don’t look like a toddler did them.
- 4. Get your sealant gun ready and give the tube a good shake. When you start applying, don’t try to be a hero and do the whole length in one go. Work in small, steady sections, pressing the nozzle firmly so the silicone fills the gap rather than just sitting on top of it. You want to see a consistent bead that actually goes into the crack, not just a decorative line of goo.
- 5. This is the bit most people mess up: smoothing it out. Take a damp finger or a dedicated smoothing tool and run it along the bead to press it into the gap. Don’t overdo it, though; if you keep rubbing the same spot, you’ll just pull the sealant out of the joint. You want to smooth it once and leave it be.
- 6. Peel that masking tape off immediately while the sealant is still wet. If you wait until it’s skinning over, you’ll tear the edges and leave a jagged mess that looks terrible. Do it gently, pulling the tape away at an angle, and if you see any little wobbles, you can very lightly smooth them with a wet finger before it sets.
- 7. Finally, just leave it alone. I know it’s tempting to run a test bath to see if it holds, but you need to give it at least 24 hours to cure properly. If you get it wet too early, you’ve just wasted your time and your money. Go make a cup of tea, leave the bathroom door shut, and let the chemistry do its job.
Understanding How to Reseal a Bath
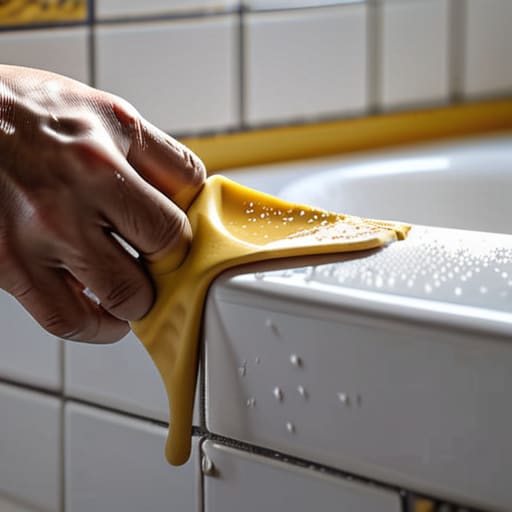
Now, before you go grabbing the tube of sealant, you need to understand why most people fail at this. It isn’t usually the application that goes wrong; it’s the preparation. I’ve seen so many people try to slap new silicone over the top of the old stuff, thinking they’re being clever. That’s a recipe for disaster. If you don’t spend the time removing old bathroom caulk down to the bare surface, that new layer won’t have anything to bite into. It’ll just peel off in a strip within a month, and then you’re right back where you started, likely with a damp patch under the floorboards.
You also have to think about what’s happening under the seal. If there’s black spotting, that’s mold living in the cracks. You can’t just cover it up; you have to be thorough with cleaning bathtub joints before sealing to ensure the area is bone-dry and sterile. I always tell people to use a bit of methylated spirits to give it a final wipe. It helps the surface tension and ensures the best silicone sealant for bathrooms actually does its job. If you skip the cleaning, you’re just sealing the rot inside.
Key Things to Know
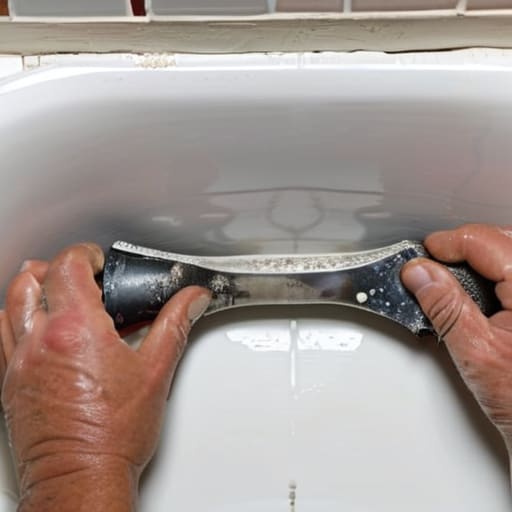
First things first, don’t go thinking you can just slap a fresh bead of silicone over the old stuff. I’ve seen people try that, and it’s a recipe for a leak within a month. You’ve got to be thorough with removing old bathroom caulk—and I mean completely. If there’s even a tiny bit of that crusty, grey residue left behind, the new layer won’t bond, and you’ll be right back where you started. I always tell people to grab a proper caulk removal tool; trying to scrape it all off with a kitchen knife is a nightmare and usually ends in a scratched tub.
Once you’ve cleared the gap, the real secret is in the prep. You can’t just wipe it with a damp cloth and call it a day. You need to be cleaning bathtub joints before sealing with something proper, like methylated spirits, to ensure every bit of soap scum and body oil is gone. If you leave any grease behind, the seal won’t hold. Also, keep an eye out for the type of tube you’re buying. You want a high-quality, sanitary-grade silicone—that’s the best silicone sealant for bathrooms because it’s actually designed for preventing mold in bath seals over the long haul.
A Few Things I’ve Learned from Seeing a Thousand Leaky Bathrooms
- Don’t even think about touching that tube until the old silicone is gone. I’ve seen people just smear new sealant over the old, crusty stuff, and it’ll peel off like a bad sunburn in a week. You need that surface bone-dry and completely bare.
- Get a proper caulking gun, not one of those cheap plastic ones that feels like a toy. If you’re fighting the trigger the whole time, your bead is going to look like a zigzag rather than a smooth line, and you’ll be back at it by next month.
- Patience is your best tool here. Once you’ve laid the bead, you need to smooth it out—I usually use a damp finger or a dedicated tool—but then you have to leave it alone. If you keep poking at it to see if it’s dry, you’re just ruining the seal.
- Watch out for the “hidden” moisture. Even if the surface looks dry to the eye, if there’s dampness trapped behind the tiles or in the grout, that new sealant won’t bond. I always give it a good air-dry session before I even crack open the sealant tube.
- Buy the right stuff for the job. If you’re in a bathroom, it has to be sanitary silicone. I’ve seen folks try to save a few quid with general-purpose sealant, and within three months, they’ve got black mould growing in the cracks because it wasn’t meant for a wet environment.
The Bottom Line
Don’t be stingy with the cleaning; if you leave even a tiny bit of that old, mouldy silicone behind, the new stuff won’t bond, and you’ll be right back where you started in a month.
Patience is your best tool here—give the sealant enough time to skin over properly before you go splashing water around, or you’ll just end up with a smeared mess.
Buy the decent stuff. It’s not worth saving a few quid on a cheap tube only to have it peel away and let water rot your floorboards.
One Last Look Before You Step Away
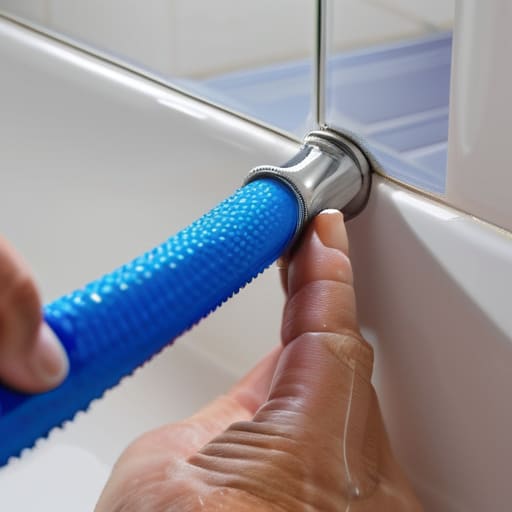
Look, it isn’t rocket science, but it does require a bit of patience. You’ve stripped away that old, mouldy gunk, cleaned the surface properly, and applied a fresh bead of silicone. Just remember: the secret isn’t in how much sealant you squeeze out of the tube, but in how well you smooth it down to create that watertight bond. If you’ve taken your time with the cleaning and you didn’t rush the drying phase, you’ve done the hard part. Don’t be tempted to test the water too early; let it set properly so you aren’t staring at a mess of smudged silicone an hour later.
At the end of the day, I hate seeing people call out a professional for something that just needed a bit of elbow grease and a steady hand. Most of the “disasters” I see in my line of work could have been avoided if someone had just tackled a bit of sealant before the water started seeping into the floorboards. It’s about taking ownership of the things you own. Once that seal is set, you can stop worrying about leaks and just get on with things. It’s a small win, but in a world where everything seems built to be thrown away, fixing it yourself is a proper achievement.
Frequently Asked Questions
Do I really need to wait a full day for it to dry, or can I jump in for a quick soak tonight?
Don’t you dare. I know it’s tempting, especially after a long day, but if you jump in too soon, you’ll ruin the whole job. That silicone needs time to cure properly, and if you’re splashing water against it while it’s still tacky, you’ll just pull it away from the tiles. It’s a waste of your time and a new tube of sealant. Just wait the full day; it’s not worth the headache.
What’s the best way to get that old, black mouldy silicone off without scratching the bath surface?
You don’t want to go at it with a metal scraper; you’ll end up with more scratches than a scratched record. Grab a decent plastic scraper or even an old credit card to get the bulk of it up. Once that’s done, use a bit of methylated spirits on a rag to clear the residue. If there’s still stubborn bits left, a specialized silicone remover works, but just don’t go hacking away with anything sharp.
If I see a tiny bit of water damage on the floorboards underneath, is it still worth botherng with a new seal?
Look, if it’s just a bit of surface discoloration, go ahead and reseal. But if those boards feel soft or spongy when you step on them, stop right there. That’s not just a damp spot; that’s rot setting in. You can slap all the fresh silicone you want on top, but if the timber underneath is compromised, you’re just masking a much bigger, more expensive headache. Fix the floor before you bother with the seal.
