







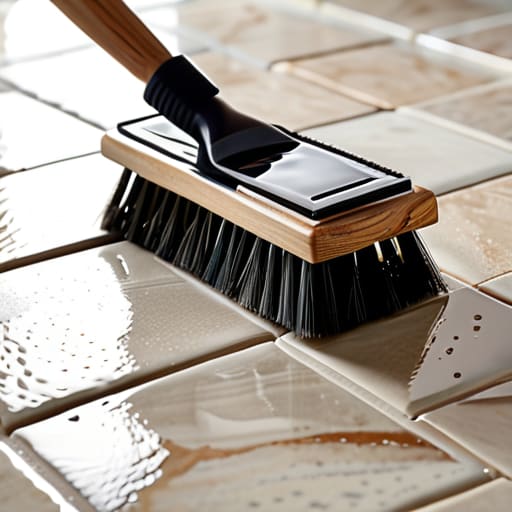

I’ve spent eighteen years pulling apart washing machines and vacuums in Bristol, and if there’s one thing I’ve learned, it’s that people love to reach for the strongest chemical in the cupboard when they should be reaching for a bit of common sense. You see it all the time: someone scrubbing their bathroom tiles with harsh, stinging liquids, thinking they’re doing a proper job, when they’re actually just eating away at the very seal that holds the tiles in place. Most folks think you need a chemical bomb to get those lines looking bright again, but I’m here to tell you that learning how to clean grout without bleach isn’t just about being gentle; it’s about being smart.
I’m not going to give you any of those fancy, expensive “miracle” sprays that cost a fortune and smell like a laboratory. Instead, I’m going to show you how to use simple, effective methods that actually work without ruining your grout or your lungs. We’re going to talk about the right tools, the right mixtures, and why the right amount of elbow grease usually beats a bottle of bleach every single time.
Guide Overview
Tools & Supplies
- Stiff-bristled brush or old toothbrush for scrubbing
- Microfiber cloth or sponge for wiping away residue
- Baking soda, 1 cup
- White vinegar, 1/2 cup
- Warm water, 1-2 cups
Step-by-Step Instructions
- 1. First things first, you need to clear the deck. I’ve spent enough time working in tight spaces to know that you can’t fix a problem if you’re tripping over clutter. Move your bath mats, clear the shampoo bottles off the ledge, and get everything out of the way so you actually have room to move.
- 2. Grab a stiff-bristled brush—and I don’t mean one of those flimsy little toothbrushes that’ll snap the moment you apply any real pressure. You want something with a bit of backbone, like a dedicated grout brush or even a clean dish brush. You’re going to need that mechanical action to actually lift the grit out of the pores of the grout.
- 3. Now, mix up your cleaning paste. Forget the harsh stuff; just take some baking soda and add enough warm water to make it a thick, spreadable sludge. If the stains are particularly stubborn, a splash of white vinegar can help, but don’t go mixing them in a closed bottle or you’ll end up with a fizzy mess that does nothing but make a noise.
- 4. Apply the paste liberally. Don’t just dab it on; you want to pack it into the lines so the grit has something to cling to. Spread it thick across the grout lines and let it sit for about fifteen minutes. This isn’t a race; giving the solution time to actually break down the oils and dirt is what makes the difference between a quick wipe and a real clean.
- 5. It’s time to get stuck in. Take that stiff brush and scrub the lines using a firm, circular motion. You’ll likely see the paste turning a murky grey—that’s just the dirt being pulled out of the crevices. If you hit a particularly dark patch, apply a bit more pressure and don’t be afraid to spend an extra minute there.
- 6. Once you’ve finished scrubbing, wipe the area down with a clean, damp cloth or a sponge. I usually prefer a microfiber cloth because it picks up the residue much better than a standard rag. Make sure you rinse the area thoroughly; if you leave any baking soda behind, it’ll dry into a white film that looks just as bad as the dirt you just removed.
- 7. Finally, let the whole thing air dry completely. I’ve seen people try to rush this by running a hairdryer over it, but that’s just extra work for nothing. Just leave it be and let the air do its job. Once it’s dry, you’ll see that the grout looks exactly like it did the day it was laid.
Understanding How to Clean Grout Without Bleach
The thing about bleach is that it’s a bit like using a sledgehammer to crack a nut. It looks like it’s working because it whitens things instantly, but it’s actually quite aggressive. In my years of stripping down appliances, I’ve seen how harsh chemicals can eat away at seals and gaskets, and your grout is no different. If you use heavy-duty cleaners too often, you end up pitting the surface, making it even more porous and prone to catching dirt next time.
Instead of reaching for the chemical bombs, I prefer leaning on natural grout cleaning solutions. A simple mix of baking soda and vinegar for tile does a massive amount of heavy lifting without the toxic fumes. The trick isn’t just the liquid you use, though; it’s the mechanical action. You really need to commit to scrubbing grout with a stiff brush to get the grit out of those tiny crevices. If you treat the grout with a bit of respect rather than trying to blast it clean, it’ll stay looking decent for a lot longer.
Key Things to Know
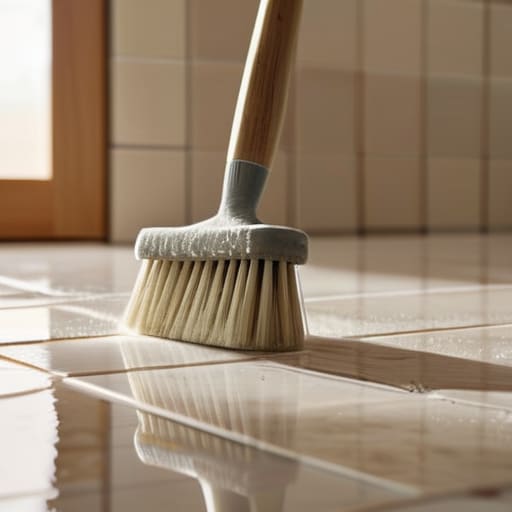
One thing I’ve learned from years of stripping down machines is that you can’t just force a fix; you have to understand the material you’re working with. Grout is porous, which means it acts like a sponge for whatever you pour on it. If you go too heavy on harsh chemicals, you aren’t just cleaning the surface; you’re actually eroding the structure of the grout itself. That’s why I’m such a fan of natural grout cleaning solutions. They do the job without eating away at the very thing holding your tiles in place.
If you’re looking for a reliable way of removing tile grout stains naturally, my go-to is always a bit of patience and a bit of elbow grease. I’ve seen people try to blast through grime with power tools, but honestly, most of the time you just need to be scrubbing grout with a stiff brush and letting a simple paste sit for ten minutes. It’s about the dwell time, not the violence of the scrub. If you treat the grout with a bit of respect, it’ll stay solid much longer.
A few things I’ve learned from scrubbing more than my fair share of tiles
- Stop thinking you need to soak the grout for hours; if you use a bit of elbow grease and a stiff brush, you’ll get the dirt out faster than if you’re just letting a chemical sit there and eat away at the sealer.
- Always test your mixture on a tiny, hidden corner first—I’ve seen people try a DIY concoction on expensive stone and end up with a permanent stain that no amount of scrubbing can fix.
- Keep your brush bristles firm but not wire-hard; if you go too aggressive with a metal brush, you’ll actually scrape the finish right off the grout line and make it even more porous for the next mess.
- Don’t forget to dry the area properly once you’re finished; leaving standing water in those tiny crevices is just an open invitation for mould to move back in by next week.
- If you’re using baking soda, make sure it’s a paste, not a dry powder; you want it to sink into the texture of the grout rather than just sitting on top like dust.
The Bottom Line
Most of the time, you aren’t fighting permanent stains; you’re just fighting a buildup of grime that a bit of elbow grease and the right acidity can lift.
Avoid the heavy chemicals if you can—they’re often overkill and can actually degrade the grout or the sealer over time, making it easier for dirt to get stuck in the first place.
Consistency beats intensity; a quick, regular scrub with something mild is always going to be better for your tiles than waiting until they’re black and needing a chemical bomb.
A Bit of Common Sense for Your Floors
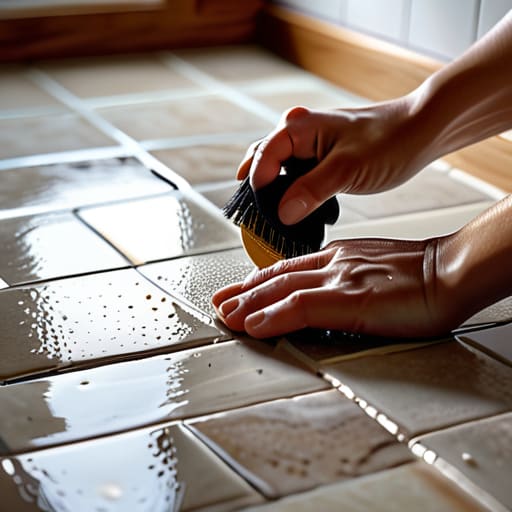
At the end of the day, cleaning your grout doesn’t need to be a chemical warfare operation. We’ve looked at how a bit of baking soda, some decent elbow grease, and perhaps a splash of white vinegar can do the job just as well as those harsh, stinging liquids. You don’t need to strip the life out of your tiles just to get the dirt out of the cracks. Whether you’re using a stiff brush or a bit of old toothpaste for the small spots, the goal is the same: removing the grime without destroying the surface you’re working on. It’s about being methodical rather than being aggressive, and once you get the hang of it, you’ll realize that most of these cleaning “miracles” in a bottle are just overpriced water and fear-mongering.
I’ve spent eighteen years pulling apart machines and looking at why things fail, and I can tell you that maintenance is always better than replacement. The same logic applies to your home. If you take a little time to care for the small details—like keeping your grout clean and your filters clear—you won’t find yourself staring at a ruined floor or a broken appliance in six months’ time. Don’t let the big, expensive problems get to you. Just take it one scrub at a time, keep your tools simple, and remember that most things aren’t actually broken; they just need a bit of proper attention.
Frequently Asked Questions
Will these natural cleaners actually get the dark stains out if the grout is really old and porous?
Look, I’ll be straight with you: if that grout is decades old and has soaked up every bit of grease and grime like a sponge, you’re fighting an uphill battle. Natural cleaners are brilliant for maintenance, but they aren’t magic. If it’s truly deep-seated, you might need to scrub harder or use a stiff brush to get the agitation right. If nothing works, the grout might just be permanently stained.
Is there a risk of these vinegar or lemon solutions etching my tiles if I leave them on too long?
You’ve got a sharp eye. Yes, there is a risk. If you’re working with natural stone—think marble, limestone, or travertine—vinegar and lemon are basically acid attacks. They’ll etch the surface, leaving dull spots that no amount of scrubbing will fix. If you’ve got standard ceramic or porcelain, you’ve got more breathing room, but don’t go leaving them to soak overnight. Apply, scrub, rinse. Treat it like a delicate component; don’t let it linger.
How often do I actually need to do this deep scrub to stop the grime from building up again?
Look, if you’re treating your grout like a once-a-year emergency, you’re doing it wrong. I’ve seen enough grime buildup to know that neglect is what turns a simple scrub into a nightmare. Aim for a decent surface clean once a month to keep the oils and soap scum from settling in. If you do a proper deep scrub every three to six months, you’ll find you’re barely ever fighting a losing battle.
