









Most people think a radiator is only “dirty” if there’s a layer of dust sitting on top of it, but they couldn’t be more wrong. I’ve spent eighteen years pulling apart appliances in Bristol, and I can tell you that the real trouble is what you can’t see. You can wipe the surface until it shines, but if you don’t know how to clean a radiator inside, you’re just putting lipstick on a pig. It’s usually a buildup of grit, sludge, or even tiny bits of debris trapped in the fins that stops the heat from actually reaching your toes. I’ve seen plenty of folks call out a plumber because their heating felt “off,” only to find the internal channels were practically choked with muck.
I’m not here to sell you any fancy, expensive chemical sprays that promise miracles. Instead, I’m going to show you the practical, no-nonsense way to get into the guts of your heating. We’ll go over the right tools to use, how to reach those awkward internal gaps without making a massive mess, and how to ensure your system is actually breathing properly again.
Guide Overview
Tools & Supplies
- Vacuum cleaner with hose attachment and brush nozzle
- Long-reach duster or compressed air canister
- Screwdriver if radiator covers need removal
- Microfiber cloths (2-3)
- All-purpose cleaner or mild detergent (1 bottle)
- Warm water (1 bucket)
Step-by-Step Instructions
- 1. First thing’s first, you need to get the radiator cold. I’ve seen plenty of people try to poke around while the heating is still humming, and unless you want a nasty surprise, you’ll want to wait until the metal is cool to the touch. Turn the heating off and give it a good hour to settle down.
- 2. Grab a vacuum cleaner with that narrow, crevice tool attachment. You aren’t just dusting the top; you’re going in for the deep-seated grit that settles between the fins. Run the nozzle slowly along the sides, moving from the top down. If you’ve got a particularly stubborn clump of dust, don’t be afraid to use a little bit of pressure, but try not to bend the delicate metal fins if you can help it.
- 3. Once you’ve sucked out the loose stuff, it’s time to tackle the “sticky” layer. I usually grab a long, thin brush—something like a dedicated radiator brush or even a clean, dry paintbrush—to flick the dust out from the gaps where the vacuum couldn’t reach. It’s a bit of a tedious job, but it’s better than having that dust just swirl back out into your living room the next time the heat kicks in.
- 4. Now, for the actual cleaning. Avoid using anything overly abrasive or harsh chemicals that’ll strip the finish; a simple solution of warm water and a tiny drop of dish soap is all you really need. Use a soft cloth to wipe down the exterior surfaces. If you’re feeling particularly thorough, you can use a slightly damp cloth to wipe the very top, but make sure you dry it off immediately with a separate towel.
- 5. If you’re dealing with those old-fashioned cast iron radiators—the kind I love restoring in my spare time—you might find some surface rust starting to show. Don’t panic. A bit of fine steel wool used very gently can lift that away, but you’ll want to follow up with a bit of oil or a specialized wax to keep the metal protected.
- 6. Finally, check the area behind the radiator. This is where the real “monsters” live—dust bunnies, lost coins, and bits of fluff that have migrated from the carpet. Pull the radiator slightly away from the wall if you can, and clear out the floor space underneath. It’s much easier to keep a house clean when you aren’t constantly stirring up a cloud of old debris every time the boiler fires up.
Understanding How to Clean a Radiator Inside
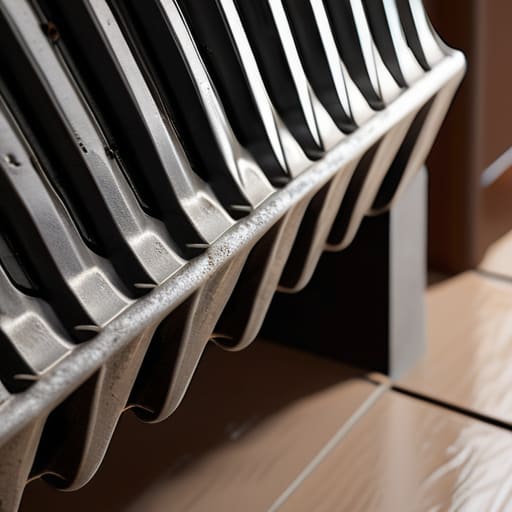
Now, you have to understand that a radiator isn’t just a metal box on your wall; it’s essentially a giant heat exchanger that relies on airflow. When you’re looking at improving heating efficiency, the enemy isn’t usually the boiler itself, but the thick, grey felt of dust trapped deep within the unit. If that air can’t move through the metal, you’re basically paying to heat a layer of lint instead of your living room. I’ve seen plenty of people complain about rising energy bills, only to find their radiators are choked with debris.
You can’t just go at it with a feather duster and expect much. You really need specific radiator cleaning tools, like those long, flexible brushes designed for cleaning between radiator slats. If you try to use a standard cloth, you’ll just end up pushing the grit further into the fins. I always recommend a bit of vacuuming radiator coils while you’re brushing; it catches the loose particles before they settle back down. It’s a bit of a chore, I’ll grant you, but it beats replacing a whole system later.
Key Things to Know
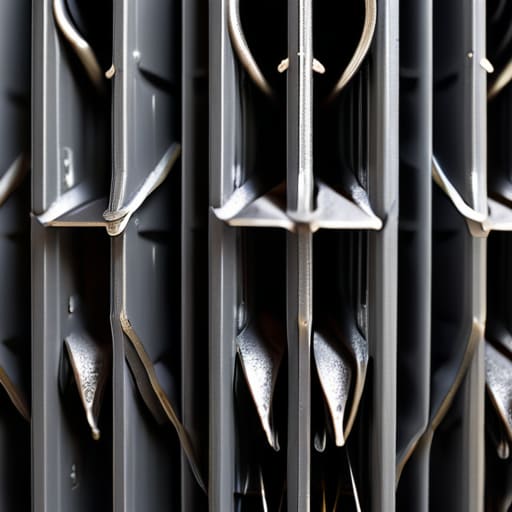
Before you get stuck in, you need to understand that most people treat a radiator like a piece of furniture, when you should be treating it like a machine. If you just run a cloth over the top, you aren’t actually doing anything. The real issue is the grit that settles deep in the recesses. I’ve seen plenty of homes where the heating is struggling, not because the boiler is shot, but because the air can’t actually circulate. Improving heating efficiency starts with making sure the heat can escape those metal fins rather than getting trapped behind a wall of grey fluff.
You don’t need a professional kit, but a few specific radiator cleaning tools make the job less of a headache. A long, flexible brush or even a slim vacuum attachment is worth its weight in gold for removing dust from heating fins. If you try to force a standard duster into those tight gaps, you’ll likely just end up pushing the dirt deeper into the mechanism. It’s about getting in there, clearing the path, and preventing dust buildup in heaters before it turns into a solid layer of grime that’s impossible to shift.
A Few Bits of Advice Before You Get Stuck In
- Don’t go at it with a wet cloth first. If you try to wipe the dust while it’s damp, you’ll just end up making a grey sludge that sticks to the metal like glue. Get the dry stuff out with a vacuum or a brush before you even think about water.
- Get yourself a proper long-reach duster or a slim vacuum attachment. I’ve seen people trying to shove a standard kitchen sponge into the gaps between the fins, and they only end up jamming the dirt deeper into the metal.
- Watch out for the valves. When you’re scrubbing around the edges, don’t go putting too much pressure on the little handles or the pipes underneath. They’ve been there for years and they don’t need you forcing them.
- If you’ve got a radiator with those narrow fins, use a soft brush—an old toothbrush works fine—to flick the grit out. If you use something too stiff, you’ll bend the fins, and then you’ve really made a mess of things.
- Keep an eye out for any damp patches on the wall behind the unit while you’re cleaning. If the radiator is clean but the wall is weeping, it isn’t a dust problem; it’s a leak or a condensation issue that needs more than a wipe-down.
The Bottom Line
Most of the time, your radiator isn’t actually broken; it’s just choking on a layer of dust and grit that’s acting like a thermal blanket.
Don’t go buying fancy, expensive chemicals—a bit of patience, a vacuum, and a proper brush are usually all you need to get the heat moving again.
If you take the time to clear out the guts of the machine once a year, you’ll save yourself a lot of money and a lot of unnecessary stress.
A bit of maintenance goes a long way
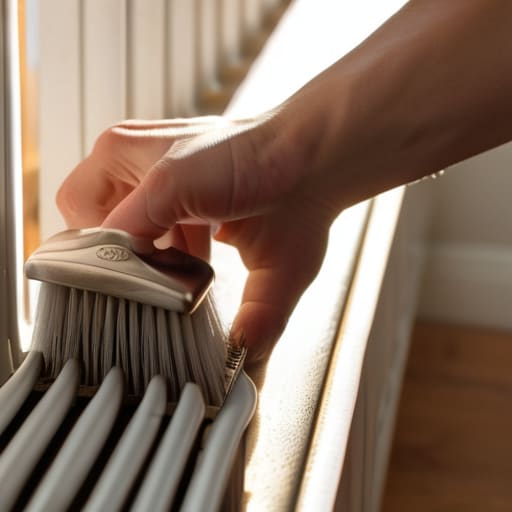
At the end of the day, cleaning out your radiators isn’t some complicated engineering feat; it’s just about getting rid of the grit that settles in the corners. You’ve gone through the brush, cleared the dust from the fins, and hopefully checked that the valves aren’t acting up. It’s a simple bit of housework, but it makes a world of difference to how your heating performs when the temperature drops. If you’ve done it properly, you won’t be left staring at a cold metal box while the boiler works itself to death. Just remember that consistency is better than intensity—a quick once-over every season is much better than waiting until the system starts making a racket.
I’ve spent eighteen years looking at machines that people thought were dead, only to find they just needed a bit of care and a clear airway. Your radiators are no different. They aren’t designed to be disposable, and they certainly don’t need replacing just because they’ve gotten a bit dusty or sluggish. If you take the time to look after the small things now, you’ll save yourself a massive headache—and a hefty repair bill—later on. It’s not about being perfect; it’s just about not letting things go to waste simply because they needed a little bit of attention.
Frequently Asked Questions
If I’ve cleared out the grit but the radiator still feels cold at the top, is it a cleaning issue or do I need to bleed the air out?
If the top is cold, you’ve got air trapped in there. Cleaning the grit helps the heat move through the metal, but it can’t fight an air pocket. Think of it like a blocked pipe—the water can’t flow if there’s a bubble in the way. Grab a radiator key and bleed it. If you get a steady stream of water without any sputtering, you’ve fixed it. If it stays cold, then we’re looking at a different problem.
Do I really need to take the whole thing off the wall, or can I get most of the dust out just by using a vacuum attachment and a long brush?
Look, you don’t need to go stripping the whole thing off the wall unless you’ve got a serious mould problem lurking behind it. For most people, a vacuum with a long, slim attachment and a decent brush is plenty. Just get into those fins and the gaps near the floor. If you can get the grit and the “dust bunnies” out of the internal channels, you’ve done ninety percent of the job.
Is there a risk of causing a leak if I'm poking around too deep into the fins while trying to get the dirt out?
Look, if you’re poking around with a screwdriver or a heavy brush, you’re asking for trouble. Those fins are thin as paper and they bend if you even look at them wrong. If you flatten them, you’re blocking the airflow, which defeats the whole purpose. As for leaks, unless you’re actually hitting a joint or a valve, you won’t cause a burst, but you might cause a mess. Use a soft brush and be gentle.
