







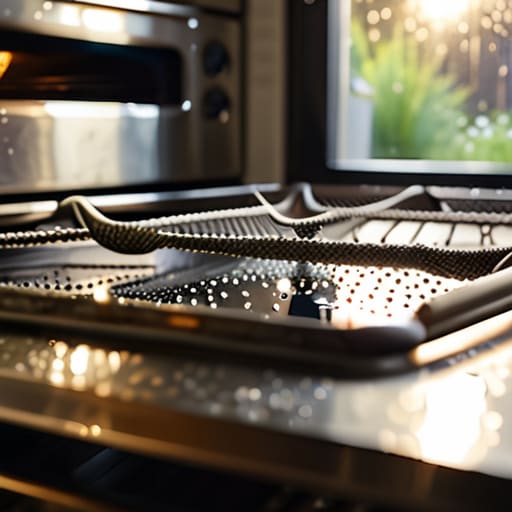

I’ve spent eighteen years pulling apart washing machines and vacuums in Bristol, and if there is one thing I’ve learned, it’s that people tend to overcomplicate things. They think they need a heavy-duty, caustic spray to tackle a burnt-on mess, but most of the time, those harsh fumes do more damage to your lungs than the grease does to your appliance. I’ve seen plenty of folks practically ruin their kitchen air just because they were told that “stronger” means “better.” The truth is, when you’re looking for how to clean an oven without chemicals, you don’t need a laboratory in your cupboard; you just need to understand how grime actually behaves.
I’m not here to sell you some fancy, overpriced “natural” spray in a recycled bottle. I’m going to show you the no-nonsense way to strip away that carbon buildup using basic stuff you likely already have in your pantry. We’ll go through the exact steps to get your oven looking decent again without making your eyes water or your skin itch. It’s about patience and a bit of elbow grease, not expensive gimmicks. Let’s get stuck in.
Guide Overview
Tools & Supplies
- Baking sheet (to catch drips)
- Scraper or spatula (to remove burnt food)
- Microfiber cloth (for wiping surfaces)
- Scrub brush or old toothbrush (for tight corners)
- Baking soda (1 cup)
- Water (small amount for paste)
- White vinegar (small spray bottle)
Step-by-Step Instructions
- 1. First things first, you need to clear the decks. Take out the wire racks, the drip trays, and any of those little plastic bits that might be tucked in the corners. I usually set the racks aside in the sink with a bit of warm soapy water while I tackle the main cavity. Don’t go trying to scrub around them; you’ll just end up fighting the machine instead of cleaning it.
- 2. Grab a bowl and mix up a thick paste using baking soda and just enough water to make it look like toothpaste. You don’t want it runny, or it’ll just drip onto the floor and make a mess of your kitchen. Spread this paste over every inch of the oven walls and the floor. Avoid getting it on the heating elements, though—those are delicate bits that don’t need any help from your cleaning supplies.
- 3. Now comes the part that requires a bit of patience, which is something I’ve learned a lot about over eighteen years of fixing things. Let that paste sit. If the oven is particularly greasy, leave it overnight. The baking soda needs time to actually work on the carbonised bits so you aren’t left scrubbing until your arms ache.
- 4. Once the paste has sat long enough, take a damp cloth and start wiping it out. You’ll see the grime coming away with the soda. If you hit a patch that’s particularly stubborn, don’t reach for the heavy-duty sprays; just apply a bit more paste and give it another rest. It’s much better to wait than to force it and scratch the enamel.
- 5. For those wire racks that have been sitting in the sink, give them a good scrub with a non-abrasive sponge. If they’ve got some serious burnt-on bits, a little bit of white vinegar sprayed on top of the baking soda will create a bit of a fizzing reaction. It looks a bit dramatic, but it’s a highly effective way to loosen the grit without using anything toxic.
- 6. Once the oven walls are mostly clear, take a clean, damp cloth and do a final wipe-down to get rid of any leftover white residue. I always finish by checking the door seal. A dirty seal can lead to heat leaks, and I’ve seen enough people call me out for a “broken” oven only to find it was just a clogged mess preventing a proper fit.
- 7. Finally, pop your racks back in and give the whole thing a quick run on a low heat for about ten minutes to ensure everything is bone dry. It’s a simple process, but if you do it right, you won’t have to worry about those nasty chemical fumes lingering in your kitchen every time you want to roast a chicken.
Understanding How to Clean an Oven Without Chemicals
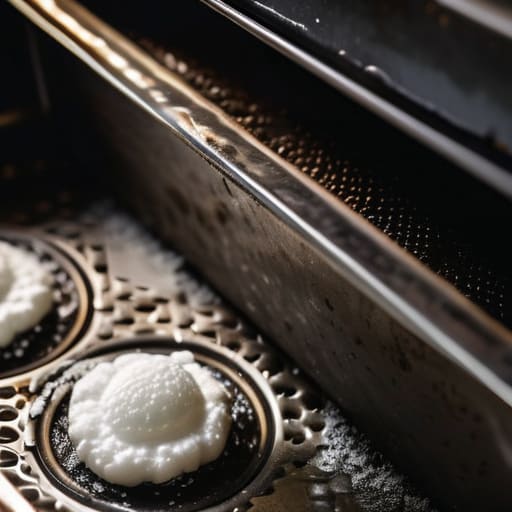
The thing about most people is that they assume a dirty oven is a lost cause, something that requires a heavy-duty spray and a gas mask to tackle. I’ve seen plenty of machines sent to the scrap heap simply because the owner was too intimidated by a bit of carbonised grease to try a gentler approach. You don’t need a cocktail of caustic liquids to get the job done; in fact, those harsh fumes can linger in your heating elements longer than you’d like. Most of the time, you’re just fighting physics. A thick baking soda and vinegar oven paste works because it uses a basic chemical reaction to lift the stubborn stuff without eating away at the enamel.
If you’re looking for eco-friendly kitchen cleaning tips that actually save you money, start with the racks. Don’t bother scrubbing them in the sink with a wire brush—you’ll just end up with metal shavings in your dishwater. Instead, soak them in a tub with some hot water and a bit of soap. If you’re dealing with particularly nasty bits, learning how to use steam for cleaning by placing a heat-proof bowl of water inside a warm oven can soften the grime enough to wipe it away with a simple cloth. It’s about working smarter, not harder.
Key Things to Know
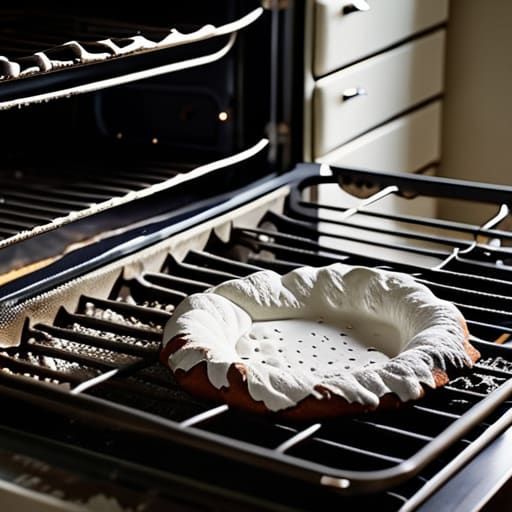
Before you start scrubbing, you need to understand that patience is your best tool here. When I’m looking at a machine, I see how much unnecessary damage people do just by being in a rush. If you’re using a baking soda and vinegar oven paste, don’t expect the grime to vanish in five minutes. You actually have to let it sit—overnight is best if you can manage it. The paste needs time to chemically break down those carbonised bits so you aren’t left scouring the enamel and risking permanent scratches.
Another thing people always overlook is the hardware. Don’t just focus on the interior walls; you need to tackle the racks too. I’ve seen plenty of people give up on an oven because the trays look beyond saving, but removing burnt food from oven racks is much easier if you soak them in a tub of hot water and a bit of dish soap before you even touch the oven itself. It’s about working smarter, not harder. If you treat the appliance with a bit of respect, it’ll last you a decade longer.
A few bits of advice from someone who’s seen too many ovens ruined
- Don’t go scrubbing like you’re trying to strip paint. If you use a wire brush on an enamel surface, you’ll leave scratches that trap grease even faster next time. Use a sponge or a soft cloth; let the baking soda do the heavy lifting, not your muscles.
- Patience is your best tool here. I’ve seen people spray a bit of paste, wait five minutes, and then wonder why the carbonised fat hasn’t budged. Slather it on and leave it overnight. If you try to rush it, you’ll just end up rubbing grey sludge around.
- Watch your door seals. When you’re cleaning, try not to get too much moisture sitting in the rubber gaskets. If they dry out or get gunked up with a thick layer of paste, they won’t seal right, and you’ll start losing heat every time you cook.
- Keep the vinegar handy for the final wipe. After you’ve rinsed out the baking soda, there’s often a cloudy film left behind. A quick spray of white vinegar neutralises the grit and leaves the glass looking clear without needing a professional polisher.
- Check your racks separately. Don’t bother trying to scrub the racks while they’re sitting inside the oven. Take them out and soak them in the sink with a bit of hot water and soap. It’s much easier to get them clean when you aren’t fighting the oven walls at the same time.
The Bottom Line
Don’t let a bit of burnt-on grease convince you that the oven is “dead”; most of the time, it just needs a bit of patience and some vinegar rather than a brand-new heating element.
You don’t need to spend a fortune on fancy sprays that’ll probably corrode the seals; keep it simple with things you’ve already got in the cupboard.
If you take the time to scrub it properly now, you’ll save yourself from having to tear the whole thing apart when the grime starts affecting the temperature later on.
Don't Overthink It
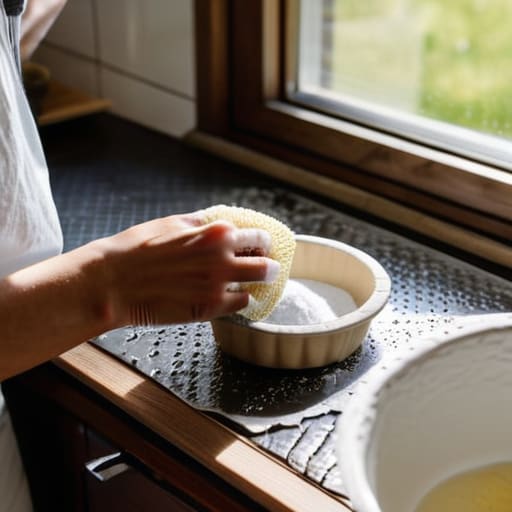
At the end of the day, cleaning an oven doesn’t require a chemistry degree or a cupboard full of caustic sprays that make your eyes water. You’ve seen how a bit of baking soda and some patience can strip away years of burnt-on grease without damaging the enamel or ruining the heating elements. It’s about being methodical rather than aggressive. Remember to let the paste sit, give it the necessary time to do the heavy lifting, and don’t forget to clear out those crumbs from the door seals. If you stick to these basics, you aren’t just cleaning a machine; you are extending its lifespan by preventing the buildup that eventually causes parts to fail.
I’ve spent eighteen years looking at machines that were tossed onto the kerb simply because the owners thought they were “done.” Most of the time, they just needed a bit of care and a steady hand. There is a quiet sort of satisfaction in knowing you can maintain your own home using nothing more than what’s in your pantry. It’s a small way to push back against the idea that everything is disposable. Treat your appliances with a little respect, and they’ll serve you well for years to come. Now, get stuck in and enjoy that clean oven.
Frequently Asked Questions
Will using vinegar and baking soda actually work on a really old, burnt-on mess, or am I just wasting my time?
Look, I’ve seen ovens that look like they’ve survived a house fire, and if you’re expecting a miracle in five minutes, you’ll be disappointed. Baking soda and vinegar aren’t magic, but they are chemistry. The trick isn’t just slapping them on; it’s the dwell time. You need to make a thick paste, coat that burnt mess, and let it sit overnight. It’s about patience, not scrubbing until your arms ache.
Is there a risk of these natural mixtures getting into the electrical components or the fan if I'm not careful?
It’s a fair question, and honestly, it’s the one that keeps me up at night when I’m looking at a client’s kitchen. Yes, there is a risk. If you let a slurry of bicarbonate of soda drip into the fan motor or the control panel, you’re asking for a short circuit. Just keep your cleaning focused on the metal surfaces. Use a damp cloth, not a soaking sponge, and stay well away from the electronics.
How often should I be doing this to stop the grime from building up so badly in the first place?
Look, if you wait until the oven looks like a crime scene, you’re going to be scrubbing for hours. I’ve seen enough burnt-on grease to know that a quick wipe-down after the oven has cooled is your best friend. Aim for once a week—just a simple pass with a damp cloth and some bicarbonate of soda. If you stay on top of it, you’ll rarely need a deep clean. Prevention is much easier than a rescue mission.
