







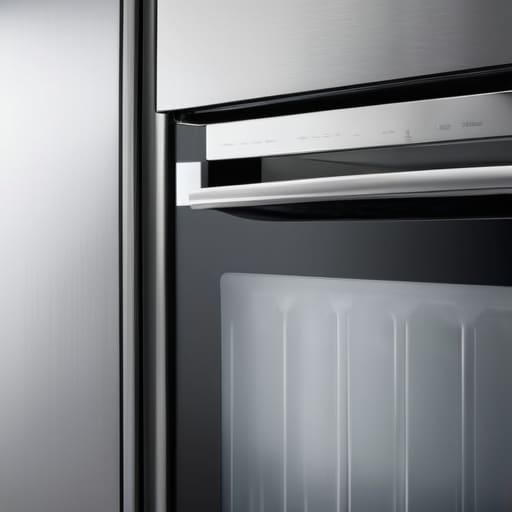

I’ve lost count of how many times I’ve stood in a customer’s kitchen in Bristol, listening to them complain that their fridge is “dying” because it’s running constantly or making a strange humming noise. They’re ready to drop hundreds on a new unit, but the truth is usually much simpler: they’ve neglected cleaning a fridge seal. Most of the time, the machine isn’t broken at all; it’s just struggling to do its job because a bit of spilled milk or a stray crumb has turned that rubber gasket into a sticky, useless mess. It’s heartbreaking to see a perfectly good appliance sent to the scrap heap just because someone didn’t take ten minutes to wipe down a bit of perished rubber.
I’m not here to sell you any fancy, expensive chemical sprays that promise miracles. I’m going to show you the proper, no-nonsense way to get that seal supple and airtight again using things you likely already have under your sink. We’ll walk through exactly what to look for, how to clear out the hidden gunk, and how to tell if that seal actually needs replacing or if it just needs a bit of a scrub.
Guide Overview
Tools & Supplies
- Soft toothbrush or old toothbrush for scrubbing crevices
- Microfiber cloth or soft rag for wiping
- Warm water 1 cup
- Mild dish soap 1-2 drops
- White vinegar 1/4 cup (optional for disinfecting)
Step-by-Step Instructions
- 1. First, you’ll need to clear some space. I’ve seen too many people try to scrub a seal while a half-eaten tub of yogurt is sliding around the shelf right in front of them. Empty out the door shelves first so you can actually get your hands in there without making a mess of the floor.
- 2. Grab a bowl of warm water and a bit of mild dish soap. Don’t go reaching for the heavy-duty bleach or anything with a strong scent; those chemicals can actually dry out the rubber and make it crack over time. You just want something gentle that will cut through the sticky residue without being aggressive.
- 3. Take a soft cloth—nothing abrasive, please—and dip it into your soapy water. Start at the top and work your way down, pressing the cloth into those little folds and grooves in the gasket. This is where the real nastiness hides, usually in the form of crumbs or dried spills that have turned into a sort of biological cement.
- 4. Once you’ve wiped away the visible grime, you need to check for any actual mold. If you see black spots that won’t budge, you can make a paste of baking soda and water. Apply it to the spots, let it sit for a bit, and then wipe it away. It’s much better than throwing the whole door away just because of a bit of mildew.
- 5. Now, don’t skip this bit: take a clean, dry towel and wipe the entire seal until it’s completely moisture-free. If you leave water trapped in those folds, you’re just inviting the damp to come right back. A dry seal is a happy seal.
- 6. As a final check, run your finger along the length of the gasket to make sure it feels supple and sits flush against the fridge frame. If it feels stiff or looks warped, you might have a bigger issue, but most of the time, a good clean is all it takes to get that proper suction back.
The Silent Thief Why Cleaning a Fridge Seal Saves Machines
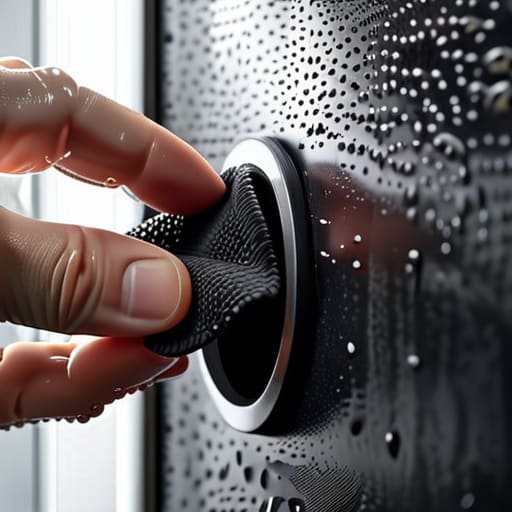
People tend to think a fridge is “broken” when they see a puddle on the floor or hear the compressor running like it’s trying to win a marathon. Half the time, the machine is perfectly fine; it’s just working overtime because the door isn’t actually shutting. When that rubber gets gummy or cracked, you lose your cold air, and your electricity bill starts climbing. I’ve seen far too many people call me out to replace a whole unit when they really just needed to spend ten minutes cleaning rubber door seals safely with a bit of warm, soapy water.
If you notice a bit of fuzz or dark spots, don’t panic. Removing black mould from fridge gasket is usually just a matter of patience and a soft brush, not a call to the scrap heap. While you’re at it, try the paper test—slide a note between the door and the frame; if it drops out without resistance, you’ve got a leak. It’s a simple way of checking fridge seal suction before a minor bit of grime turns into a costly mechanical headache.
Mastering the Gasket Removing Black Mould and Restoring Suction
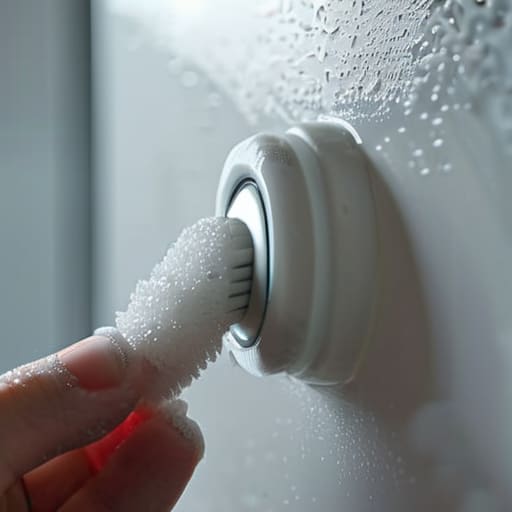
If you spot those little black spots tucked into the folds, don’t panic and don’t reach for the bleach. I’ve seen too many people ruin their rubber by using harsh chemicals that dry it out and crack it within a month. When it comes to removing black mould from fridge gasket, your best bet is a gentle mixture of warm water and a bit of mild dish soap. Use an old, soft toothbrush to get into those deep creases where the grime likes to hide. If the mould is being particularly stubborn, a diluted vinegar solution works wonders without eating away at the material.
Once it’s clean, you need to make sure it actually stays shut. I always tell people that checking fridge seal suction is just as important as the scrubbing itself. Close the door on a single sheet of paper; if you can pull it out with no resistance, your seal has lost its integrity. If it feels a bit stiff or flattened, try applying a very thin layer of petroleum jelly to the folds. It keeps the rubber supple and helps it seat properly against the frame, which is often the simplest way of preventing condensation on fridge gasket from forming in the first place.
A Few Bits of Wisdom from the Workbench
- Don’t go scrubbing it with anything abrasive. I’ve seen people use scouring pads on these gaskets like they’re cleaning a burnt pot, and all they do is tear the rubber. Once that seal is nicked, it’s game over; you’re looking at a new door, not just a cleaning job.
- Use a soft toothbrush for the crevices. Most of the gunk—the spilled milk, the jam, the bits of veg—settles right into those little folds where the seal meets the fridge frame. If you don’t get into the corners, the moisture stays trapped, and that’s how you get the mould to come back.
- Keep a bottle of white vinegar handy. It’s cheap, it’s effective, and it doesn’t leave behind those nasty chemical smells that can seep into your butter or milk. A bit of vinegar on a cloth does more for a seal than most of the expensive “specialist” sprays you see in the shops.
- Dry it thoroughly after you’re done. This is the part people always skip. If you leave moisture sitting in those folds, you’re basically inviting the mould to throw a party. Wipe it down with a dry tea towel until it’s bone dry before you shut the door.
- Check the suction with a bit of paper. After you’ve cleaned it, take a single sheet of paper, tuck it into the seal, and close the door. If you can pull the paper out with no resistance, your seal is either dirty or warped. It’s the easiest way to know if your cleaning actually worked.
The Bottom Line
Don’t go buying a new fridge just because it’s not staying cold; nine times out of ten, it’s just a bit of grime preventing a proper seal.
A clean gasket isn’t just about hygiene; it’s about stopping your compressor from working itself to death trying to fight the warm air leaking in.
If you catch the mould and the grit early, you’ll save yourself the cost of a replacement part and a whole lot of unnecessary headache.
A Bit of Maintenance Goes a Long Way
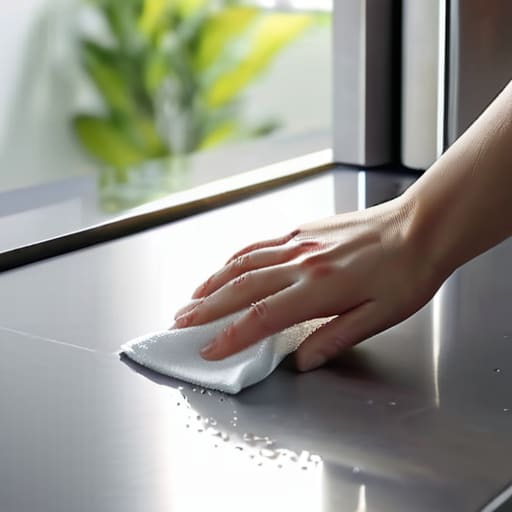
At the end of the day, cleaning that seal isn’t some high-tech engineering feat; it’s just basic common sense. You’ve checked for cracks, scrubbed away the mould, and made sure that rubber is sitting flush against the frame. By taking twenty minutes to do this, you’ve prevented the compressor from working overtime and stopped your food from spoiling prematurely. It’s the difference between a machine that lasts another decade and one that ends up in a landfill because of a preventable mechanical headache. Most of the “broken” fridges I see in my van could have been saved if someone had just bothered to wipe down the gasket once a month.
I know it feels like a chore, but there is a real satisfaction in knowing your kit is actually being looked after. We live in a world where people think the only solution to a problem is to buy something shiny and new, but I’ve always preferred the art of keeping things running. There is a quiet dignity in maintaining what you already own. So, grab your cloth, give that seal a good once-over, and take pride in the fact that you’re keeping a perfectly good appliance out of the scrap heap. It’s not just about the fridge; it’s about respecting the tools that make our lives easier.
Frequently Asked Questions
If the seal is still leaking air after I've given it a good scrub, is it actually perished or just out of shape?
If it’s still letting air out after a scrub, don’t go ordering a new part just yet. Give the door a gentle tug; if the seal feels stiff or cracks when you bend it, it’s perished. But if it feels supple, it’s likely just out of shape. Try a hairdryer on a low setting to warm the rubber up—it’ll soften and expand back into its proper home. Most of the time, it just needs a bit of heat to find its way.
Can I use vinegar to get rid of the mould, or am I going to end up cracking the rubber?
You can use vinegar, but don’t go mad with it. A diluted solution is fine for a quick wipe-down to kill the spores, but if you leave it soaking in the grooves, you might find the rubber gets a bit brittle over time. Personally, I prefer a mild dish soap and warm water for the heavy lifting. It’s gentler on the gasket and gets the job done without risking a crack.
I’ve noticed some cracks in the gasket—is that something I can patch up, or is it time to buy a replacement?
Look, if it’s just a tiny nick, you might get away with a bit of food-grade silicone to seal the gap, but don’t get your hopes up. If the cracks are spreading or the rubber feels stiff and brittle, patching is just a waste of your time. A cracked seal won’t hold the cold, and your compressor will end up working itself to death trying to compensate. If it’s crumbling, just buy the new part.
