








I’ve spent eighteen years pulling apart washing machines and vacuums in Bristol, and if there is one thing I’ve learned, it’s that people tend to panic and throw things away far too soon. You’ll see it all the time with a kitchen bin: someone gets a whiff of something sour, sprays a bit of cheap lavender mist over the lid, and thinks they’ve solved the problem. They haven’t. The truth is, you can’t just mask the scent; you have to actually deal with the sludge hiding in the corners. If you’re wondering how to clean a bin so it stops smelling, stop looking for a magic spray and start looking for a scrub brush.
I’m not here to sell you any fancy, overpriced chemical concoctions that promise the moon but leave you with a sticky mess. I’m going to show you exactly how to strip that bin back to its basics and get it truly sanitary. We’ll go over the right way to tackle the grime, which household items actually work, and how to stop that revolting stench from coming back next week. It’s straightforward, it’s a bit of elbow grease, and it’s much better than buying a new bin every time a bit of juice leaks out of a bag.
Guide Overview
Tools & Supplies
- Scrub brush or sponge for agitation
- Garden hose or spray nozzle for rinsing
- Dish soap or multipurpose cleaner (approx. 1/4 cup)
- Baking soda (approx. 1/2 cup)
- White vinegar (approx. 1 cup)
- Microfiber cloth for drying
Step-by-Step Instructions
- 1. First thing you do is get that bin out of the kitchen and into the garden or the bathtub. I’ve spent years pulling sludge out of washing machine pumps, so I know that trying to clean a proper mess while it’s sitting under your sink is a recipe for disaster. You need the space to move around without worrying about splashing something nasty on your floor.
- 2. Empty out whatever bits of rubbish or old liners are left in there. If there’s any liquid sitting at the bottom, don’t just pour it down the sink—that’s how you end up with a clogged drain and a house that smells like a landfill. Pour it into the toilet and flush it away properly.
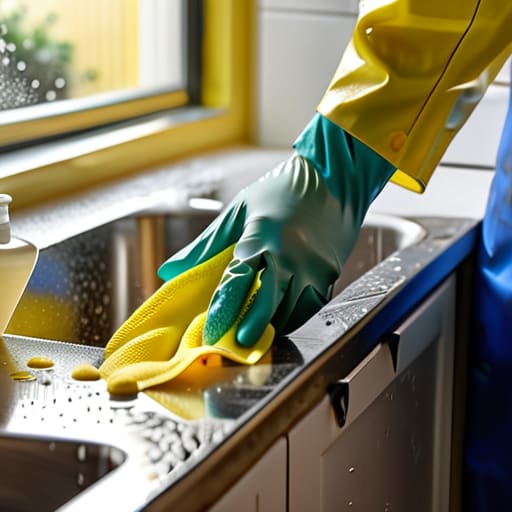
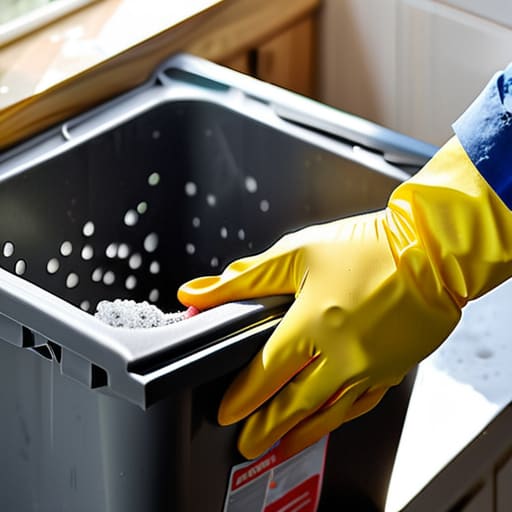
- 3. Now, grab a decent scrubbing brush—not one of those flimsy little ones, but something with a bit of backbone. You’ll need hot water and a good amount of washing-up liquid or a basic disinfectant. Start from the top rim and work your way down, making sure you scrub the corners where the grime likes to hide. If you skip the corners, you’re just moving the smell around rather than getting rid of it.
- 4. Pay special attention to the lid and the hinges. I see people clean the inside of the bin and think they’re done, but the underside of the lid is usually caked in dried spills. If the lid doesn’t close perfectly because of gunk in the hinge, you’re letting air in, and that’s exactly how the stench escapes into your kitchen.
- 5. Once you’ve given it a proper scrub, you need to rinse it thoroughly with clean, hot water. I like to use a hose if I’m outside, but a bucket and a sponge work just fine. Keep rinsing until the water running off the bottom is completely clear. If the water looks even slightly cloudy, there’s still organic matter in there, and it will rot again within a week.
- 6. This is the part most people rush, and it’s where they go wrong: you must let it dry completely. If you put a fresh liner into a damp bin, you’re just creating a breeding ground for mould. Turn it on its side in the sun or leave it in the bath until it’s bone dry to the touch.
- 7. If you’ve done a good job and it still has a faint lingering scent, don’t reach for the heavy chemical sprays. Just sprinkle a bit of baking soda or even a little bit of dry sawdust at the bottom before you put your new liner in. It’s a simple fix that keeps things tidy without making your whole kitchen smell like a hospital.
Understanding How to Clean a Bin So It Stops Smelling
The thing about most people is they think a quick rinse with some soapy water is enough, but they’re only scratching the surface. When you’re cleaning kitchen waste containers, you have to realize that the smell isn’t just sitting on the surface; it’s actually seeped into the microscopic pores of the plastic. I’ve seen enough cracked seals and worn-out gaskets in my time to know that if you don’t get into those tiny grooves, you’re just moving the filth around. To truly tackle removing trash bin odors, you need to treat it like a piece of machinery that’s been neglected—it needs a proper scrub, not just a splash.
If you want to avoid a repeat performance, you have to focus on preventing bacteria buildup in bins before the rot sets in. I always tell people to keep an eye on the bottom of the liner. Most of the sludge collects right there in the corners. Using a strong solution is fine, but if you’re looking for something less harsh, certain natural odor neutralizers for garbage cans, like a bit of baking soda or even some white vinegar, can work wonders once the heavy lifting is done. It’s about being thorough, not just being fast.
Key Things to Know
One thing people always forget is that the bin isn’t just a container; it’s a breeding ground. If you’re just rinsing it with cold water, you aren’t actually doing anything. You need to be aggressive about preventing bacteria buildup in bins, especially in the summer when everything turns into a science experiment overnight. I’ve seen enough sludge at the bottom of a kitchen bin to know that if you don’t use something with a bit of teeth—like a strong disinfectant or even just a heavy dose of white vinegar—you’re just moving the slime around.
Don’t go looking for fancy, expensive sprays that promise the world. When it comes to removing trash bin odors, the best disinfectant for plastic bins is usually something simple that can actually break down the organic matter stuck in those tiny surface scratches. Plastic is porous, you see. Over time, it picks up the scent of whatever rot was sitting in it. If you don’t scrub the walls of the bin properly, that smell will just seep back into your next bag of rubbish.
Five things I’ve learned from years of scrubbing up messes
- Don’t just rinse the inside; you’ve got to get into the rim and the underside of the lid, because that’s where the liquid sits and ferments when you aren’t looking.
- If you’re using a spray, skip the fancy lavender stuff and just go for something with actual bleach or vinegar; you need to kill the bacteria, not just mask the rot.
- Dry the bin completely before you put a new bag in, otherwise you’re just creating a damp little greenhouse for mould to grow right at the bottom.
- Check the seals if it’s a pedal bin, because if gunk gets trapped in the hinge or the mechanism, it’ll smell even if the bucket itself is spotless.
- Treat your bin liner like a shield; if you’re throwing away something particularly messy, double up the bag so you aren’t dealing with a leak that ends up in the cracks of the plastic.
The Bottom Line
Don’t just rinse the surface; if you aren’t scrubbing the corners and the underside of the lid, you’re just moving the bacteria around.
A bit of preventative maintenance, like a liner or a quick wipe-down, saves you from having to deal with a bin that’s become a lost cause.
Most “broken” smells are just the result of neglect, not a faulty bin, so don’t go buying a new one until you’ve actually cleaned the old one properly.
Don't Just Throw the Problem Away
At the end of the day, keeping a bin from smelling isn’t about buying some fancy, overpriced scented spray that just masks the rot. It’s about the basics: scrubbing those corners where the liquid sludge hides, making sure you’ve actually disinfected the surface, and being smart about how you bag your rubbish. If you’ve done the deep clean properly, you’ve tackled the source rather than just painting over it. It’s a bit like fixing a washing machine; if you ignore the buildup in the filter, you’re just waiting for the whole thing to fail. Just remember to stay on top of the small things before the grime becomes a permanent fixture.
I’ve spent nearly two decades looking at things people have tossed out simply because they thought they were beyond saving. Most of the time, they weren’t broken; they were just neglected. Your bin is no different. It’s a tool, a part of your home that needs a bit of regular maintenance to do its job properly. Don’t let a bit of preventable nastiness make you feel like you need to replace the whole lot. A little bit of elbow grease and a bit of common sense will go a long way toward making things work again.
Frequently Asked Questions
What do I do if the smell has actually soaked into the plastic of the bin itself?
If the stink has actually seeped into the plastic, a quick rinse won’t touch it. You’ve got a permanent resident in there now. I’ve seen plenty of bins that look clean but still reek of old bin juice. Your best bet is a soak in a tub with warm water and plenty of white vinegar, or even a bit of bicarbonate of soda. If that fails, you might just have to scrap it.
Is it worth using a dishwasher to clean these things, or will the heat warp the lid?
I wouldn’t risk it. I’ve seen enough plastic components warp and buckle under high heat to know that “dishwasher safe” is often a optimistic suggestion rather than a guarantee. If that lid is even slightly thin, the heat will twist it, and then you’ve got a lid that doesn’t sit flush. Stick to the sink with some hot, soapy water and a bit of elbow grease. It takes five minutes longer, but it actually works.
How often should I be doing this deep clean if I'm using heavy-duty bin liners?
Look, heavy-duty liners are great for preventing leaks, but they don’t stop the microscopic grime from building up. Even if the bag doesn’t tear, moisture and bacteria still find their way into those corners. I’d say give it a proper scrub once a month regardless. If you’re throwing out a lot of food scraps, maybe even every two weeks. Don’t let a thick plastic bag trick you into thinking the bin itself is clean.
