









I’ve spent eighteen years pulling machines apart in workshops across Bristol, and if there’s one thing I’ve learned, it’s that people are far too quick to call a repairman when their dishes come out looking cloudy. Most of the time, the machine isn’t actually broken; it’s just suffocating. I remember a job last Tuesday where a customer was ready to scrap a perfectly good Bosch because it “wasn’t washing.” I popped the bottom rack, took a look, and there it was—a tiny bit of lime and a stray toothpick jamming the rotation. It’s a classic case of cleaning a dishwasher spray arm being the difference between a working appliance and a pile of expensive junk.
I’m not going to give you any of that glossy, complicated nonsense you see in manuals. Instead, I’m going to show you exactly how to get those little holes cleared out and the arms spinning freely again without needing a degree in engineering. We’ll go through the proper way to unclip them, how to flush out the grit, and how to make sure they don’t get blocked again next week. It’s simple, it’s practical, and it’ll save you a bloody fortune in service calls.
Guide Overview
Tools & Supplies
- Needle nose pliers or tweezers to remove debris
- Small screwdriver or coin to loosen spray arm screw/clip
- White vinegar or cleaning solution (approx. 1 cup)
- Toothbrush or small brush (1 unit)
Step-by-Step Instructions
- 1. First, you’ve got to clear the way. Pull the bottom rack all the way out so you’ve got some room to move. Most people try to poke around with a screwdriver while the rack is still in, but you’ll only end up scratching the enamel or hurting your knuckles.
- 2. Now, you need to get that arm off. Depending on the model you’ve got, it’ll either screw off counter-clockwise or there’ll be a little plastic nut in the middle you need to loosen. If it’s one of those newer ones that clips on, just give it a firm tug upwards. Don’t be afraid to use a bit of pressure; they’re designed to stay put, so they won’t just fall out.
- 3. Take the arm over to the sink. I usually take mine to the kitchen tap because you need a bit of decent pressure. Hold it under the flow and look at those little holes. You’ll likely see bits of lemon seed, tiny fragments of plastic, or that nasty white limescale buildup. If the water isn’t coming out of the holes in a straight, strong stream, you’ve still got a problem.
- 4. If the holes are stubborn, don’t go reaching for a kitchen knife—you’ll just slice the plastic. I always keep a few toothpicks or a stiff nylon brush in my kit for this. Gently poke them into each individual nozzle to clear out the debris. It’s tedious work, but it’s better than replacing the whole assembly.
- 5. While you’re at the sink, give the arm a good shake. If you hear something rattling around inside the hollow plastic, that’s a bit of grit or a stray bit of glass that’s found its way in. Shake it until it’s silent. If it’s still rattling, you might need to soak the whole thing in a bowl of warm white vinegar for half an hour to dissolve the calcium holding that grit in place.
- 6. Give it one last rinse under the tap to make sure every bit of loosened gunk is flushed out. You want to see nothing but clear water spraying through those holes. Once it’s clear, dry it off with a tea towel so you aren’t dripping all over the floor when you go to put it back.
- 7. To finish, just pop it back into position. If it’s a screw-on type, make sure you tighten it enough so it doesn’t wobble, but don’t go over-tightening it or you’ll crack the plastic. Slide the rack back in, and you’re done. It’s a ten-minute job that saves you a fifty-pound call-out fee.
Understanding Cleaning a Dishwasher Spray Arm
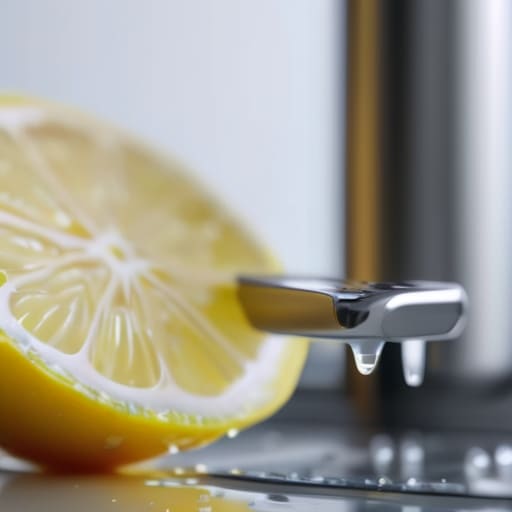
The thing about these machines is that they aren’t actually built to fail; they’re just built to be neglected. Most people call me because they think their pump has died or the motor is shot, but usually, it’s just a case of unclogging dishwasher spray arm holes that have been choked by a stray bit of lemon seed or a tiny fragment of glass. When those little jets get blocked, the water can’t circulate, and you end up with plates that look like they’ve just been swiped with a damp rag. It’s rarely a mechanical catastrophe; it’s just a lack of airflow and pressure.
If you find yourself dealing with persistent dishwasher water pressure issues, don’t go buying a new unit just yet. Before you start tearing into the electronics, try a bit of old-fashioned maintenance. I often suggest cleaning the spray arm with vinegar to help dissolve any stubborn limescale buildup that might be narrowing the passages. It’s a simple, cheap way to keep the water spraying where it’s supposed to. If you stay on top of these small bits of maintenance, you’ll find you don’t need a technician nearly as often as you think.
Key Things to Know
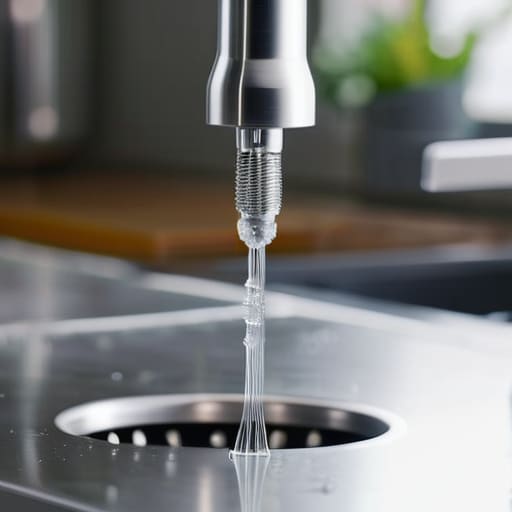
One thing I’ve learned after eighteen years of looking under people’s sinks is that most people mistake a mechanical failure for a dead machine. They’ll call me up panicking about dishwasher water pressure issues, thinking the pump has given up the ghost, when really it’s just a bit of grit or a stray toothpick lodged in the nozzle. If the water isn’t hitting your plates with enough force, don’t go buying a new unit just yet. Most of the time, you’re just looking at a simple case of unclogging dishwasher spray arm holes that have been choked by food particles.
When you’re getting stuck in, I always suggest a bit of proactive maintenance. If you see white, chalky buildup around the jets, try cleaning dishwasher spray arm with vinegar; it’s much more effective than scrubbing at limescale with a toothbrush. Also, keep an eye on your filters. I keep a box of old filters in my shed for a reason—it reminds me that the smallest bits of debris are usually the culprits behind the biggest headaches.
A few bits of advice from eighteen years under the sink
- Don’t go forcing it. If the arm feels stuck or won’t pop off the spindle, stop. You’ll snap a plastic clip, and then you’re looking at a replacement part instead of a five-minute clean.
- Use a toothpick or a needle for the little holes. I’ve seen enough limescale and stuck bits of food to know that a heavy brush won’t do much if the blockage is deep inside those tiny nozzles.
- Check the spray arm before you put it back. Give it a good shake over the sink to make sure there isn’t any loose grit or debris still rattling around inside the housing.
- Inspect the little rubber seals while you’re at it. If they look perished or cracked, a clean arm won’t matter much because the water pressure will just leak out the side instead of spraying the dishes.
- Don’t skip the rinse. After you’ve cleared the holes, run it under a tap to flush out whatever gunk you just dislodged, otherwise, you’re just sending that debris straight back into your clean plates.
The bottom line
Most of the time, your dishwasher isn’t actually broken; it’s just struggling to breathe because of a bit of grit or a stray toothpick stuck in the spray arm.
Don’t go buying expensive replacement parts or calling out a technician until you’ve spent ten minutes poking through those little holes with a toothpick.
If you make a habit of checking these arms once a month, you’ll save yourself a lot of grief and a lot of money on repairs down the line.
A Bit of Maintenance Goes a Long Way
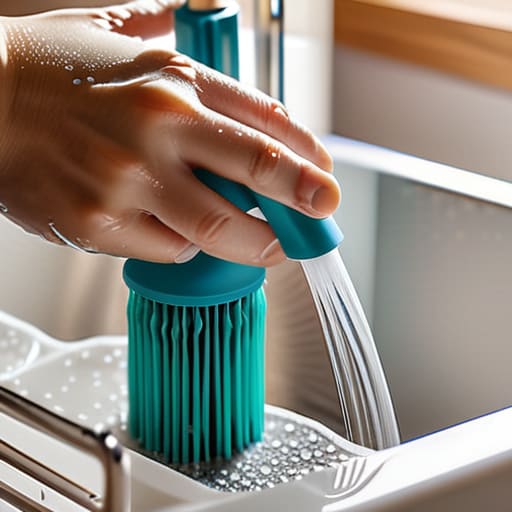
At the end of the day, cleaning your spray arms isn’t some complex engineering feat; it’s just about making sure the water can actually do its job. You don’t need a degree to see that a bit of vinegar, a soft brush, and a quick check for those tiny bits of debris can save you a massive headache later on. I’ve spent nearly two decades pulling these machines apart, and I can tell you for a fact that most “faulty” dishwashers are really just suffering from a lack of basic attention. If you take five minutes once a month to clear those little holes and ensure the arms spin freely, you’ll find your plates coming out much cleaner and your machine running much smoother.
It’s easy to get caught up in the modern habit of just tossing things when they don’t work perfectly, but there is a real satisfaction in knowing you’ve kept something running. We live in a world that’s far too quick to throw away a perfectly good appliance just because of a bit of limescale or a blocked nozzle. Don’t be part of that cycle. Treat your machines with a little bit of respect, do the small, practical repairs yourself, and you’ll find they’ll serve you much longer than you expect. It’s not about being a technician; it’s just about being sensible.
Frequently Asked Questions
If I can't get the little holes cleared with a toothpick, do I need to buy a whole new arm or is there another way?
Don’t go buying a new arm just yet. If the toothpick isn’t doing the trick, it’s usually because the lime scale has hardened like concrete inside those tiny holes. Grab some white vinegar and a bit of patience. Soak the arm in a bowl of warm vinegar for an hour; it’ll soften the crud. If that fails, a blast of compressed air or a tiny needle can sometimes nudge the rest loose.
Is it worth it to clean the spray arms if my dishwasher is still leaving a film on the glasses?
If you’ve got a film on your glasses, cleaning those spray arms is a damn good place to start. I’ve seen it a hundred times: the arms look fine from the outside, but the little holes are choked with grit or old food, so the water just isn’t hitting the dishes with any real force. It’s worth the five minutes. If that doesn’t fix it, then we start looking at your rinse aid or the water hardness.
Can I use something stronger than warm soapy water, or am I going to melt the plastic?
Look, I’ve seen enough melted components to know that some people get a bit too enthusiastic with the chemicals. You don’t need to go nuclear. Avoid the heavy-duty oven cleaners or anything with harsh solvents; they’ll warp that plastic faster than you can say “repair bill.” If warm soapy water isn’t doing the trick, a diluted white vinegar soak is plenty. It’ll cut through the limescale without turning your spray arm into a puddle.
