








I’ve lost count of how many times I’ve seen someone chuck a perfectly good iron straight into the bin just because they thought the heating element had given up the ghost. Most people think that if the steam isn’t billowing out like a locomotive, the whole thing is scrap metal, but that’s rarely the case. Usually, it’s just a bit of limescale or a temperamental thermostat playing tricks on you. If you’re staring at a cold soleplate and wondering how to test an iron before you go out and spend forty quid on a new one, stop right there. You don’t need a degree in electrical engineering to figure out if it’s actually dead or just needs a bit of common-sense troubleshooting.
In this guide, I’m going to walk you through the exact steps I use when I’m looking at a machine on my workbench. I won’t be wasting your time with fancy jargon or unnecessary technical manuals; I’ll show you how to check the cord, test the heat, and see if that steam function is truly broken or just clogged up. By the time we’re done, you’ll know exactly whether to fix it or finally let it go.
Guide Overview
Tools & Supplies
- Electrical outlet and a working power source
- Scrap fabric or a clean white cloth for testing heat
- Iron (the device being tested)
- Water (small amount for steam function test)
Step-by-Step Instructions
- 1. First, give the whole thing a proper once-over with a dry cloth. I’ve seen more irons fail because of a bit of spilled starch or dust stuck in the steam vents than actual electrical faults. You want to make sure there’s no visible debris clogging up those little holes before you even think about adding water.
- 2. Next, check the lead. Don’t just look at it; run your fingers along the length of the cable from the plug all the way to where it enters the iron. You’re looking for any nicks, fraying, or places where the copper might be showing through. If the cord looks dodgy or flattened, don’t bother plugging it in; it’s not worth the risk of a shock.
- 3. Fill the tank, but don’t go overboard. Use tap water if that’s what the manual says, but if you’re in a hard water area around Bristol, I’d stick to distilled to keep the scale down. Once it’s filled, make sure the cap is screwed on tight. There’s nothing more annoying than a leaky seal making a mess of your ironing board halfway through a session.
- 4. Now, plug it in and set it to a medium heat. Don’t go straight to the highest setting; you want to see if it can actually climb the temperature steadily. Keep an eye on the indicator light. It should come on, and then, after a minute or two, it should click off once it’s reached the set temperature.
- 5. Give the steam trigger a few good presses. You aren’t just looking for a puff of vapour; you want to see a consistent spray. If it’s just spitting or making a loud, angry gurgling noise, you likely have a clogged heating element or a bit of limescale playing up inside the chamber.
- 6. Finally, do the “flat surface test.” Set the iron on its heel on a heat-resistant surface and wait a moment. If you see water pooling underneath it or if the baseplate feels uneven, the thermostat might be acting up, or the internal seals have given up the ghost. If it stays dry and holds its heat, you’re good to go.
Understanding How to Test an Iron
Now, you can follow all the steps in the world, but you need to know what you’re actually looking for when you pull the casing apart or poke around the settings. Most of the time, it isn’t some complex electrical failure; it’s just a bit of limescale or a loose connection. When I’m checking iron heating element performance, I’m not just looking to see if it gets hot. I’m looking for consistency. If you set it to silk and it feels like it’s trying to cook a steak, you’ve got a thermostat issue. A quick iron temperature accuracy test using a thermometer can save you from ruining a good shirt later on.
It’s also worth keeping an eye on the physical bits. I always suggest a thorough iron soleplate inspection before you even bother with the power. If that metal is pitted or has burnt-on gunk, it doesn’t matter how well the electricity is flowing; it’s going to drag across your clothes. While you’re at it, keep a sharp eye on the base. If you see any dampness near the cord entry, stop immediately—detecting water leaks in iron early is the difference between a quick fix and a trip to the scrap heap.
Key Things to Know
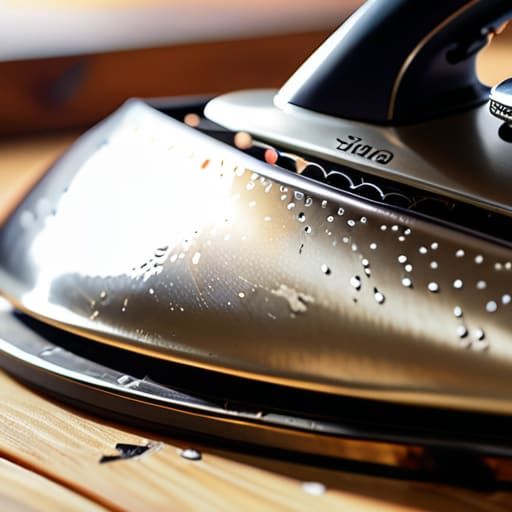
One thing people always forget is that a machine can look perfectly fine on the outside while being a ticking time bomb for your laundry. Before you even think about getting close to the heat, you need to do a proper iron soleplate inspection. I’ve spent far too many afternoons cleaning scorched fabric out of expensive shirts because someone didn’t notice a bit of burnt-on residue or a tiny nick in the metal. If that surface isn’t smooth, it’s going to snag, and no amount of steaming will fix a ruined silk blouse.
You also need to keep a sharp eye out for the small stuff, like detecting water leaks in iron before they become a flood. If you see even a tiny bead of moisture weeping from the casing while it’s sitting on the stand, don’t just wipe it away and carry on. That’s usually a sign that a seal has perished or a hose is starting to crack inside. It’s much better to deal with a minor drip now than to end up with a short circuit or a puddle on your ironing board halfway through a pile of linens.
A Few Bits of Advice Before You Get Started
- Don’t just trust the little light on the front. I’ve seen plenty of irons where the indicator bulb is perfectly fine, but the heating element itself has given up the ghost. Always feel for actual heat.
- Give the cord a gentle wiggle while it’s plugged in. If the light flickers or the heat cuts in and out, you’ve got a break in the wiring inside the sheath, and that’s a job for a pro, not a DIYer.
- If you’re testing a steam iron, check the water tank for any signs of crusty white buildup. If the water isn’t flowing through the holes properly, it isn’t a broken iron; it’s just a blocked one.
- Watch out for that “burnt toast” smell. If you plug it in and it smells like something’s frying, shut it off immediately. That’s usually a sign of a component melting or a short circuit brewing inside.
- Always test on a scrap bit of fabric first. You don’t want to find out an iron is running way too hot when you’re halfway through your best linen shirt.
Don't bin it before you've checked the basics
Most “broken” irons are just suffering from a bit of limescale buildup or a blocked steam vent; give it a good clean and a descale before you decide it’s scrap.
Always check the cord and the plug for any signs of fraying or heat damage first, as a dodgy cable is a much bigger problem than a faulty heating element.
If it’s not heating up, don’t assume the whole thing is dead; check if the temperature dial is actually set correctly or if the thermal fuse has just tripped.
Don't Toss It Just Yet
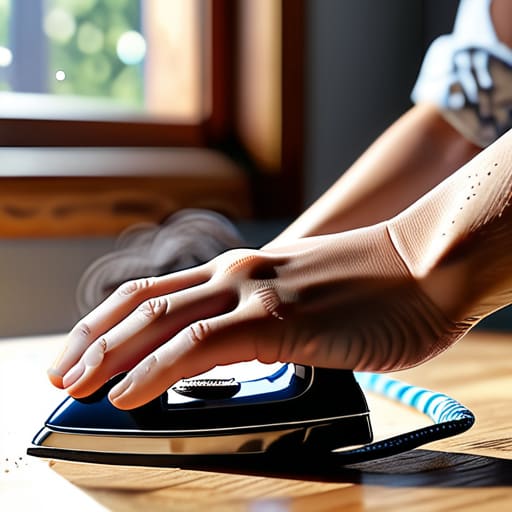
At the end of the day, testing an iron isn’t about being an engineer; it’s just about being observant. You’ve checked the cord for nicks, made sure the steam function isn’t just spitting lukewarm water, and confirmed the plate actually gets hot enough to work. Most of the time, if it’s acting up, it’s something simple like a bit of limescale buildup or a loose connection rather than a total mechanical failure. Before you decide it’s headed for the tip, remember that a quick inspection of the heating element and the water reservoir can save you a lot of money and a trip to the shops.
I’ve spent eighteen years pulling apart machines that people were ready to bin, and I tell you, it’s a crying shame to see a perfectly good tool go to waste over a minor hiccup. There is a certain satisfaction in knowing your gear works because you actually took the time to check it properly. Don’t let a little bit of hesitation stop you from giving your appliances a fair shake. Most of the time, they aren’t broken; they just need a bit of attention and a steady hand to get them back in the game.
Frequently Asked Questions
If the light comes on but the soleplate stays cold, is it worth trying to fix or should I just bin it?
If the light is on but there’s no heat, you’re likely looking at a blown thermal fuse or a dodgy thermostat. It’s a common enough fault, and if you’re handy with a screwdriver, it’s worth a look. However, if it’s one of those fancy steam generators with a complex circuit board, I’d save your time and just bin it. Most modern irons aren’t built to be tinkered with, and they aren’t worth the headache.
I've noticed some brown marks on the bottom after testing it; does that mean the internal heating is failing?
Don’t panic just yet. Brown marks usually mean one of two things: either you’ve got some old, burnt-on starch or limescale on the soleplate, or there’s a bit of debris trapped in the steam vents. It doesn’t necessarily mean the heating element is dying. Clean the plate with a bit of white vinegar on a damp cloth first. If the marks stay under the metal, then we might be looking at a real problem.
Is it safe to test a steam iron without any water in it, or am I going to burn out the element?
You can test it dry, but don’t leave it sitting there getting hot for long. I’ve seen plenty of people plug an iron in, walk away to make a brew, and come back to a scorched soleplate. A quick minute to see if the light comes on or the plate warms up is fine, but if you let it sit bone-dry for ten minutes, you’re asking for trouble. Just keep it brief.
