







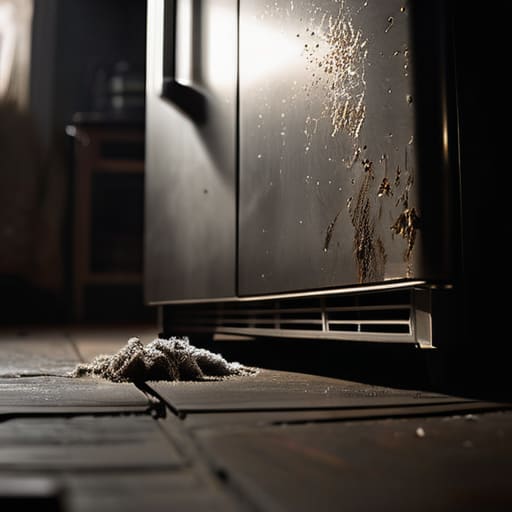

I’ve spent eighteen years pulling heavy, grease-slicked machines out of kitchens from Bristol to Bath, and if there’s one thing I’ve learned, it’s that people treat their appliances like they’re indestructible. They wait until a motor burns out or a pump fails before they even think about cleaning behind and under appliances, thinking they’ve saved themselves a bit of elbow grease. But I’ve seen too many “broken” machines that were actually just choking on a thick layer of dust and pet hair that had turned into a solid felt underneath the unit. It’s not about being tidy; it’s about making sure your expensive kit doesn’t die prematurely just because you couldn’t be bothered to move a fridge.
I’m not here to sell you any fancy, scented sprays or complicated gadgetry that’ll end up in a landfill next month. I’m going to tell you exactly how to tackle the grime without breaking your back or your budget. I’ll show you the real way to get into those tight, dark gaps so you can stop worrying about what’s festering out of sight.
The Silent Sabotage Why Cleaning Behind and Under Appliances Matters

People tend to think that if a machine is running, it’s doing its job properly. But after eighteen years of pulling machines apart, I can tell you that what’s happening in the shadows behind your fridge or under your oven is often the real culprit behind a sudden breakdown. It isn’t just about a bit of dust; it’s about the heat and the debris that get trapped where you can’t see them. I’ve seen far too many motors burn themselves out simply because they couldn’t breathe through a thick blanket of lint and pet hair.
A lot of it comes down to improving appliance efficiency with cleaning before a small problem becomes a costly repair. For instance, if you ignore your refrigerator coils, that compressor is going to work twice as hard just to keep your milk cold. It’s a slow, silent sabotage. Whether it’s preventing dust buildup under the stove or clearing out the sludge behind a washing machine, you’re essentially giving your appliances the breathing room they need to actually last. Most of the time, they don’t need a new part; they just need a bit of space to function.
The Heavy Lifting Safely Removing Heavy Kitchen Appliances
Now, I’m not one for making things harder than they need to be, but you can’t exactly reach a dusty condenser with a feather duster while the fridge is still pushed against the wall. When it comes to removing heavy kitchen appliances, my advice is simple: don’t be a hero. If you’re working alone and trying to muscle a massive American-style fridge-freezer by yourself, you’re more likely to end up with a bruised hip or a cracked linoleum floor than a clean machine. Get a second pair of hands or, if you’re feeling sensible, invest in a pair of appliance rollers. They make the job much easier and save your back from a lifetime of aches.
Once you’ve got the beast moved, don’t just yank it back into place immediately. This is your golden opportunity for some refrigerator coil cleaning tips that actually make a difference. While the machine is out, use a vacuum with a narrow crevice tool to clear away the thick mats of hair and lint. It’s the best way of improving appliance efficiency with cleaning, as those coils can’t breathe if they’re suffocating under a layer of grey fluff. Just take your time; there’s no rush, and it’s much better to do it right once than to struggle with a struggling motor later.
Mastering the Reach My Best Cleaning Tools for Tight Spaces
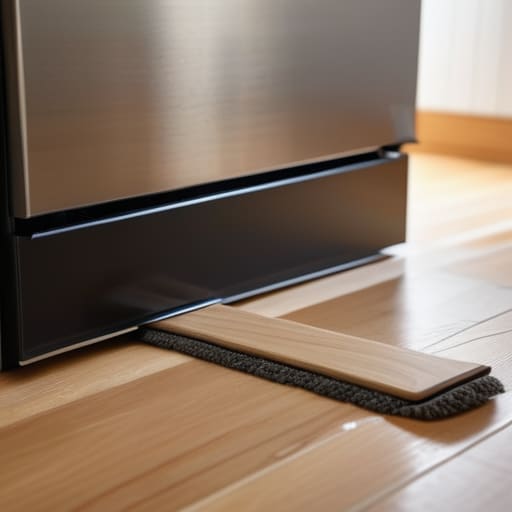
You don’t need a fancy toolkit to get into these gaps, but you do need things that actually reach where your hands can’t. I’ve seen too many people try to shove a standard vacuum nozzle into a two-inch crack, only to end up scratching the floor or getting the hose stuck. If you’re serious about improving appliance efficiency with cleaning, skip the bulky attachments. I always keep a handful of slim, flexible crevice tools in my kit. If you can’t find one, a long, thin paintbrush or even an old dish brush works wonders for knocking loose the thick layers of grey fluff that settle in those corners.
For the really stubborn bits, like the dust bunnies wedged under a fridge, I swear by a telescopic duster. It’s much better for maintaining hygiene in hard to reach areas without you having to go on your hands and knees for twenty minutes. If you’re tackling the back of a fridge specifically, keep a soft-bristled brush handy for those coils. It’s a simple bit of maintenance, but it’s much more effective than just blowing air around and hoping for the best.
Vital Refrigerator Coil Cleaning Tips to Save Your Machine
Now, if you want to talk about a machine that’s being choked to death by its own environment, look no further than your fridge. Most people think a fridge is just a cold box, but those coils at the back or underneath are the lungs of the thing. When they get matted with pet hair and kitchen grease, the compressor has to work twice as hard just to keep your milk cold. I’ve seen plenty of motors burn out prematurely simply because they couldn’t breathe. Following a few basic refrigerator coil cleaning tips can literally add years to the life of the machine.
Don’t just poke at them with a feather duster; you’ll only push the grit deeper into the fins. I usually grab a vacuum with a narrow crevice tool or a stiff-bristled brush to get in there. It’s all about improving appliance efficiency with cleaning rather than waiting for a loud humming noise to signal a breakdown. If you have to pull the unit out to reach the coils, be careful—don’t forget that you’re essentially removing heavy kitchen appliances from a delicate floor surface. A little bit of care goes a long way.
Preventing Dust Buildup Under Stove for Lasting Machine Health
Once you’ve gone through the hassle of removing heavy kitchen appliances to get that deep clean, you don’t want to be doing it again in a month. The trick to preventing dust buildup under stove units isn’t about scrubbing harder; it’s about managing the airflow and the debris before it settles into a thick, greasy felt. I always tell my customers that a bit of preventative maintenance is much easier than trying to scrape burnt-on sludge off a floor once a range has been sitting on it for three years.
If you want to stay ahead of the grime, I recommend a quick monthly sweep with a slim vacuum attachment. It takes two minutes, but it stops that fine dust from migrating into the heating elements or getting sucked into the motor housing. It’s one of those small habits that goes a long way toward improving appliance efficiency with cleaning. If you keep the area under there clear of hair, lint, and crumbs, you aren’t just keeping your kitchen tidy—you’re actually helping the machine breathe and last a lot longer than it otherwise would.
A Few Bits of Advice from Someone Who’s Seen It All
- Don’t just shove the machine back in once you’re done. If you push a fridge or a cooker right up against the wall without leaving a tiny bit of breathing room, you’re just inviting the dust to settle and bake right back onto the components.
- Check the floorboards or the linoleum while the machine is pulled out. I’ve seen enough damp patches and rot under washing machines to know that a little bit of a leak often hides in that dark gap for months before anyone notices.
- If you’re moving a dishwasher, keep an eye on the hoses. It’s a waste of a perfectly good machine if you pull it out too fast and put a kink in the water line or, heaven forbid, snap a connection.
- Get a proper vacuum with a narrow nozzle instead of relying on those flimsy dusting cloths. A cloth just moves the grit around; you need to actually lift the hair and the crumbs out of the way so they don’t get sucked into the machine’s own motor later.
- Once you’ve cleared the area, take a quick look at the plugs and cables. If they’re caked in greasy dust, give them a wipe. It’s not just about cleanliness; it’s about making sure nothing gets too hot because it can’t breathe.
The Bottom Line: Don't Let a Bit of Dust Kill a Good Machine
Most “broken” appliances are just suffocating; a quick clean of the coils or the space underneath can save you a hundred-pound repair bill.
Don’t go it alone when moving the heavy stuff—get a bit of help or the right tool so you don’t end up with a busted floor or a strained back.
Keep a few long-reach tools in your drawer so you can tackle the grime without having to drag every single machine out into the middle of the kitchen every single week.
A Bit of Common Sense
At the end of the day, keeping your kitchen running smoothly isn’t about fancy gadgets or expensive service calls; it’s about the simple stuff. Whether you’re clearing out the dust bunnies from under the stove to stop a fire hazard, or finally getting a brush into those refrigerator coils to stop the compressor from straining, you’re doing more than just tidying up. You’re actually extending the life of your machines. I’ve seen too many perfectly good washing machines and fridges sent to the scrap heap just because a bit of grit or a blocked vent caused a component to overheat. Taking the time to reach into those dark gaps is the single best way to ensure you aren’t throwing money in the bin every time a motor starts to struggle.
I know it’s a chore, and I know it’s dusty work, but there’s a real satisfaction in knowing your appliances aren’t working harder than they have to. Most people think a machine is “broken” when it’s really just suffocating under a layer of neglect. If you can manage to pull out that heavy stove once or twice a year, you’ll save yourself a lot of headache and a much larger repair bill down the line. Treat your machines with a bit of respect, and they’ll look after you for years to come. It’s not magic; it’s just good, practical maintenance.
Frequently Asked Questions
If I pull my washing machine out to clean under it, am I going to mess up the water connections or the leveling?
It’s a fair worry. If you yank it out too hard, you’ll stretch those rubber inlet hoses or kink the waste pipe, and that’s a recipe for a flooded kitchen. As for the leveling, most machines will shift a bit. Once you’ve scrubbed the floor, slide it back gently and give it a wiggle. You’ll likely need to adjust the front feet again to stop it from dancing during the spin cycle.
How often do I actually need to get behind the fridge, and is it worth the effort if I don't see any dust?
Look, if you can’t see the dust, it doesn’t mean it isn’t there. I’ve seen plenty of fridges struggle because of a thin, invisible film of grease and grit on the coils. I’d say aim for once a year, or maybe twice if you’ve got pets. It’s worth the effort; a clean coil means the compressor isn’t working overtime just to keep your milk cold. It saves you a repair call later.
What’s the safest way to clean those hard-to-reach spots without scratching my kitchen floor or damaging the appliance cords?
Look, don’t go dragging a heavy fridge across the linoleum like you’re moving furniture in a game of Tetris. You’ll ruin the floor and likely nick a power cord in the process. If you can’t lift it, use some furniture sliders or even a bit of thick cardboard to slide it out just enough to reach. When you’re cleaning near those cords, never tug them. Just wipe around them gently. Safety first, or you’ll be calling me.
