







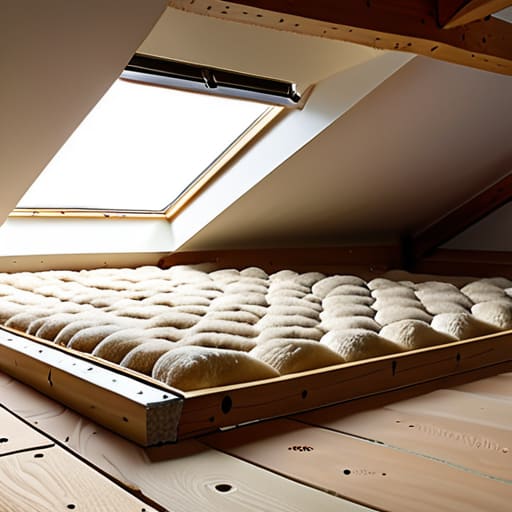

Most people think that if they just buy the thickest, most expensive rolls of mineral wool they can find, they’ve solved their heating problem. They’re wrong. I’ve spent eighteen years opening up machines to find that the “breakdown” was really just a bit of lint in the wrong place, and house insulation is no different. You can pile up a mountain of material, but if you haven’t managed the airflow or blocked those gaps around the eaves, you aren’t actually doing how to insulate a loft properly—you’re just making a very expensive nest for the mice. It’s about the mechanics of the space, not just the volume of stuff you cram into it.
I’m not here to sell you on some fancy, high-tech chemical spray that costs a fortune. I want to show you how to look at your loft the way I look at a busted washing machine: find the leak, fix the blockage, and make sure the system can actually breathe. In this guide, I’ll walk you through the practical steps of laying down your materials, managing ventilation, and avoiding those common rookie mistakes that end up costing you more in energy bills than the insulation was ever worth.
Guide Overview
Tools & Supplies
- Utility knife for cutting insulation rolls
- Tape measure for calculating area
- Dust mask and goggles for safety
- Headlamp for visibility in dark loft spaces
- Mineral wool or fiberglass rolls (enough to cover floor area)
- Loft insulation batt/board (for between joists)
- Breathable membrane (to prevent condensation)
- Insulation clips or staples to secure material
Step-by-Step Instructions
- 1. Before you even think about lugging rolls of mineral wool up the ladder, you need to clear the decks. I’ve seen people try to insulate over old electrical wires or heaps of junk they meant to clear out last summer, and it’s a recipe for a fire or a damp mess. Get a good torch and a sturdy broom, and clear every bit of debris off those joists. You can’t get a proper seal if you’re laying expensive material over a bed of old newspapers and dust bunnies.
- 2. Next, you’ve got to deal with the ventilation. This is where most people trip up—they think more insulation means more warmth, but if you block the airflow, you’re just inviting rot and mould to move in. If you have eaves vents, make sure they aren’t getting smothered. I always tell people to install baffles or vent trays along the edges. It keeps the air moving so your roof can actually breathe, even when it’s packed tight with glass wool.
- 3. Now, check your lighting. If you have recessed downlights in the ceiling below, you can’t just throw insulation over them like you’re tucking a child into bed. You’ll cook the wires. You need to fit protective covers or loft caps over every single light fixture. It’s a small, boring job, but it’s the difference between a warm house and a house on fire.
- 4. Once the prep is done, it’s time to lay the first layer. Start with the joists themselves. Lay your insulation boards or rolls between the timber, making sure they are snug but not crushed. If there are gaps, you’re essentially leaving a hole in your bucket. I’ve opened enough machines to know that gaps are where the trouble starts, and it’s the same with heat; if the air can leak through, your money is leaking out with it.
- 5. After the joists are covered, you go for the second layer. This is where you lay the material perpendicular to the joists. By laying it at a right angle, you’re bridging those timber gaps that act like thermal highways for heat to escape. It’s a bit more work and a lot more heavy lifting, but if you don’t cross the joists, you’re just wasting your time and your materials.
- 6. Finally, take a look at any penetrations—pipes, cables, or vent pipes. Don’t just shove insulation around them and hope for the best. Use some expanding foam or specialized sealant to plug the small gaps around where those pipes come through the floor. If you leave a tiny little tunnel around a pipe, the cold air will find it every single time, and you’ll be back where you started.
Understanding How to Insulate a Loft Properly
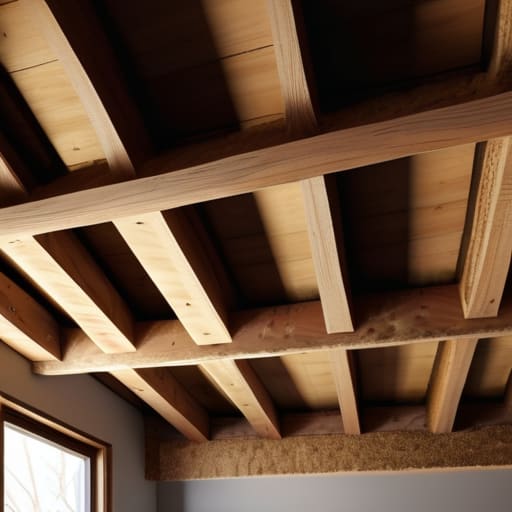
Before you start dragging rolls of material up the ladder, you need to understand that insulation isn’t just about stuffing gaps like you’re packing a suitcase. It’s about managing airflow. I’ve seen too many people go in thinking more is always better, only to realize they’ve accidentally sealed their house up too tight. If you don’t respect the eaves ventilation importance, you’re essentially asking for trouble. You need that air to move from the bottom to the top, otherwise, you’ll end up with dampness that’ll rot your rafters long before you see a penny back on your heating bills.
It’s also worth remembering that preventing condensation in the loft is just as vital as keeping the heat in. When you’re doing your mineral wool installation, make sure you aren’t squashing it down. If you compress the material to make it fit, you’re killing the air pockets that actually do the work. It’s a bit like trying to use a flattened-out sponge to soak up a spill; it just won’t perform. Stick to the loft insulation thickness standards recommended for your area, and don’t try to cut corners.
Key Things to Know
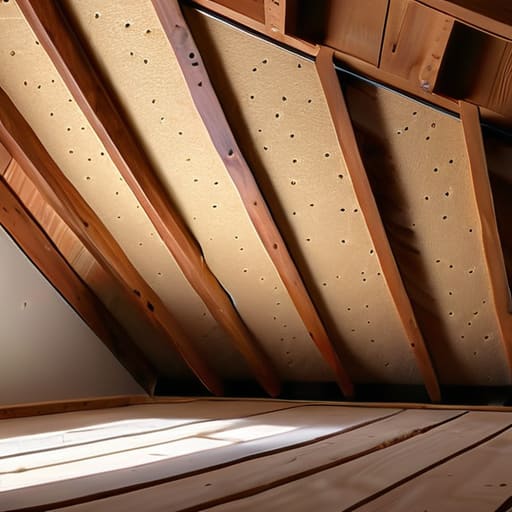
One thing I’ve learned from eighteen years of stripping down machines is that you can’t just shove stuff into a gap and expect it to work. It’s about airflow. If you pack your loft too tight without considering the eaves ventilation importance, you’re basically building a greenhouse for damp. I’ve seen enough moldy rafters to know that if the air can’t move, your new insulation is just a sponge for moisture. You have to balance that thermal barrier with enough breathing room to keep the structure dry.
You also shouldn’t ignore the little things, like the hatch. People spend a fortune on rolls of material but leave a massive cold spot right where the ladder comes down. A few simple loft hatch insulation tips—like using some leftover offcuts or even a bit of foam board—can stop that draft from undoing all your hard work. It’s like trying to fix a washing machine but leaving the door seal cracked; you’re just wasting your own energy in the long run. Don’t let a tiny gap ruin the whole job.
Five Things I’ve Learned From Stripping Down Houses Like I Strip Down Washing Machines
- Don’t go burying your joists under a mountain of fluff. If you pack the insulation too tight against the timber, you’re inviting rot into the bones of your house, and that’s a much bigger job than just adding a bit of warmth.
- Watch your airflow. Just like a vacuum cleaner needs a clear path to breathe or it’ll burn the motor out, your loft needs ventilation. If you block up the eaves, you’re just creating a damp, mouldy playground up there.
- Mind the gaps. I’ve seen people spend a fortune on rolls of mineral wool only to leave huge daylight gaps around the light fittings or the hatches. A gap is just a highway for your heat to escape, and it’s a waste of your hard-earned money.
- Keep your access clear. It’s tempting to pile everything right up to the loft hatch, but if you can’t get up there easily to check a leak or clear a blockage, you’ve done yourself a disservice. Leave yourself a bit of room to move.
- Check your cables before you cover them. It sounds simple, but I’ve seen enough scorched wiring to know that shoving heavy insulation directly onto old, hot electrical cables is a recipe for a disaster you don’t want to fix.
The Bits You Can't Afford to Get Wrong
Don’t go overboard with the thickness; if you pile it on too high and block your ventilation, you’re just inviting damp and rot into your rafters.
Treat your electrics with respect—never let insulation touch a light fixture or a junction box, or you’re looking at a serious fire hazard.
It’s not just about the fluff in the middle; if you don’t seal the gaps around the eaves properly, all that expensive material is basically useless.
Don't Just Throw it in and Walk Away
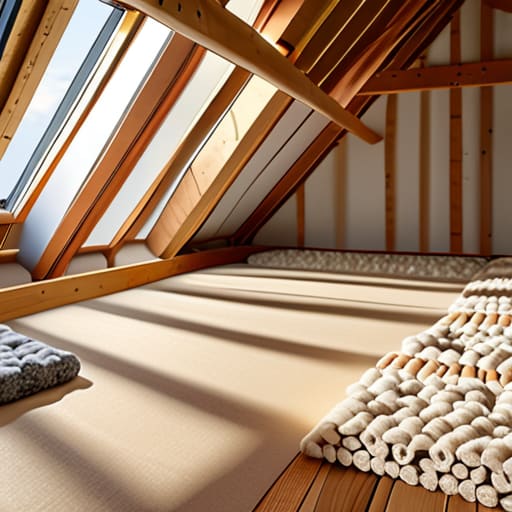
At the end of the day, insulating your loft isn’t about dumping every roll of mineral wool you can find into the crawlspace and hoping for the best. It’s about the details that most people overlook—making sure your eaves are clear, your ventilation is actually working, and you aren’t accidentally smothering the airflow that keeps your roof from rotting. I’ve spent eighteen years seeing people throw away perfectly good machines because they ignored a simple blockage, and I see the same logic applied to homes. If you don’t get the layers and the gaps right the first time, you aren’t saving money; you’re just creating a new set of problems to fix a year from now.
It might feel like a massive, dusty chore, but there is a real satisfaction in knowing your home is actually doing its job. There is something deeply rewarding about fixing a system so it runs efficiently for years without you ever having to think about it again. Don’t let the scale of the job intimidate you into doing a half-baked job. Take the time to do it properly, treat the materials with a bit of respect, and you’ll be sitting in a much warmer, much cheaper-to-run house while everyone else is still fighting their heating bills.
Frequently Asked Questions
Do I need to move my existing insulation or can I just layer more on top of what's already there?
Look, you could just dump new rolls on top, but you’d be making a right mess of it. If you leave the old stuff bunched up or uneven, you’re creating gaps, and gaps are where your heat escapes. I’ve seen enough poorly maintained gear to know that unevenness is the enemy. I’d recommend pulling the old stuff up, leveling it out so it’s flat and tidy, and then layering the new stuff over it.
How do I make sure I'm not accidentally trapping moisture and causing rot in my roof timbers?
Look, I’ve seen enough damp-rotted joists to last a lifetime. The trick isn’t just stuffing rolls of wool into every corner; it’s about airflow. You have to leave a gap between the insulation and the bottom of your roof timbers. If you pack it tight against the wood, you’re basically building a sauna for rot. Use a bit of netting or battens to keep that breathing space clear. Don’t choke your roof.
If I have recessed lighting up there, is it safe to cover them or do I need special covers first?
Don’t you dare just throw insulation over those lights. I’ve seen enough burnt-out components to know that heat buildup is a real problem. If you bury a standard recessed light under a pile of mineral wool, you’re basically making a fire hazard. You need to get some fire-rated covers or “loft caps” first. They create a little air gap so the heat can escape instead of cooking your insulation—and your house.
