








I was standing in a kitchen in Clifton last Tuesday, staring at a puddle of grey water on the floor, listening to a customer explain how she thought she needed a brand-new machine. She’d spent a fortune on a replacement, but after I took a look, the “catastrophic failure” was nothing more than a bit of slimy buildup. People think a leak means the pump is dead or the motor has given up the ghost, but more often than not, the culprit is just a neglected bit of rubber. I’ve spent eighteen years pulling these things apart, and I can tell you that cleaning a dishwasher door seal is usually the difference between a functioning kitchen and a very expensive pile of scrap metal.
I’m not here to give you a fancy manual or tell you to buy specialized chemicals that cost more than the machine is worth. I’m going to show you exactly how to get into those nooks and crannies to clear out the grit and grease that causes the leaks in the first place. We’ll keep it plain and practical, using things you likely already have in your cupboard. By the time we’re done, you’ll know how to keep that seal supple and tight, saving you a massive headache and a lot of wasted money.
Guide Overview
Tools & Supplies
- Microfiber cloth or soft sponge for scrubbing
- Old toothbrush for cleaning crevices
- White vinegar or mild dish soap (approx. 1 cup)
- Warm water (approx. 2 cups)
Step-by-Step Instructions
- 1. First things first, get your hands dirty. You’ll need a soft cloth, a bit of white vinegar, and maybe an old toothbrush if you’ve got one lying around. Don’t go grabbing the heavy-duty bleach or anything too caustic; you don’t want to dry out the rubber, because once that seal goes brittle, you’re looking at a replacement job I’d rather you didn’t have to do.
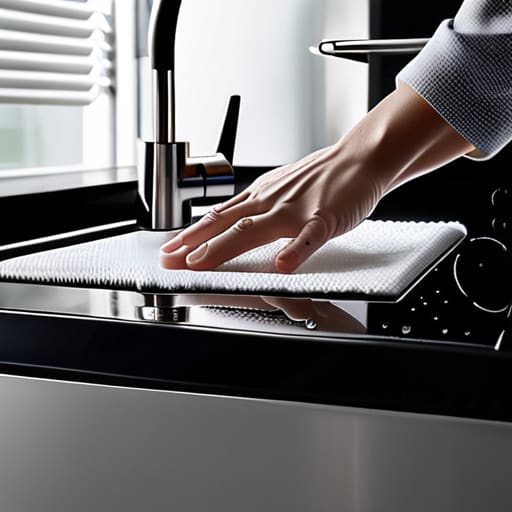
- 2. Open the door wide and get yourself a good look at the gasket. It’s that long, flexible strip running along the edge of the tub. I’ve seen plenty of people think their machine is “broken” when, in reality, there’s just a thick layer of grey sludge tucked into the folds. Start by wiping the visible surface with your vinegar-soaked cloth to get the easy grime off.
- 3. This is the part most people skip, and it’s exactly why I end up seeing them. You need to gently peel back the lip of the seal with your fingers. It’s designed to be flexible, so don’t be afraid to give it a little tug. You’ll likely find trapped bits of lemon seed, old grease, or even a stray bit of plastic that’s been sitting there festering for months.
- 4. Take that toothbrush and get right into the nooks and crannies where the seal meets the machine’s frame. If there’s any buildup that won’t budge with just a cloth, a little bit of mild dish soap on the brush will do the trick. I’ve pulled apart enough machines to know that if you leave that gunk there, it’s only a matter of time before it starts smelling like a damp basement.
- 5. Once you’ve cleared out the debris, take a clean, damp cloth and wipe the entire length of the seal again. You want to make sure there’s no vinegar or soap residue left behind. I always tell people to run a quick rinse cycle with just the machine running after a deep clean like this, just to ensure any loosened bits of grit are flushed out of the system.
- 6. Finally, take a dry cloth and give the seal a quick buff. You want it to be clean and supple, not dripping wet. If it feels tacky or sticky, you haven’t wiped it down well enough. Check the very bottom corner of the door too—that’s where the water tends to pool and where the most nastiness hides.
Understanding Cleaning a Dishwasher Door Seal
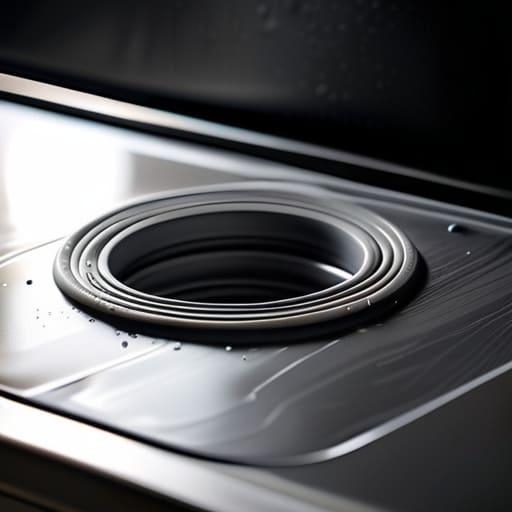
The thing about these rubber seals is that they aren’t just there to look pretty; they’re the only thing standing between your kitchen floor and a shallow indoor pool. Over time, food particles and grease get trapped in those little folds, creating a perfect little breeding ground for nasties. If you start seeing black spots, you’re looking at mold, and that’s when you need to get serious about removing mildew from appliance seals. I’ve seen plenty of people call me out because they thought the machine was “broken,” only to find the seal had simply perished because it was choked with gunk.
You don’t need fancy, expensive chemicals to handle this. In my experience, a simple mixture of vinegar and baking soda for dishwasher maintenance works wonders without eating away at the rubber. Just be careful not to use anything too abrasive; if you scrub that gasket too hard with something harsh, you’ll crack it, and then you’re looking at a much more expensive job. Regular dishwasher hygiene maintenance is really just about making sure that rubber stays supple and clear of debris so it can do its job properly.
Key Things to Know
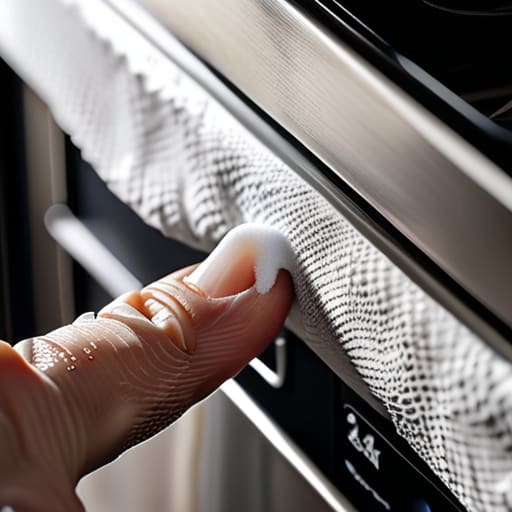
One thing people always forget is that the rubber isn’t just a barrier; it’s a sponge for everything that escapes your plates. If you leave those little bits of food and grease to sit in the folds, you aren’t just looking at a smelly kitchen—you’re looking at a future repair job. I’ve seen too many people call me out because they think the machine is failing, when really, they’ve just let gunk build up so thick that the seal can’t seat properly. When it comes to preventing dishwasher leaks, you have to get into those deep crevices with a cloth, not just wipe the surface.
If you’ve already let things go a bit too far and you’re seeing black spots, don’t panic. You don’t need harsh chemicals that’ll rot the rubber. A simple mix of vinegar and baking soda for dishwasher seal maintenance works wonders for removing mildew from appliance seals without causing more harm than good. Just be gentle; that rubber is meant to be flexible, not brittle. If you treat it with a bit of respect, it’ll last you a decade.
Five Things I’ve Learned From a Thousand Dirty Seals
- Don’t go too heavy on the chemicals. I’ve seen enough perished, cracked rubber to know that if you douse that seal in harsh bleach, you’re going to bake it hard and brittle, and then you’ll be calling me to replace the whole thing.
- Get a proper brush, not just a rag. A bit of an old toothbrush is your best friend here; it’s the only way to actually get the grey sludge out from the folds where the gunk likes to hide.
- Check the bottom edge specifically. Most people just wipe the sides and forget the very bottom of the seal, but that’s exactly where the standing water sits and starts growing that nasty black mould.
- Dry it off when you’re done. If you leave it soaking wet after a deep clean, you’re just inviting the moisture to sit there and breed more bacteria. A quick wipe with a dry cloth goes a long way.
- Inspect for tears while you’re cleaning. Since you’ve already got your hands in there, feel for any nicks or splits in the rubber. It’s much easier to catch a small tear now than to deal with a flooded kitchen later.
The Short Version
Don’t wait for a puddle on your kitchen floor to take action; if you see black gunk or a bit of mould, that seal is already failing you.
A bit of warm soapy water and a soft cloth do ninety percent of the work—you don’t need fancy chemicals that’ll just rot the rubber faster.
Most “broken” dishwashers are just being stubborn because food debris is trapped in the folds, preventing a proper seal.
Don't Let a Bit of Grime Ruin a Good Machine
At the end of the day, it really comes down to the basics. You don’t need a degree or a fancy toolkit to keep your dishwasher running; you just need a bit of patience and a cloth to get into those folds. If you’ve been following what I’ve said, you’ll know that keeping that rubber seal clear of food debris and old soap scum is the best way to avoid a messy kitchen floor or a machine that smells like a swamp. It’s about being proactive. Most of the “broken” machines I’ve hauled away in my eighteen years were perfectly fine—they just had a bit of gunk preventing a proper seal. Don’t let a five-pound problem turn into a five-hundred-pound replacement.
I know it feels like just another chore on an endless list, but there is a certain satisfaction in knowing you’ve looked after your own gear. We live in a world where people think if something isn’t perfect, it’s rubbish, but I’ve always found that a little bit of regular maintenance goes a long way. When you take ten minutes to wipe down that seal, you aren’t just cleaning; you’re extending the life of something useful. It’s a small win for your wallet and a small win for the planet. Treat your appliances with a bit of respect, and they’ll keep serving you well for years to come.
Frequently Asked Questions
Is it normal if I see a bit of black gunk behind the seal, or does that mean the rubber is actually rotting away?
Don’t panic. Most of the time, that black gunk is just a buildup of old grease, food particles, and stagnant water trapped in the folds. It looks nasty, but it’s usually just grime. However, if the rubber feels slimy or starts crumbling between your fingers when you touch it, that’s rot. If it’s just dirty, a bit of vinegar and a soft brush will sort it. If it’s disintegrating, it’s time for a new seal.
Can I use bleach to get the mould off, or am I just going to perish the seal and cause a leak?
Don’t go reaching for the bleach. I’ve seen too many perished seals after someone thought they were being thorough. Bleach is too harsh; it eats away at the rubber, makes it brittle, and before you know it, you’re calling me out because your kitchen floor is a lake. Stick to a bit of white vinegar or a mild detergent on an old toothbrush. It’ll get the mould off without ruining the seal.
If the seal feels stiff or won't spring back into place after I've cleaned it, is it time to stop cleaning and start replacing?
If it’s lost its bounce, it’s gone. I’ve seen plenty of seals that look clean but have actually become hard or brittle from years of hot water and detergent. If you press it and it stays flattened, or if it feels like stiff plastic rather than soft rubber, stop scrubbing. You’re just wasting your time. At that point, it won’t create a watertight grip, and you’ll end up with a puddle on your kitchen floor.
