









I’ve lost count of how many times I’ve walked into a kitchen only to find a customer staring despondently at a frost-covered freezer, convinced they have to throw out a week’s worth of groceries just to get a proper scrub. People act like cleaning a freezer without defrosting everything is some sort of impossible magic trick, or worse, they fall for those ridiculous “hacks” involving hair dryers that end up warping the plastic lining. I’ve pulled apart enough compressors and cooling units to know that most of the time, you aren’t dealing with a mechanical failure; you’re just dealing with a bit of ice that’s gotten a bit too comfortable.
I’m not here to sell you any fancy chemical sprays or tell you to buy a new appliance. I’m going to show you the practical way to handle the frost and the grime using tools you actually have in your kitchen drawer. I’ve spent eighteen years seeing how these machines are built, and I promise you, we can get this sorted without turning your kitchen into a lake of melted peas. We’re going to do this straight and simple, just like I’d do it if I were working on my own machine.
Understanding Cleaning a Freezer Without Defrosting Everything
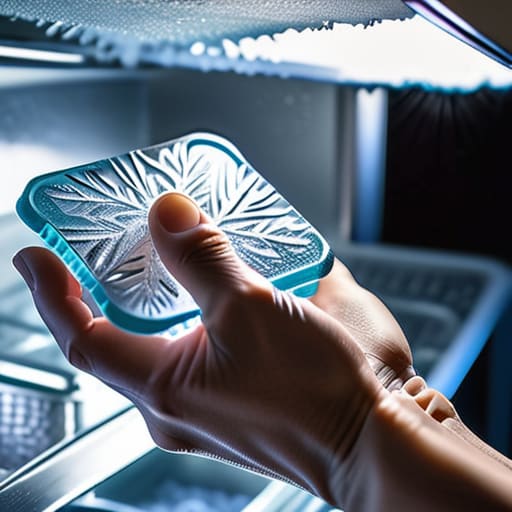
Most people think a freezer is either “fine” or “a complete disaster” that requires a three-hour defrosting session and a mountain of melted ice cream. I’ve spent eighteen years pulling apart units in Bristol, and I can tell you that’s rarely the case. Usually, you’re just dealing with a bit of surface frost or a stray spill that’s frozen solid. You don’t need to turn your kitchen into a swamp just to get things tidy.
The trick to cleaning freezer frost efficiently is understanding that ice isn’t always an enemy; it’s just a symptom of air circulation. If you try to scrape it all away with a knife—which, by the way, is the fastest way to puncture a cooling line and kill a machine—you’ll regret it. Instead, focus on the areas where the frost is actually hindering things. By removing ice without melting food, you’re essentially just performing a bit of surgical maintenance. It’s about targeted cleaning rather than a total teardown. I’ve seen far too many perfectly good compressors end up in the scrap heap just because someone didn’t know how to manage a little buildup.
Key Things to Know
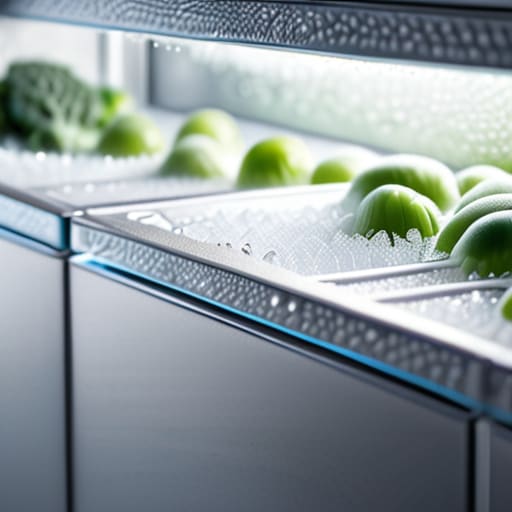
First off, you need to understand that you aren’t fighting the machine; you’re just managing the moisture. Most people think that if there’s ice, the only solution is to pull the plug and wait six hours for a puddle to form. That’s a waste of time and, more importantly, a waste of good food. When I’m looking at a unit, I’m looking for the source. Usually, it’s a dodgy door seal or just too much warm air being let in every time you reach for the frozen peas. Preventing ice buildup in freezer compartments is much easier than trying to chip it away once it’s become a solid block.
You also have to be careful with how you handle the surfaces. I’ve seen far too many people grab a metal spatula or something sharp to hack at the frost, and that’s a one-way ticket to a punctured evaporator coil. Once you nick that, the machine is scrap metal. If you’re removing ice without melting food, stick to a plastic scraper and a bit of patience. It’s about being methodical, not aggressive. Keep your tools blunt and your movements steady, and you won’t end up needing to call me out to replace the whole compressor.
Practical Tips and Steps
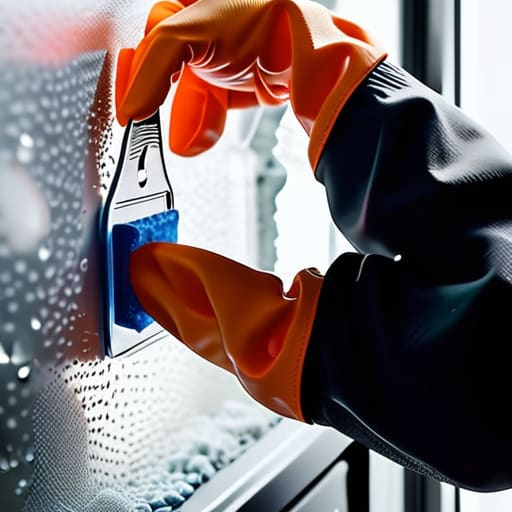
First, get yourself a plastic scraper—not a metal knife, unless you fancy a trip to the appliance shop for a new evaporator coil. Start by moving your perishables into a cool bag or a well-insulated box. I’ve seen too many people lose a week’s worth of groceries just because they didn’t want to spend twenty minutes moving a bag of peas. Once the food is safe, focus on removing ice without melting food by working in small, manageable sections. Use a spray bottle with warm water to soften the edges of the frost, then gently nudge it loose. It’s a bit like peeling an old sticker; you just need the right amount of patience.
While you’re in there, pay attention to the seals. A dirty gasket is a magnet for more frost. Take a damp cloth and wipe down the rubber edges to ensure a tight fit, which is the best way of preventing ice buildup in freezer compartments later on. If you’ve got spills on the plastic, give them a quick scrub now while the surface is slightly damp from the melting frost. It makes cleaning frozen appliance surfaces a lot less of a chore than trying to scrub dried-on juice once everything is bone dry.
Common Mistakes to Avoid
The biggest blunder I see—and I’ve seen it in enough kitchens across Bristol to last a lifetime—is people grabbing a knife or a screwdriver to chip away at the frost. Please, for the love of your compressor, put the sharp objects down. You aren’t just risking a scratched surface; you’re one slip away from puncturing a cooling line, and once that gas leaks out, that machine is nothing more than a very expensive cupboard. If you want to succeed at removing ice without melting food, you have to use patience and heat, not force.
Another mistake is neglecting the seals while you’re busy with the interior. People spend ages cleaning frozen appliance surfaces but leave the rubber door gaskets all gummy and cracked. If those seals aren’t clean and supple, warm air leaks in, and you’ll be right back where you started with a mountain of ice by next Tuesday. It’s a cycle of wasted energy. Just take a minute to wipe the edges down properly; it’s the simplest way of preventing ice buildup in freezer units from happening again so soon.
Final Thoughts
At the end of the day, it isn’t about being perfect; it’s about being sensible. I’ve seen too many people toss out perfectly good seals and gaskets just because they didn’t know how to manage a bit of frost. If you take ten minutes once a month to focus on preventing ice buildup in freezer compartments, you’ll save yourself the headache of a massive, three-hour defrosting job later in the year. It’s much easier to wipe down a damp surface than it is to scrape a block of ice off a heating element.
Just remember that your appliance isn’t an enemy to be conquered, but a machine that needs a bit of respect. Treat the plastic and the seals with a bit of care, and they’ll keep working for you. If you stick to these small habits, you’ll find that cleaning frozen appliance surfaces becomes a minor chore rather than a weekend-ruining disaster. Honestly, most of the “broken” freezers I see in Bristol are just machines that have been neglected for a few too many months. Keep it tidy, keep it clear, and it’ll keep running.
Five ways to keep it clean without the big thaw
- Don’t go chasing the ice at the back. If you’re just wiping down a spill or a bit of frost on the shelves, leave the evaporator coils alone. Once you start prying at the back panel to get to the frost, you’re asking for a leak or a snapped clip.
- Use a warm, damp cloth, not a steaming one. I’ve seen people try to use boiling water to melt a stubborn patch, and all they do is shock the plastic liners or cause condensation to seep into the electrical components. Keep it lukewarm and patient.
- Grab a soft brush for the seals. Most people forget the rubber gasket, but that’s where the crumbs and the gunk hide. A quick wipe with a soft brush and some mild soapy water keeps the seal tight so you don’t end up with more frost buildup in the first place.
- Work in small zones. If you’ve got a bit of a mess, clear out one drawer at a time. It keeps the temperature stable in the rest of the unit and means you aren’t standing there with a mountain of half-thawed peas on your kitchen counter.
- Keep a scraper handy, but use it like a surgeon. If you absolutely must tackle a thick patch of ice, use a plastic scraper—never metal. I’ve pulled enough units out of houses where someone had used a screwdriver to chip at the ice and ended up puncturing a cooling line.
The Bottom Line
Don’t go overboard with the heat; a bit of warm water and a cloth is all you need to tackle the grime without melting the plastic or sending your food on a dangerous thaw.
Most of the trouble isn’t the frost, it’s the spilled bits stuck in the seals—keep those clean and the machine will do half the work for you.
If you’re fighting a massive buildup, don’t panic and pull the plug; just focus on the accessible spots and tackle the rest when you actually have the time to do it properly.
A Bit of Common Sense
At the end of the day, you don’t need to turn your kitchen into a swamp just to get a bit of grime out of the seals. We’ve covered the essentials: keep your food iced down in a cooler, use a warm cloth instead of a scraper, and don’t go hacking at the frost with anything sharp. If you stick to the method of spot-cleaning and managing the buildup as it happens, you’ll save yourself hours of waiting for things to thaw and the headache of reorganizing the whole lot. It’s really just about preventative maintenance rather than waiting for a total meltdown.
I’ve spent eighteen years pulling apart machines that people thought were dead, only to find they were just neglected. Most of the time, an appliance isn’t “broken”—it’s just being treated like it’s disposable. If you take ten minutes every few months to give those gaskets a wipe and check the vents, your freezer will outlast most of the things you buy at the shops these days. Stop waiting for the frost to become a problem and just take care of the kit you have. It’s a bit more work upfront, but it’s a hell of a lot better than buying a new one because you were too lazy to grab a sponge.
Frequently Asked Questions
If I'm scrubbing around the frost, am I going to accidentally crack the plastic liner or damage the seals?
Look, you aren’t going to crack the liner unless you’re using a screwdriver or a metal spatula to chip at the ice. I’ve seen enough split plastic interiors to know better. Stick to a soft sponge or a cloth. As for the seals, just don’t go scrubbing them with anything harsh or abrasive; they’re just rubber and they’ll perish. Treat them gently, keep them clean, and they’ll keep doing their job.
How much frost buildup is actually too much before I'm forced to do a full defrost to save the compressor?
Look, if you’ve got a layer of ice thick enough that you’re starting to struggle with the drawers, you’re pushing it. Once that frost reaches about half an inch, it’s not just a nuisance; it’s an insulator. Your compressor starts working overtime to fight through that frozen wall, and that’s how you end up with a dead unit and a massive repair bill. If it’s thick, stop scrubbing and just defrost it.
Can I use a hairdryer to melt the stubborn bits, or am I just asking for a melted control board?
Put the hairdryer down. I’ve seen enough melted plastic and fried control boards to last me a lifetime, and you’re playing a dangerous game. You’re trying to melt ice, not a circuit board. If you point that heat at the wrong spot, you’ll turn a simple cleaning job into a costly repair bill. Stick to a bowl of hot water or a damp cloth. It’s slower, but it won’t kill the machine.
