







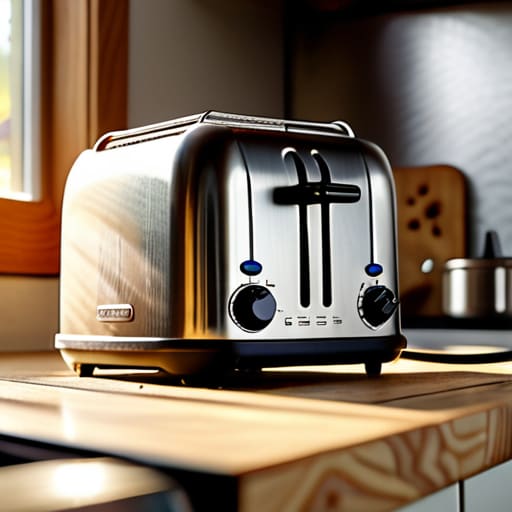

Most people think a toaster is “broken” the moment it starts smelling like a bonfire or the lever won’t stay down, but more often than not, it’s just choking on its own breakfast. I’ve spent eighteen years pulling apart everything from heavy-duty washing machines to tiny kitchen gadgets, and I can tell you that a toaster isn’t a death trap; it’s just clogged. People get so intimidated by the heating elements that they avoid the job entirely, but learning how to clean a toaster safely is much simpler than trying to fix a fried circuit board. You don’t need a degree from City and Guilds to do this, you just need to stop treating your appliances like they’re made of glass.
I’m not going to give you any of that nonsense about using pressurized air or fancy chemical sprays that’ll just gunk up the works. Instead, I’m going to show you the proper, practical way to clear out the crumbs and carbon buildup without snapping a wire or getting a nasty shock. We’ll go over the essential tools you actually need, how to handle the crumb tray without making a mess, and the one mistake that turns a simple cleaning job into a trip to the scrap heap.
Guide Overview
Tools & Supplies
- Non-conductive brush (to sweep out crumbs)
- Microfiber cloth (for exterior wiping)
- Cotton swabs (for tight crevices)
- Damp cloth (1 small)
- Mild dish soap (small amount)
- Dry cloth (1 small)
Step-by-Step Instructions
- 1. First things first, and I mean this seriously: unplug the thing. I don’t care if it’s switched off at the wall; if that cord is still live, you’re playing a dangerous game with heating elements that don’t care about your safety. I’ve seen enough people get a nasty shock just because they wanted to poke around a crumb tray, so make sure it’s dead before you move an inch.
- 2. Once you’re sure you won’t be electrocuted, turn the toaster upside down over your sink or a bin. Give it a few gentle shakes to let the big, loose chunks of burnt bread fall out. You’ll be surprised at how much debris has been hiding in there, just waiting to catch fire if you leave it alone.
- 3. Now, find that little crumb tray at the bottom. Most modern ones slide right out, but if yours is stuck, don’t go forcing it with a screwdriver like a madman. If it’s a bit jammed, give it a light tap or see if there’s a tiny catch. Once it’s out, empty it into the bin and give it a quick wash in the sink with some warm, soapy water. Just make sure it’s completely dry before you slide it back in.
- 4. For the bits you can’t reach with a tray, you’re going to need a soft brush. A clean paintbrush or even an old toothbrush works wonders. Gently sweep out the slots and the internal corners to get those fine, dusty crumbs that the shaking missed. Whatever you do, don’t use anything metal like a knife or a fork to scrape the insides; you’ll end up bending the heating elements, and then you’ve really done it.
- 5. If you’ve got stubborn, burnt-on bits on the outer casing, a damp cloth is your best friend. Don’t go soaking the machine, obviously—that’s a one-way ticket to a broken appliance—but a lightly moistened bit of flannel will take off the grease and fingerprints without any fuss.
- 6. Finally, take a good look inside the slots one last time to ensure no stray brush bristles or large crumbs are left behind. If it looks clear, plug it back in and test it with a single slice of plain bread. It’s the only way to be certain you haven’t left a piece of debris lurking in a corner, ready to start a small bonfire.
Understanding How to Clean a Toaster Safely
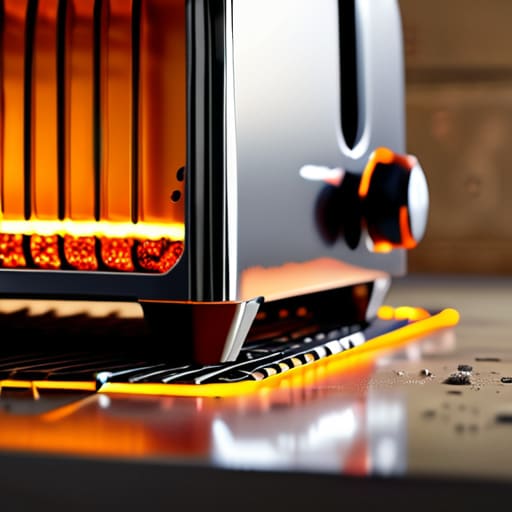
The thing about toasters is that they are essentially little ovens designed to trap debris. Most people think a toaster is “broken” because it starts smelling like a campfire, but usually, you’re just dealing with old crumbs sitting on a heating element. When I’m looking at a machine that’s been neglected, I’m not looking for a motor failure; I’m looking for the buildup. Preventing toaster fires isn’t some complicated engineering feat; it’s mostly just about making sure you aren’t turning your breakfast into a pile of kindling every time you hit the lever.
If you want to do this properly, you need to look past the shiny exterior. Don’t just wipe the sides with a damp cloth and call it a day. You need to get in there and check the tray. Consistent crumb tray maintenance is the difference between a clean kitchen and one that smells like burnt toast for three days straight. I’ve pulled enough machines apart to know that once those crumbs start carbonising on the wires, you’re asking for trouble. Keep it simple: empty the tray, shake out the loose bits, and don’t use anything metal to poke at the coils.
Key Things to Know
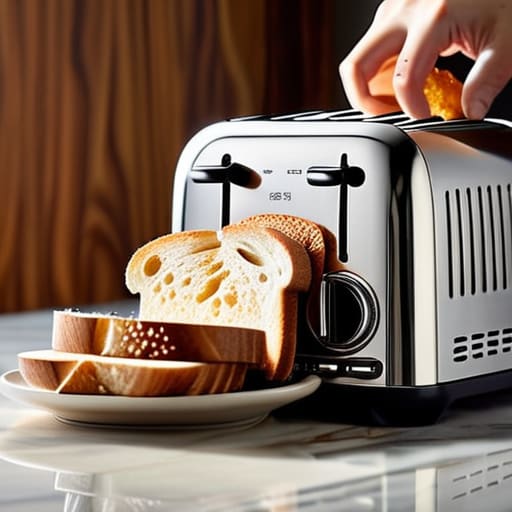
First off, stop trying to fish out a stuck bit of crust with a metal knife. I can’t tell you how many times I’ve been called out to a house only to find a melted heating element because someone thought they were being clever with cutlery. If you’re serious about preventing toaster fires, you need to respect the electricity. If something is stuck deep down, use a wooden chopstick or a soft, dry brush. Never, and I mean never, use anything that conducts power while that thing is still plugged into the wall.
Another thing people overlook is the smell. If your kitchen starts smelling like a bonfire every time you make breakfast, you aren’t just dealing with a dirty machine; you’re dealing with old carbon buildup. Removing burnt bread smells usually requires more than just a quick shake; it means getting into those nooks and crannies where the crumbs turn into actual charcoal. It’s a bit of a chore, but it’s much better than replacing the whole unit just because it’s become a smoke machine. Keep that crumb tray clear, and you’ll get years more out of it.
Five things I wish people did before they called me out
- Unplug the thing first. I don’t care if it’s “off” or the little light isn’t glowing; if it’s still connected to the wall, you’re playing a dangerous game with electricity.
- Empty the crumb tray every single week. Most people wait until they smell something burning, but by then, you’ve already got a fire hazard sitting in your kitchen.
- Leave the machine upside down over the sink for a good minute. Give it a gentle shake—don’t whack it like you’re trying to get the last bit of ketchup out of a bottle—to let the loose bits fall out naturally.
- Never, ever use a metal knife to scrape out the bits stuck in the slots. I’ve seen enough bent heating elements and ruined circuits to know that a wooden toothpick or a soft brush is all you need.
- Check the heating elements for any stray bits of bread or crust. If they’re stuck, don’t go poking around blindly; use a bit of compressed air if you have to, just keep your hands out of the guts while it’s live.
The Bottom Line
Pull the plug before you do anything else; I’ve seen enough people get a nasty shock just because they thought they could “be quick” with a butter knife.
Don’t go throwing the whole thing in the sink or under a tap; these things are full of delicate wires and heating elements that don’t take kindly to being soaked.
Most of the “breakdowns” I see are just crumbs causing a mess or a smell; a bit of regular clearing out of the tray usually saves you a trip to the tip.
Don't Just Toss It
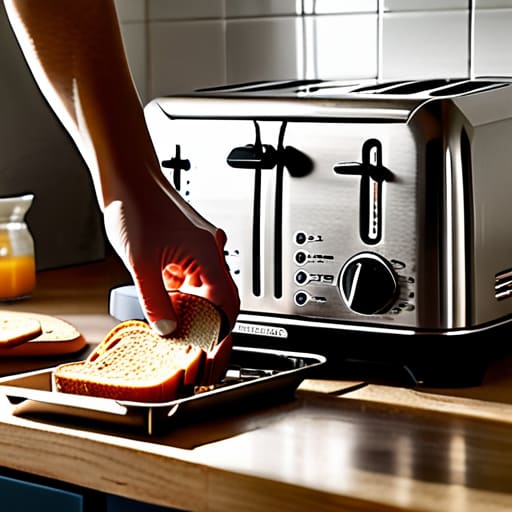
At the end of the day, keeping a toaster running isn’t about performing some complex engineering feat; it’s just about being a bit mindful. You’ve unplugged the thing, cleared out the crumb tray, and made sure you aren’t poking anything metal into those heating elements. If you’ve done that, you’ve already avoided ninety percent of the common reasons these little machines end up in a landfill. Just remember that patience is your best tool here. Don’t go rushing through it or forcing a brush into a tight corner where it doesn’t belong. If you treat the appliance with a bit of respect and keep it clear of that built-up debris, it’ll keep popping out your toast for years to come without needing a replacement.
It’s easy to fall into the habit of thinking that once something stops working quite right, it’s time to head to the shop for a brand-new one. But I’ve spent eighteen years seeing people throw away perfectly good machines just because they were too lazy to clear a bit of burnt bread. There is a real, quiet satisfaction in maintaining what you own instead of just consuming more. It’s better for your wallet, and frankly, it’s better for the planet. So, next time your toaster starts smelling a bit singed, don’t reach for your credit card—just reach for the crumb tray and give it a proper clean.
Frequently Asked Questions
Is it actually safe to use a damp cloth on the outside, or am I going to short something out?
It’s safe enough, provided you use common sense. A damp cloth is fine for the exterior, but don’t go soaking it like you’re washing the dishes. Keep it more “barely moist” than “dripping.” The real danger isn’t the metal shell; it’s liquid finding its way through the vents or the plug. Wipe it down, then let it sit for a minute before plugging it back in. Better safe than sorry.
How do I get those stubborn crumbs out from the very bottom without risking a nasty shock?
First thing’s first: pull the plug. I don’t care if you think it’s off; if it’s still drawing power, you’re playing a dangerous game. Once it’s dead, turn it upside down over the sink and give it a gentle shake. If those crumbs are really wedged in there, use a soft, dry paintbrush or a can of compressed air. Whatever you do, leave the metal implements in the kitchen drawer—nothing’s worth a trip to the hospital.
Can I use a bit of compressed air to blow out the bits, or will that just send the mess deeper into the heating elements?
You could, but you’re playing a risky game. If you use a high-pressure blast, you’ll likely just shove those crumbs into the nooks of the heating elements or, worse, lodge them right against the wires where they can scorch. I’ve seen enough burnt-smelling kitchens to know it’s better to be gentle. Use a soft brush or a vacuum on low instead. If you must use air, keep it light and aim from the top down.
